Selecting and Installing Luxury Vinyl Plank Floors

This post was created in sponsorship with Karndean Flooring, who gifted their product for the install of this project. All opinions and narrative are my own. This post contains product links that may contain affiliate links. When you use the link to make a purchase, I may make a small commission. This is not an additional cost for you, but helps me to produce this blog and content for you to enjoy. My full disclosure is here. Thank you!
Why I Chose Luxury Vinyl Plank Flooring from Karndean
- Not Carpet: Personally, this is not a space I wanted carpet in. I love the ease of cleaning “smooth” surface flooring. This is especially important to me in a space like a basement that, if I’m honest, doesn’t get as frequent of a cleaning. So a surface that doesn’t trap and hold (hide) dust was key to me.
- Water Resistant: I also wanted a product that was water resistant, incase the worst case happens (once an engineer, always an engineer). Although we have a dry basement with a sump and no known water issues, you can never be too cautious with a midwest basement. I sincerely hope putting that last sentence in writing didn’t curse me.
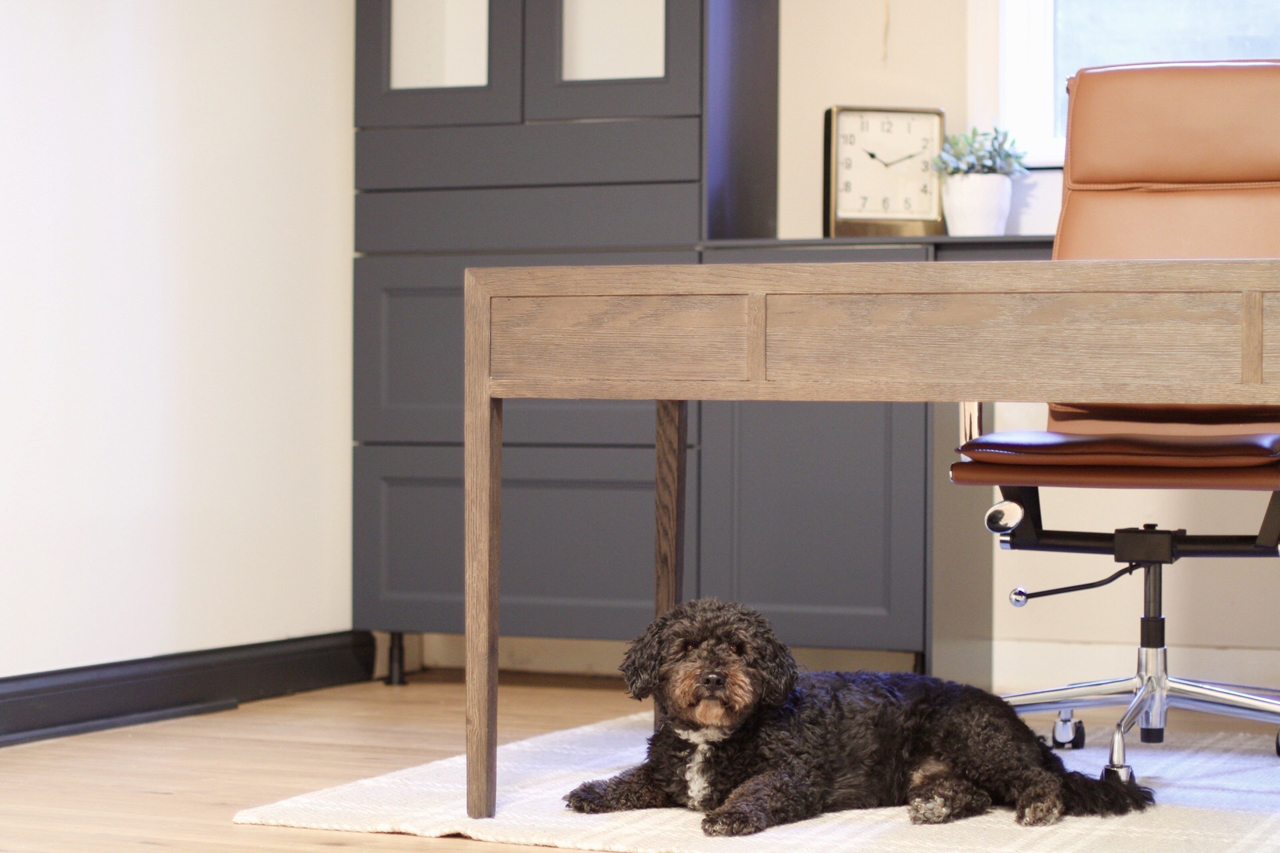
- Durable: Finding the balance between beautiful, functional, and durable is a common thread in my home. This basement space will likely evolve and transition with our family over the years. I want it to be a space I don’t fret about kids damaging the flooring. I am all for “dings in hardwoods give it character” but I also am not going to let my boys ride a tricycle on our main floor hardwoods. But the basement is fair game for all the rambunctious activity.
- Type of Installation: We wanted something that would be easy to install and require less upheaval of our home. Especially, now that this project is being done during the Covid pandemic, the install needed to be something that could be done quickly by a professional or even better, by us.
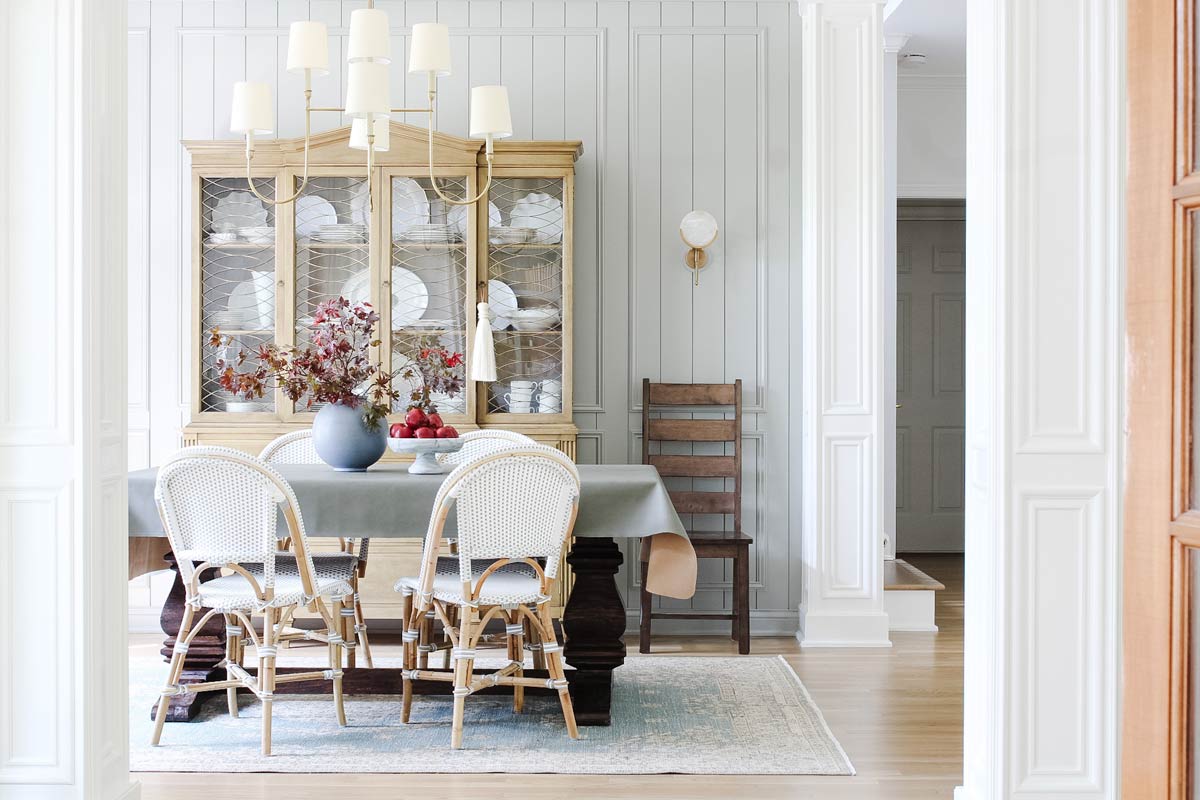
After a lot of research I had the flooring choices narrowed down to a luxury vinyl plank floor product. So this is when I began researching different brands to determine what specific product in this category I would use. What was important to me was a product that had a very realistic wood look print with a lot of variety and texture. I also wanted a high quality product that would translate to an easier install and a longer lasting, worry-free, amount of time. This is what led me to the beautiful products from Karndean. I was so excited that they agreed to be a sponsor for my One Room Challenge project, because I was already so invested in using their Rigid Core Product for the basement. Karndean offers a wide selection of products that mimic an exceptionally large variety of wood species and finishes. I selected the Korlok Reserve North American Oak to coordinate with our white oak hardwood floors on the main level of our home. Not only are Karndean’s vinyl products beautiful, they also come with a lifetime residential warranty.
Installing Karndean’s Korlok Reserve Rigid Core
Preparing For Installation
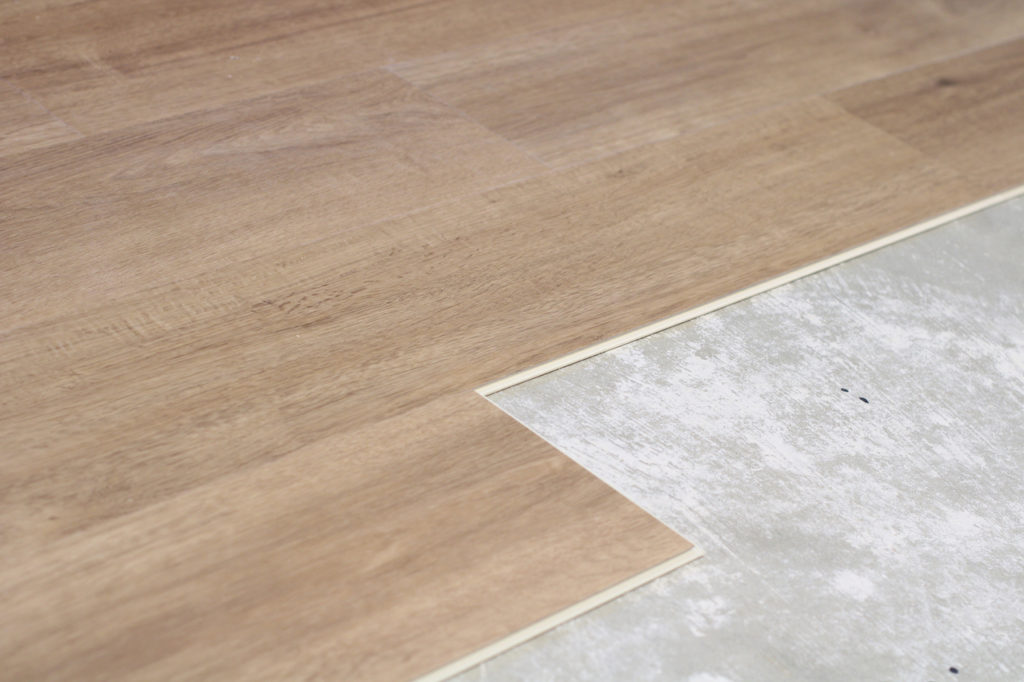
Prep work is the dream work? Is that how it goes? I am always very impatient and ready to get to the meat of the task on projects like this. But for a project that is not only a significant cost investment but also a big part of the room, it is really important to take the time to prepare and read all of the instructions. We ripped up the existing carpet and pad and installed the rigid core luxury vinyl plank directly on our concrete basement floor. This product is great, because it can be installed over a variety of surfaces and subfloors with minimal prep work. If floats on top of the install surface, locking into each other to provide a secure bond. The back of product has a layer that provides moisture resistance, sound absorption, a little cushion, and helps grip the surface its installed on.
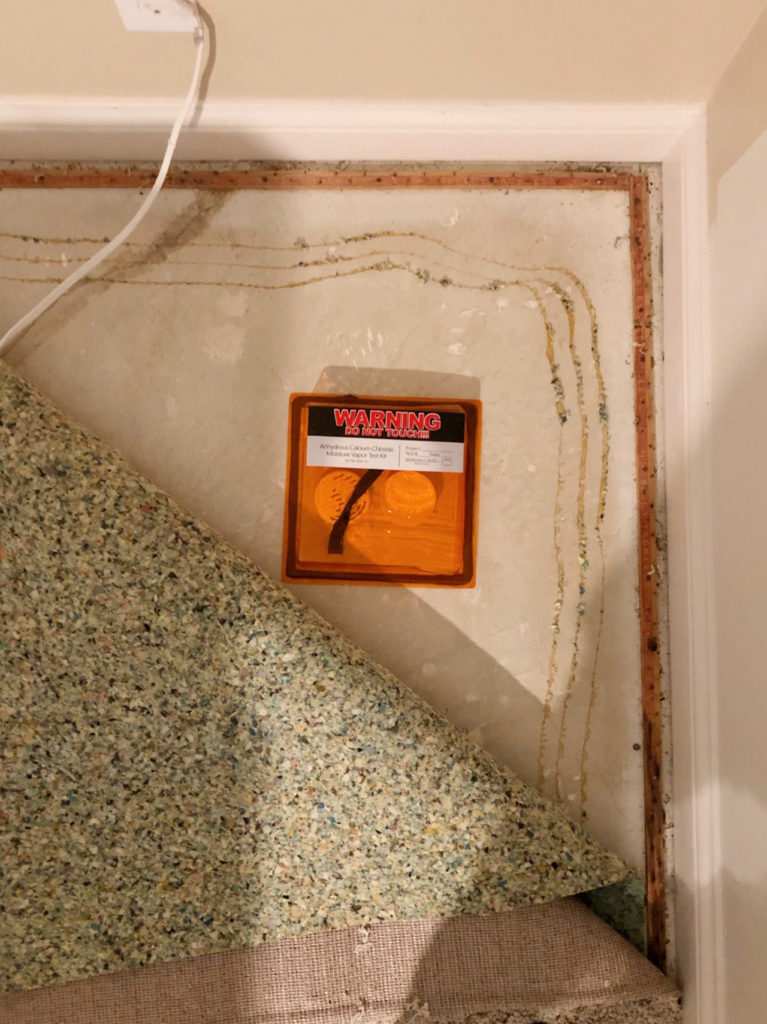
We did run a moisture test to ensure our concrete slab met the criteria for the space. There were some divots in the concrete from where the tack strip for the carpet had been nailed into the concrete, but the rigidity of the product allowed for us to just float it across these pockets without any repair. We did a really good job of vacuuming the floors before we began installing and that was the extent of the “prep” work.
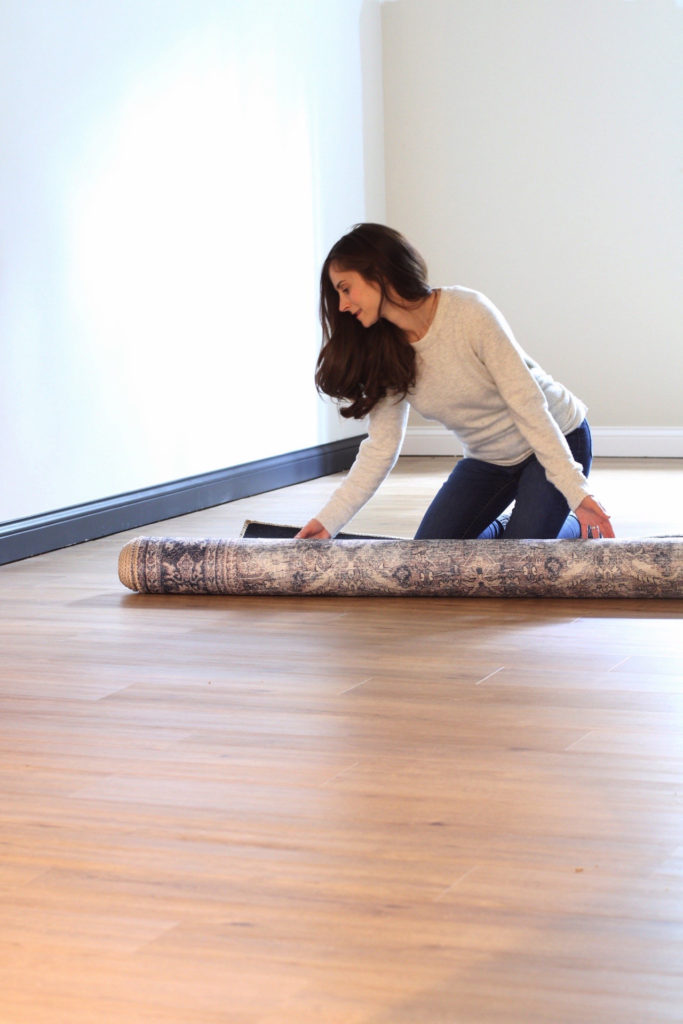
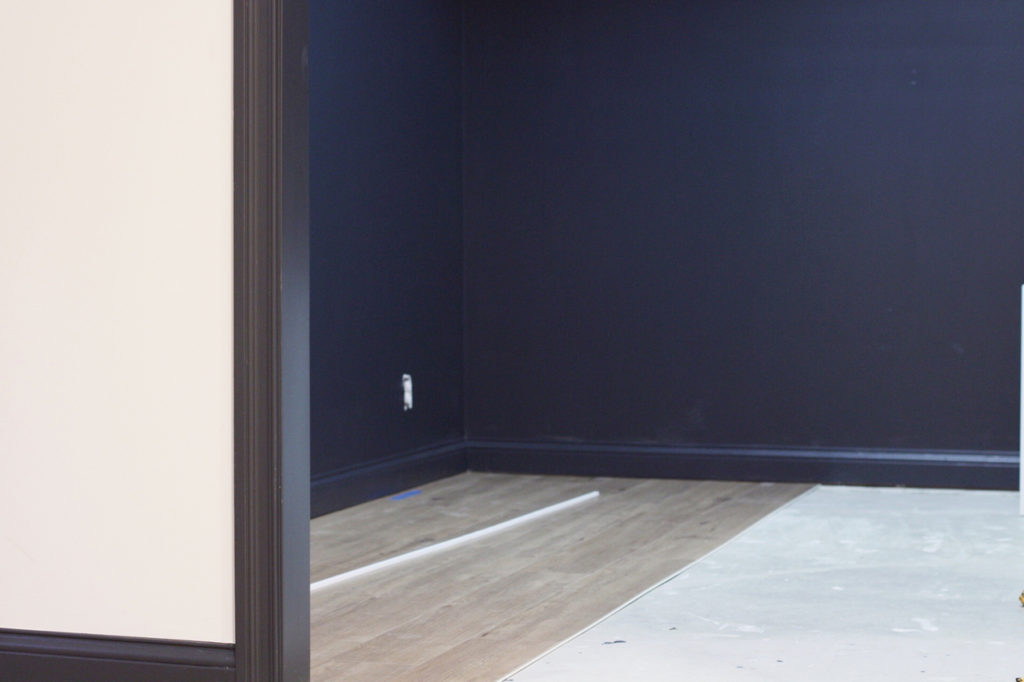
Installing Luxury Vinyl Plank Flooring
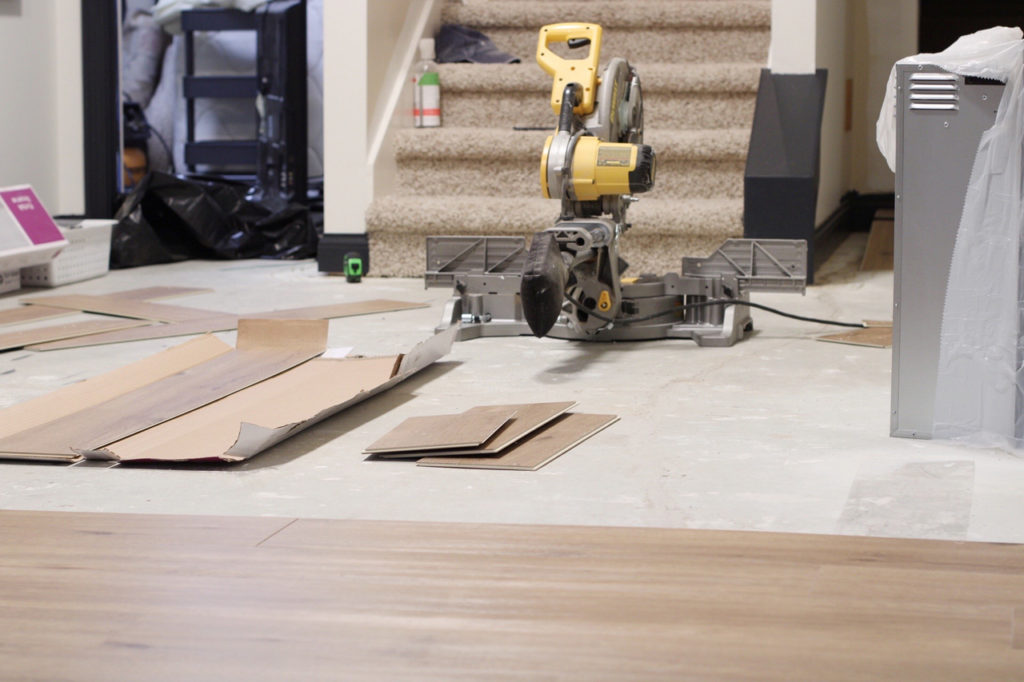
The planks required a set-back or gap around the perimeter. To ensure we installed square to the room and met this required minimum gap, we first snapped a chalk line along the back wall. We then set our first row off of this. The planks we selected came in a 48″x 7″ length, but we wanted them installed in a random length pattern. To do this, we started each row by cutting off a “random” length of the plank. Then we locked in full planks until we reached the next wall, which then had to be cut down to the measured remaining distance. This created a random offset pattern. This product has a required minimum offset between the ends of the planks in neighboring rows. Because of this, it was important to check we met this minimum before cutting the first piece in each row. We made all of these end cuts using the miter saw to make the process quick and effortless. Any location that required us to cut around a wall or doorway, we used a jigsaw to make the cuts.
This was such a refreshing and rewarding project to tackle. The overall install was much easier than anticipated. A few “rules” to follow, but the overall process was one of the most accessible DIY’s we have done. The “mess” of the work was relatively minimal. Just the upheaval of the furniture and the shavings of the flooring from the saw that needed vacuumed up after each work session. This made working on the install easy to fit into the small pockets of time our busy family had free. When we had a large amount of time to work on it in a focused way, we were able to crank through the install really quickly. Our total square footage for flooring was around 710 sft. We spent around 4 hours removing the existing carpet, carpet pad, and pulling up the tack strips that had, unfortunately, been nailed into the concrete flooring. Another hour was spent vacuuming the floors, carrying the heavy boxes of flooring down, and setting up the saws. We spent around 9 hours over most of the day Saturday and during naptime (2 hours) on Sunday and we were able to finish all of the main area, except around 170 sft of the bedroom and closet. The bedroom we installed over 2 evenings working in smaller 2.5 hours stints. We were able to replace our flooring and return the space back to functional in one week all while working fulltime (Kris) and managing two kids (me). We did have help from my in-law’s (bless them!) on Saturday when they took the boys for the morning to help give us more un-interrupted work time.
Tips for Installing Luxury Vinyl Plank Flooring
- As you select your planks for each row, be sure to scan the previously installed floor to check for any obvious repeats in pattern. This product has a wide variety to the pattern, which really helps to minimize the appearance of a “manufactured” floor. The great thing about the Karndean product is that although the pattern does repeat, it is not in the same location on each plank. So it helps add to the infinite combinations that it has.
- Make sure you have a fresh blade on your saws to keep the cutting process as clean as possible
- Having two people really helps to speed the process along. One person installs and tells the measurements, while the other selects the planks and makes the cuts.
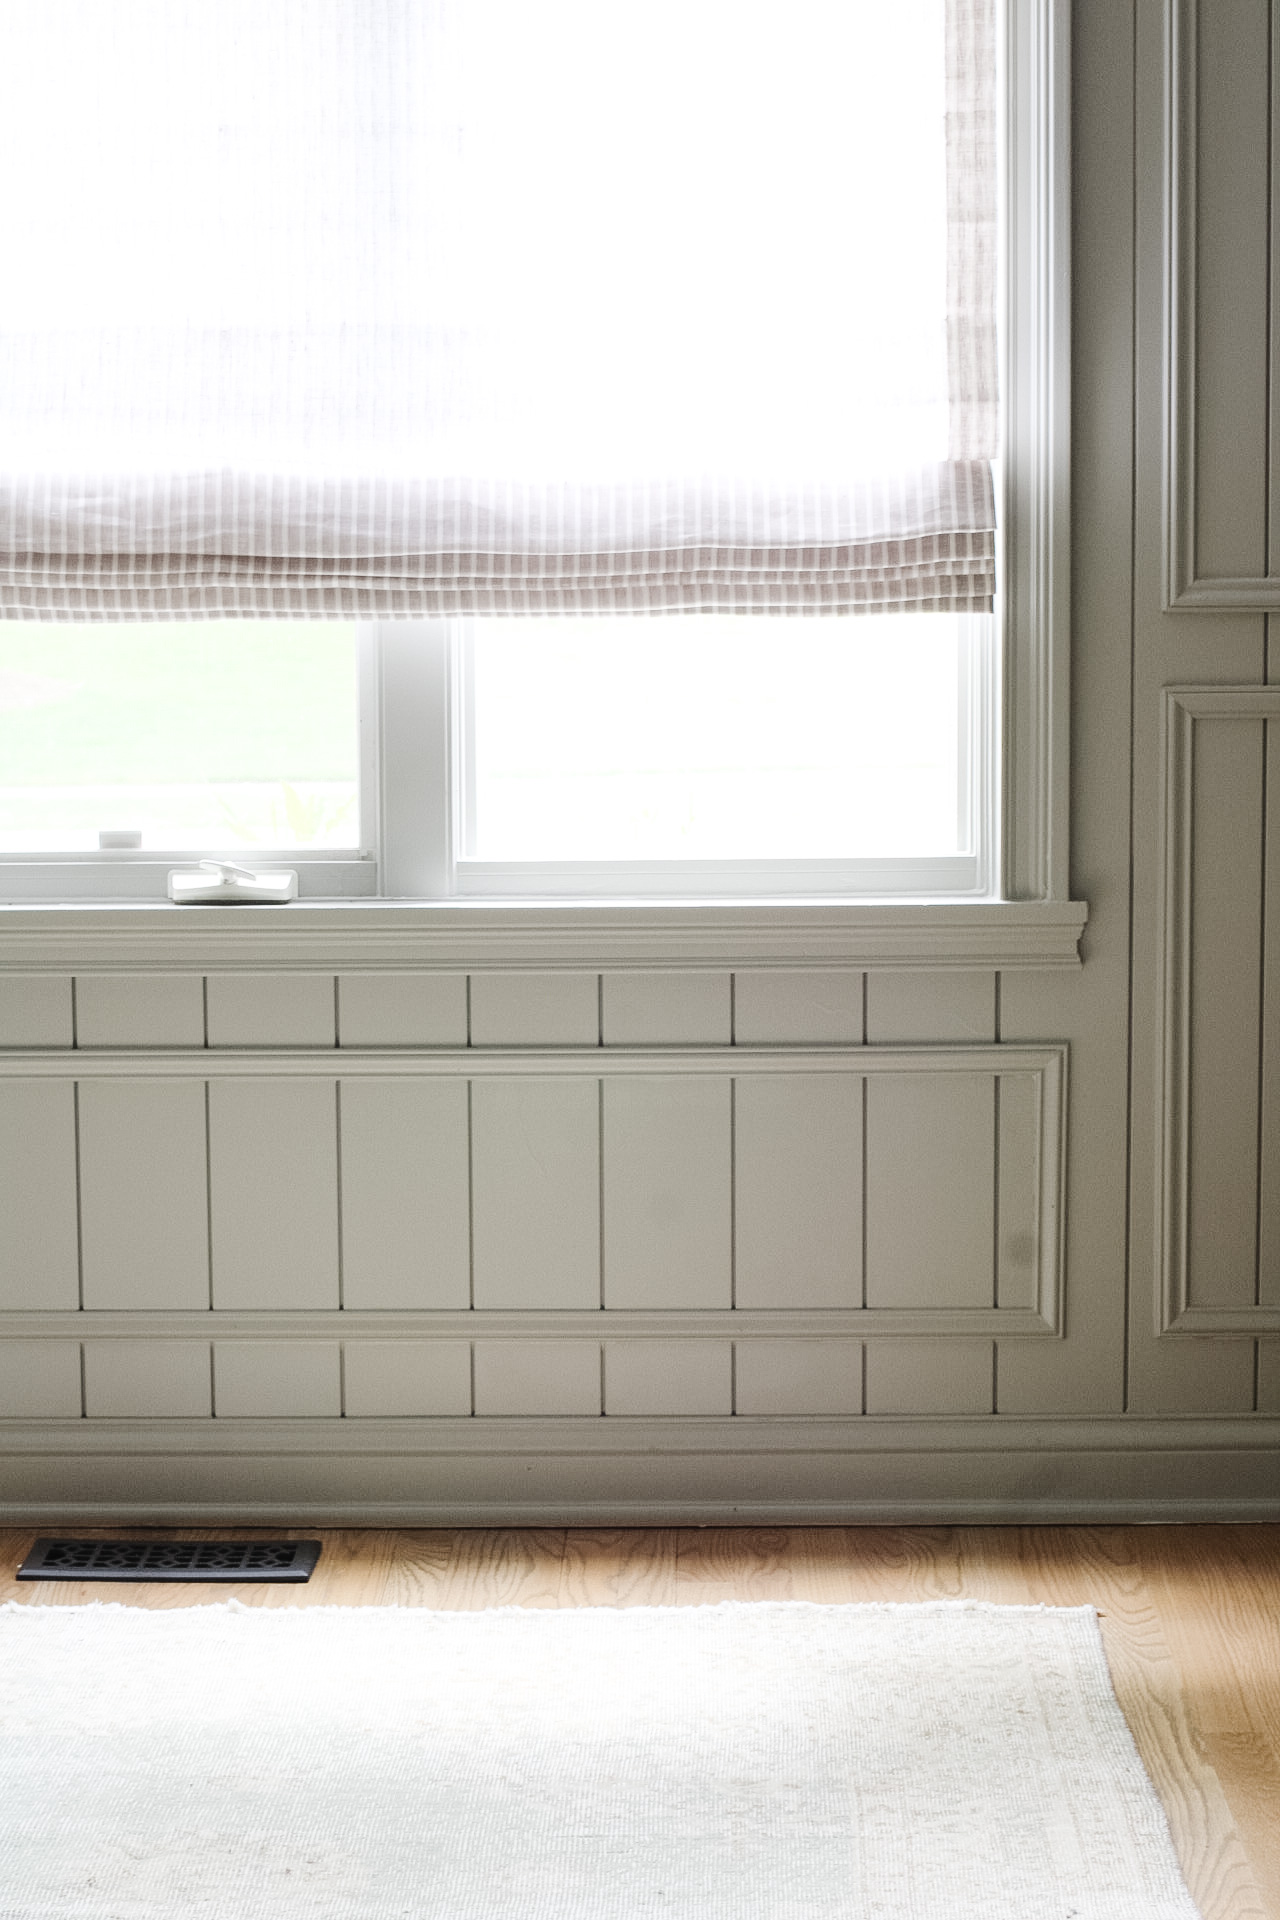
- If your doorway casing is too low to slide the flooring under, you can use a Dremel tool with the oscillating blade to trim. We used a scrap piece of flooring as a spacer under the blade to help set the height for the cut.
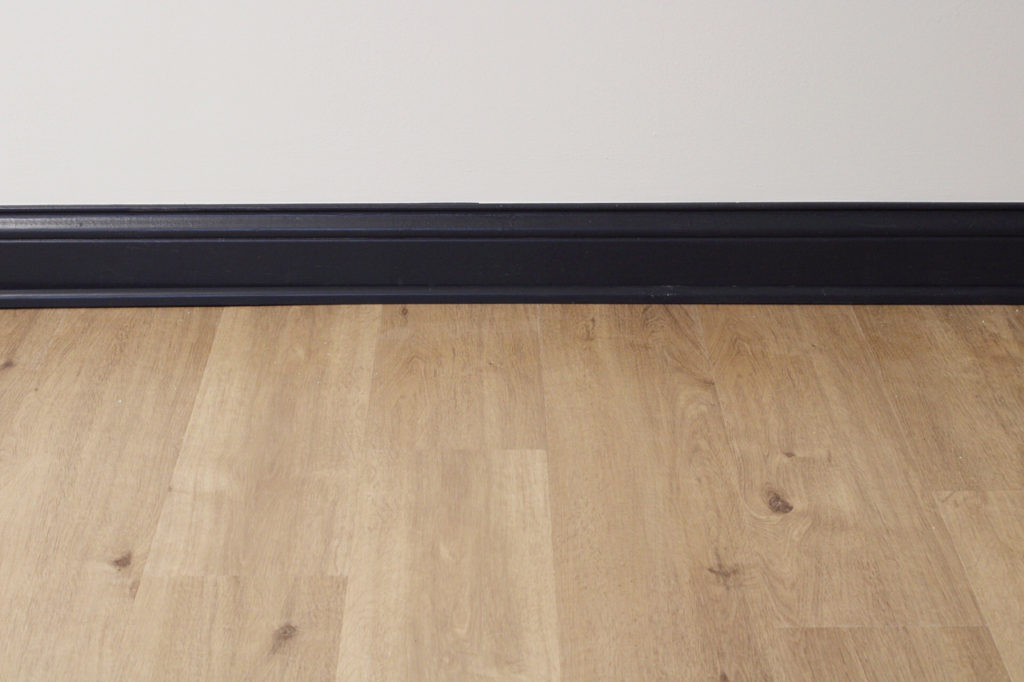
- You may not need to remove your baseboard to install the flooring. Hooray for one less thing to remove and install! Depending on what your previous flooring was, you may be able to install your planks right into the gap between the baseboard and subfloors. For us, this gap provided too much clearance, so we will install shoe molding to seal that up. This is consistent with the look of the rest of our home, so we would have likely done that regardless.