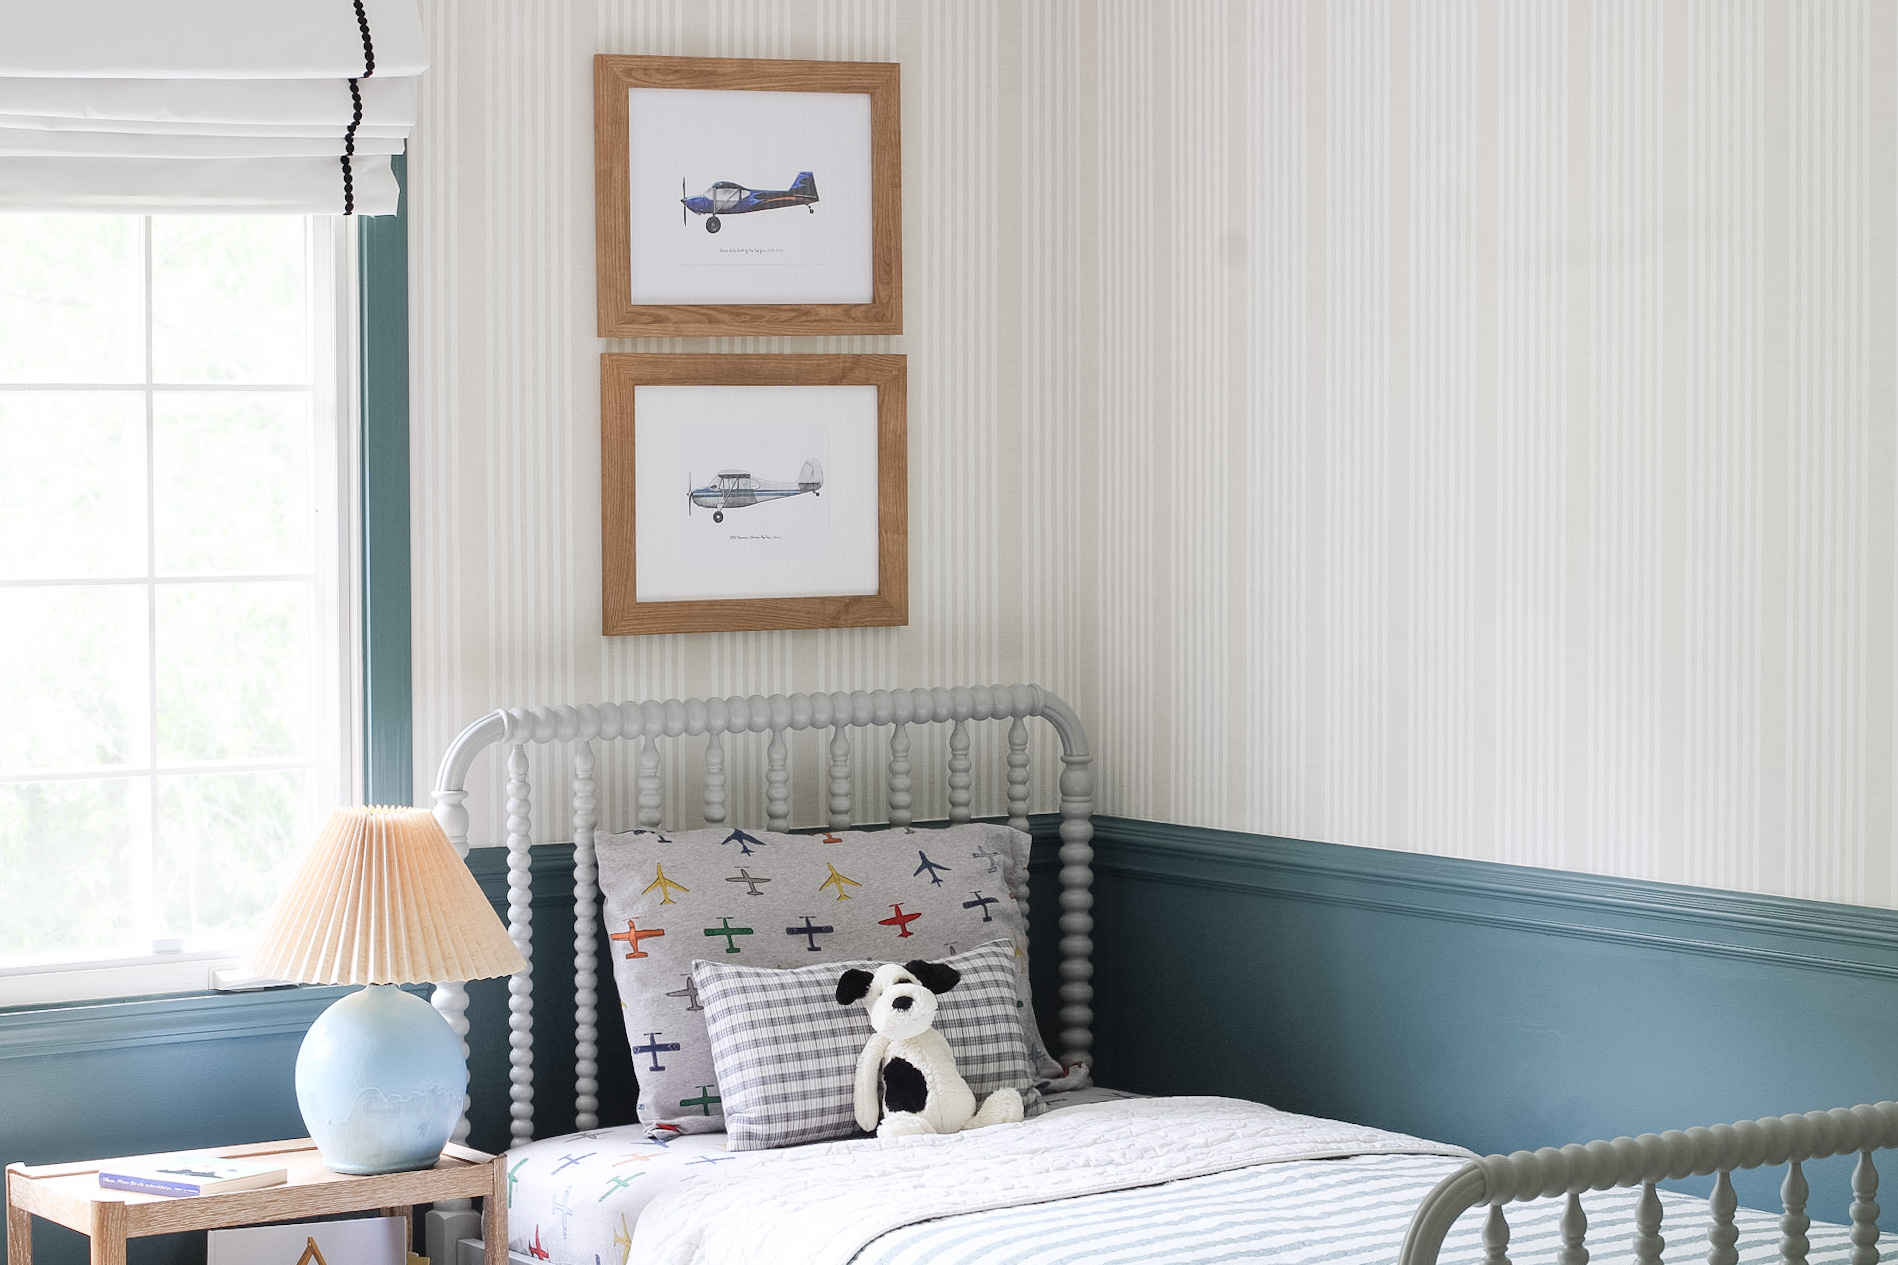
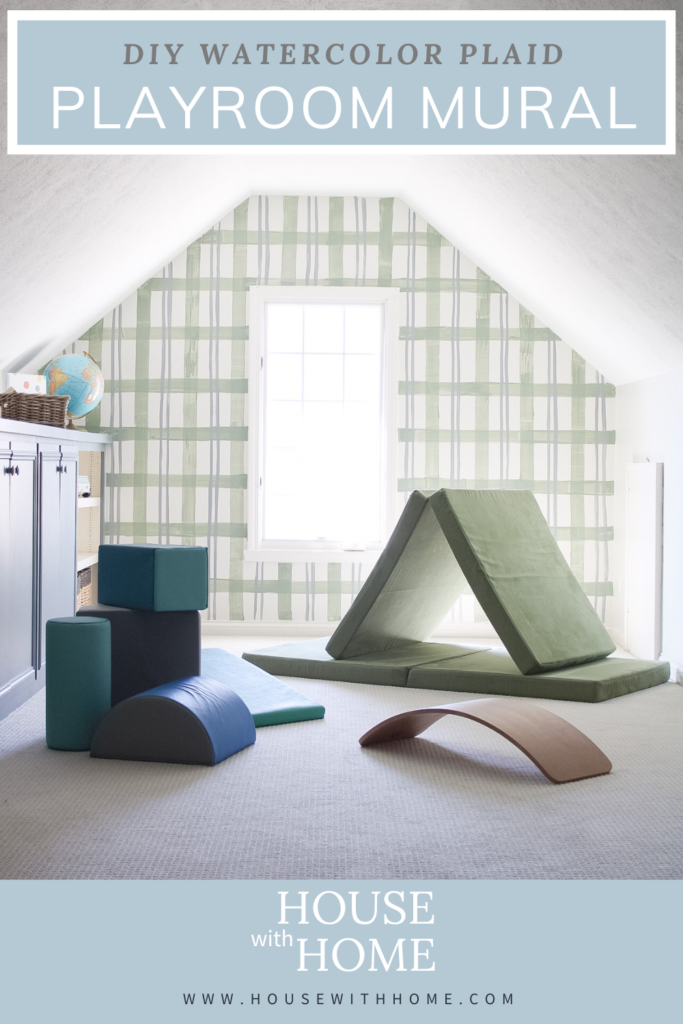
How to Create a DIY Playroom Mural
This projects is almost so easy, I feel silly writing a “how to” for it. It is worth noting that I got the idea to start this DIY playroom mural during my boy’s naptime, and started it that evening. It took me one post kid bedtime paint session (and audio book pairing) and then one naptime to do touch- ups. SO easy! I promise even the most creative or artistically challenged can manage this one!
Why Paint a Mural
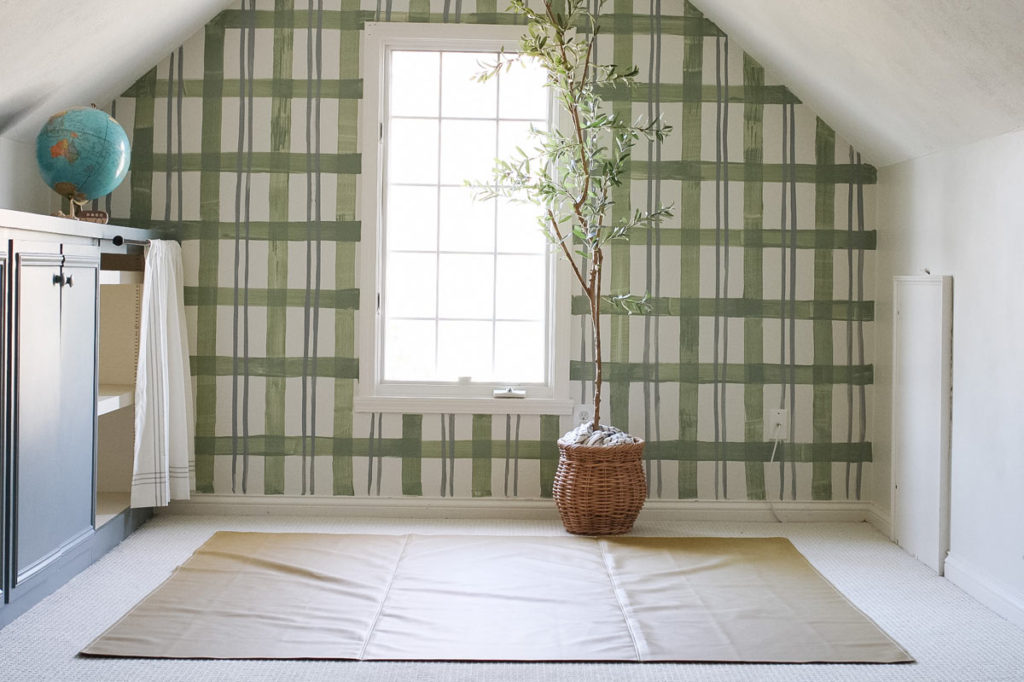
So, the real story is that I bought 7 wallpaper samples. Then I couldn’t make my mind up on which one I wanted. I couldn’t decide if I had the energy to scrape the textured ceiling and paper that too (because the ceiling NEEDS wallpaper, if I wallpaper). We are also considering adding dormers or skylights to this room in the next few years. Do I want to spend a lot of money on wallpaper that would get ruined/wasted if and hopefully when that happens? Then I became obsessed with finding the perfect playful watercolor plaid wallpaper, that doesn’t exist. Decision fatigue had set in, and in a creative fever I decided I would just paint it myself. Hoping that doing a small creative project would help stir up some inspiration for the room. Maybe I would love it and want to keep it (spoiler: I have left it for 2 years and love it). OR it would be minimal cost and time spent to make it look a little more fun until my real inspiration hits!
Supplies for the DIY Playroom Mural
In case you needed another reason to try this out, the best reason is you probably have all the supplies already in your garage!
- Paint samples or leftover paint or new paint if your fancy (I used Sherwin Williams Portsmouth & Sherwin Williams Jade Dragon)
- Foam Paint Brushes in varying widths
- Laser Level (optional, but helpful!)
How to Paint a DIY Playroom Mural
This process was mostly just freehand. I painted stripes
- I diluted the paint with water at a 1:2 ratio (paint to water).
- I measured out the distance vertically and horizontally on the wall for the first stripe, and marked them lightly with small tick marks using a pencil.
- I set up the laser level along the first mark, and then used it as a guide to paint the lines.
- I moved across the wall vertically and horizontally painting these stripes
- Repeat! I did this same process with varying colors, stripe widths, and distances until it looked good.
Hints:
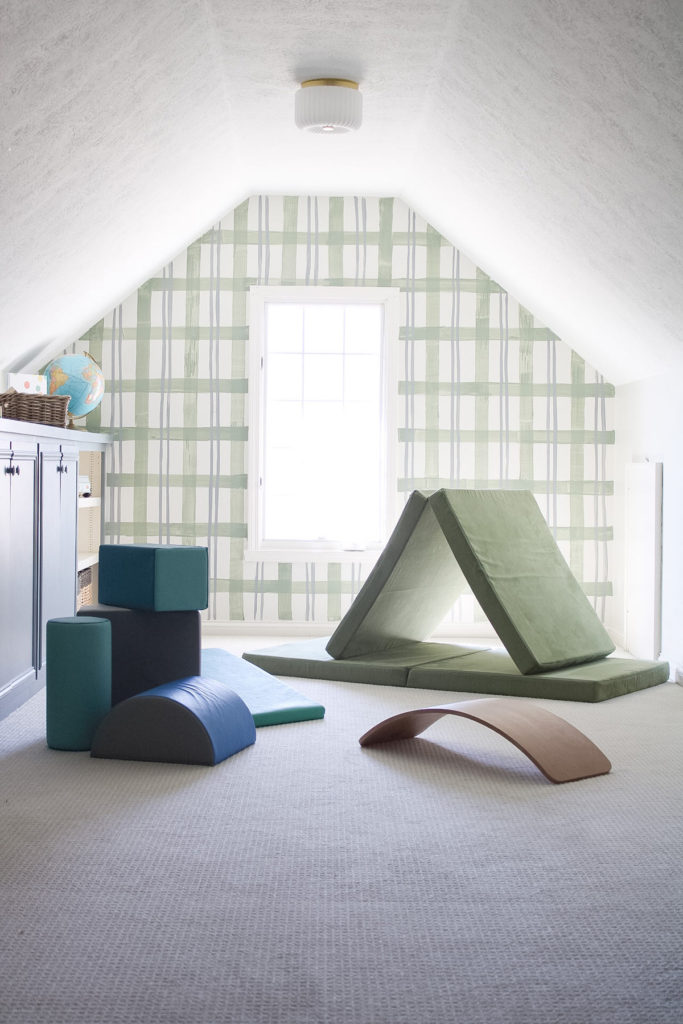
Don’t be intimidated by trying to get the lines perfectly straight or the paint consistent. For this look you want them wavy and to have varying transparency to give it the watercolor feel my mural has. Do whatever you want, its your mural! If you need it to be nice and orderly, I get that (that’s usually me).
It is important to know that this paint method might leave a bit of “texture” that will need sanded down before painting over it, as the latex wall paint leaves a slight depth where it is painted on.
If you have a window, be sure to close the blinds or cover it so you don’t shine your laser level out your window and into your neighbors.
I couldn’t find my tripod, so I sat the laser level on an increasing height of my son’s magnatiles. They are truly the most versatile toy we own!
Playroom Sources
This post contains product links that may contain affiliate links. When you use the link to make a purchase, I may make a small commission. This is not an additional cost for you, but helps me to produce this blog and content for you to enjoy. My full disclosure is here. Thank you!

More Children’s Room Inspiration
-
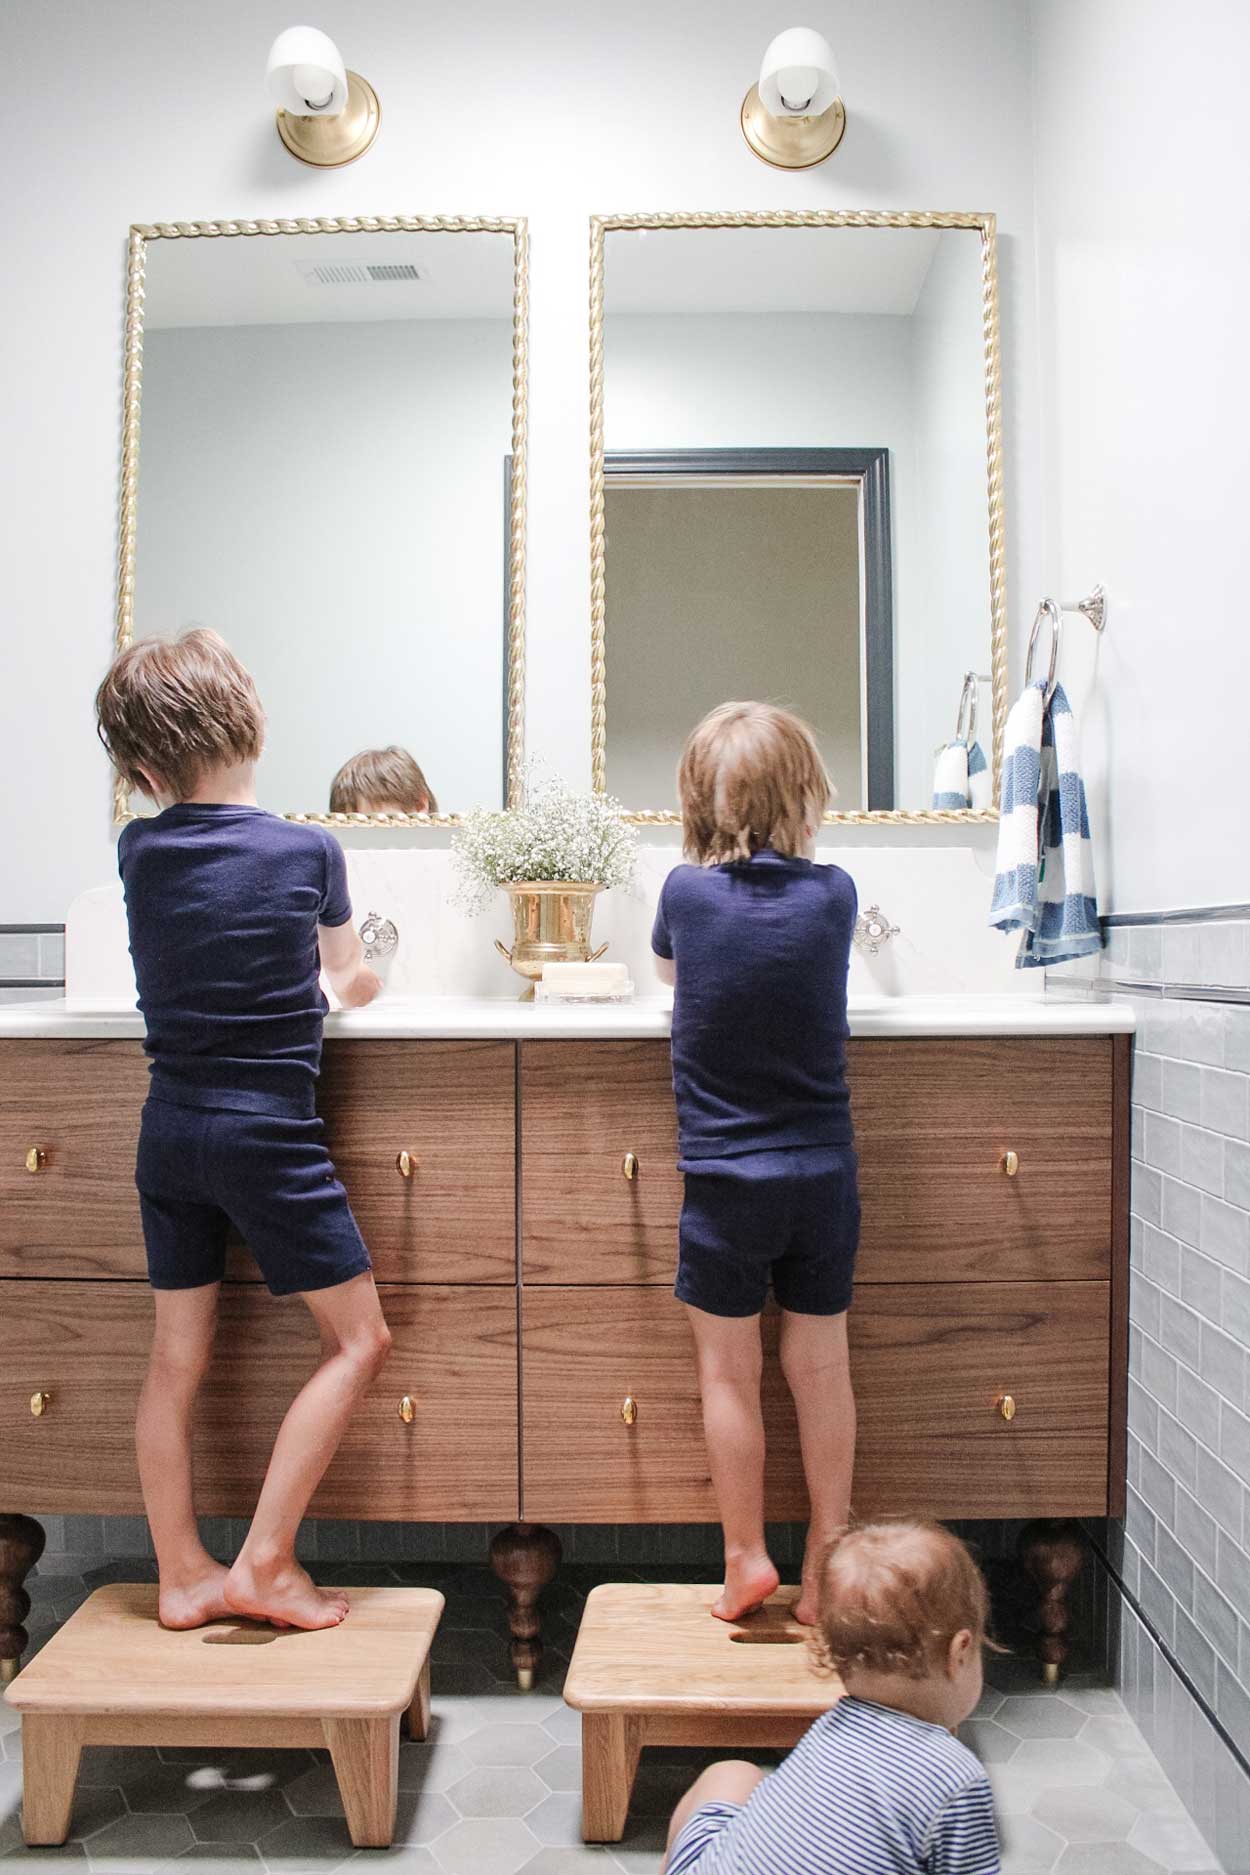
A Boys’ Bathroom Design to last from Toddler to Teen
After 4 years of not using this bathroom, and almost 5 months of renovating it, we finally have a functional, proper, boys’ bathroom! I can’t wait to share all the details, but I know you really just want the pictures! I talk a lot about the design direction and decisions I made in planning in…
-
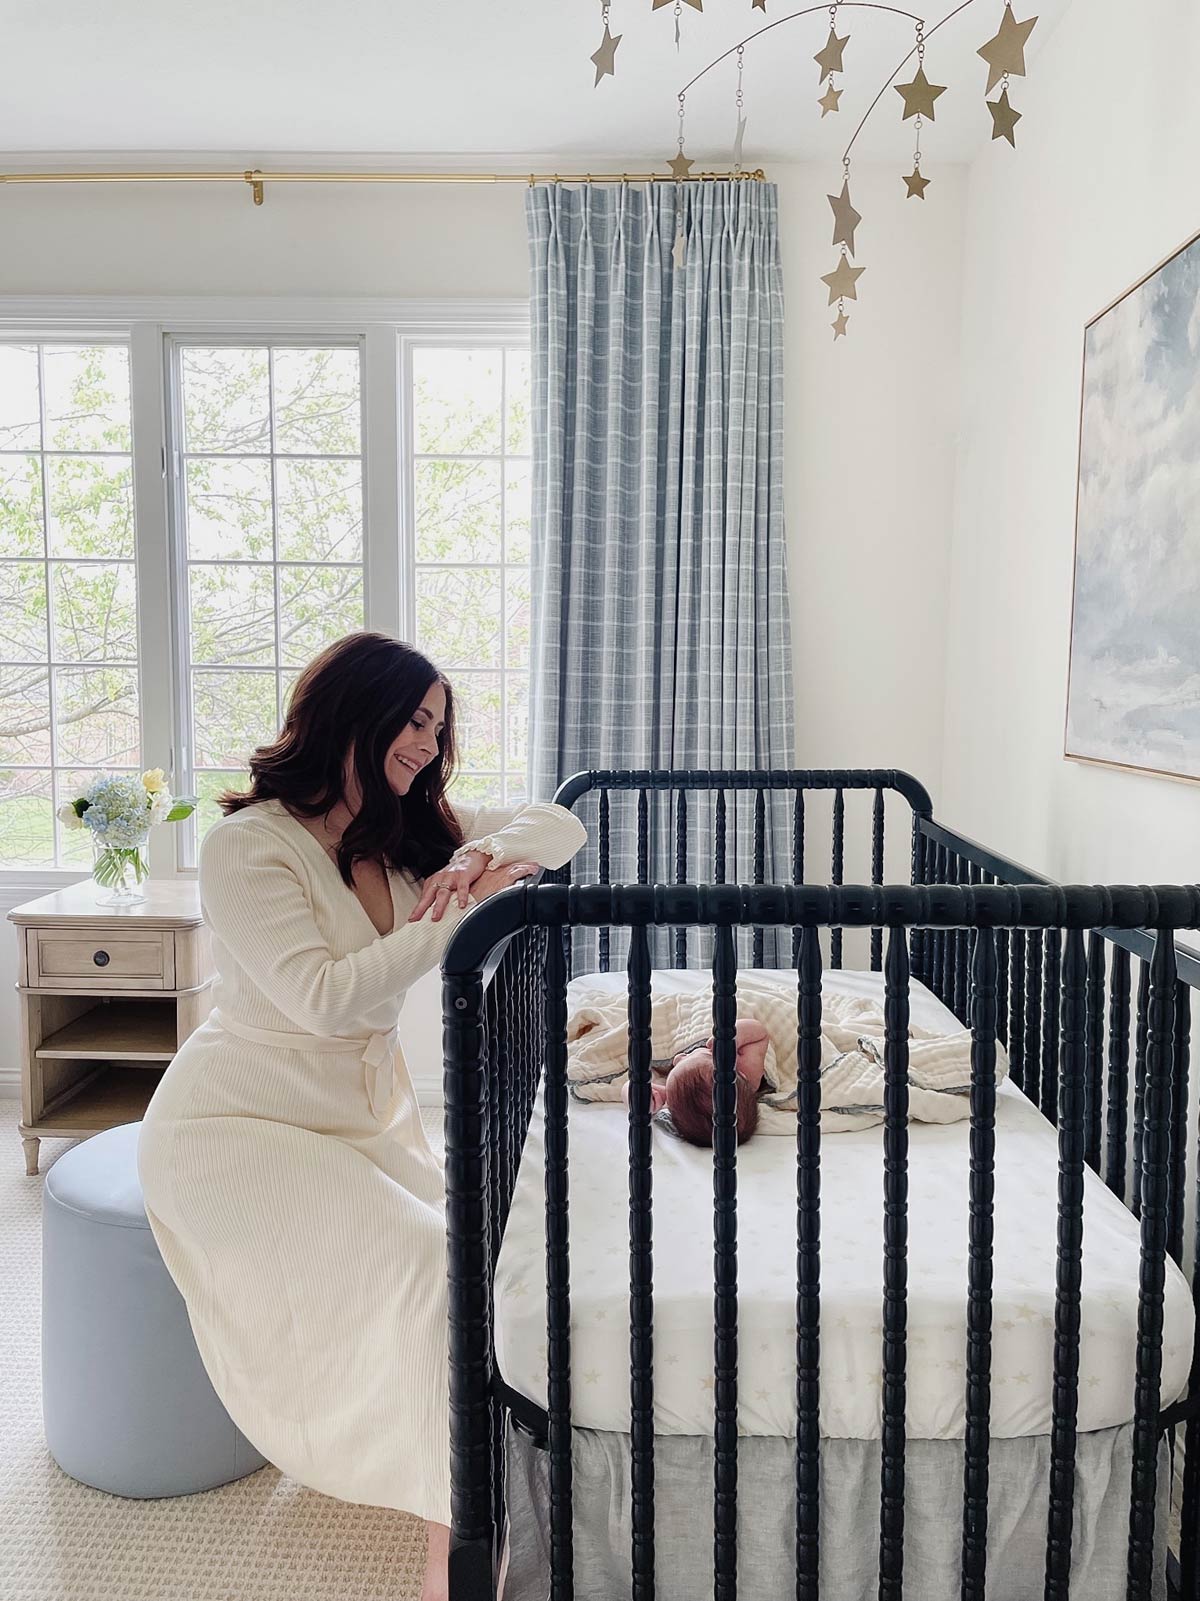
A Baby Blue Plaid Nursery
This baby blue plaid nursery is my most classic boy’s room design to date. It captures my love for a classic blue aesthetic more so than any room I’ve tackled yet. This room is for my 3rd son and will be the 5th little boy room I have designed for my little guys. Needless to…