Affordable Ways to Make Your Bathroom Tile Look Expensive

Tile is a big decision when planning a bathroom (or any other tiled room) as it significantly impacts budget, design, and function! Regardless of the price range or the square foot cost of the material (and professional installation) tile will take up a significant portion of your budget. Personally, I love to use an affordable tile and get creative with the details. This minimally increases the budget but makes the design feel elevated and classic. Here are some of my favorite affordable bathroom tile ideas that make a design look expensive without splurging on the more expensive tile!
This post may contain product links that may contain affiliate links. When you use the link to make a purchase, I may make a small commission. This is not an additional cost for you, but helps me to produce this blog and content for you to enjoy. My full disclosure is here. Thank you!
Consider how you want the tile to impact the space
When I am planning a bathroom design, I first design the floor plan, and then the tile design. It is also a really permanent finish that is a lot of effort to change. Getting the tile design right sets the tone for the rest of the rooms design. This is a big deal, because tile is one of the more permanent finishes, and often times a big part of the budget.
Tile is the best way to make a big impact or set the background for the space. Understanding how you want the tile to look will make impact on the overall design. But more importantly, how you want the tile to function should be a critical part of planning.
For example, a shower floor or wet area floor tile needs to be a smaller scale tile to increase the traction and prevent slipping. Considering the scale of your room is also important, as a large format tile can often overwhelm a space and feel clunky.
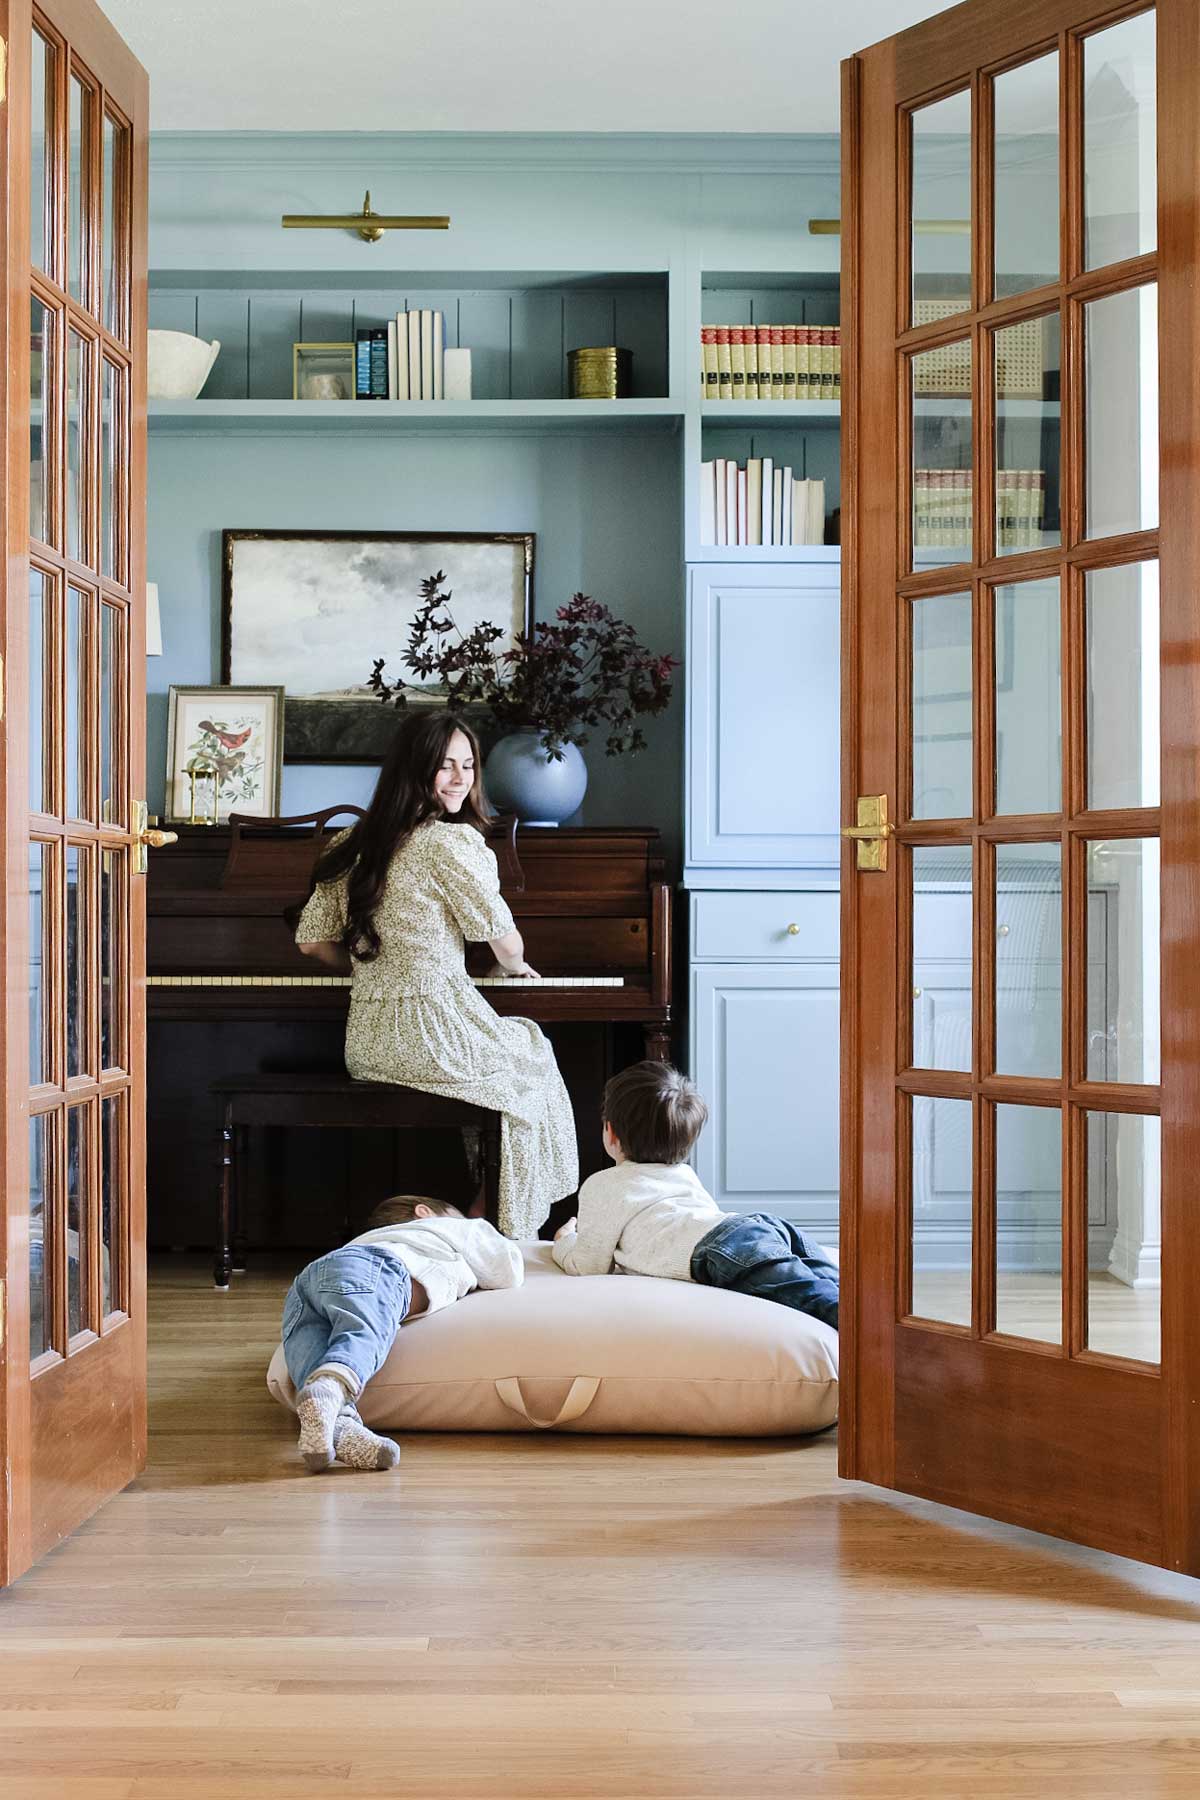
When I planned our boys’ bathroom makeover, a foundational decision was using a medium sized tile to minimize grout lines. As much as I love a classic mosaic tiles, this was not functional for this particular space. I also didn’t want large tiles for the floor, as this tends to make the room feel more modern. I also eliminated natural stone tile for the same reason, I wanted to minimize grout lines -mom’s of boys get this! This is how I settled on this handmade look hex tile with a significant amount of variation in texture and color.

Grout is as important as tile
Choosing your grout color and width are really important parts of the overall design. I think about this during the design phase, talk it through or specify on plans my intent for grout with the installer, and even recommend creating mock ups of the tile with various grout samples to get a good idea of the finish.
Do you want the grout lines to become a focal point? Then use a high contrast between the tile and grout color. Or using a grout color that is similar in color and to the tile allows the overall tiles area to to highlight the texture difference between the tile material and the grout. For floor tiles, I like both medium contrast options or the the tonal approach. For subway wall tile, I almost always prefer low or no contrast between the tile and the grout color. I think this gives the most upscale look that will remain timeless.
I also prefer the smallest grout line possible for the tile and application. Smaller grout widths minimizes the contrast between the tile and grout and also reduces the are that can trap dirt.

Continue the tile on the Walls
Personally, my first choice for shower walls, tub surrounds, and backsplashes is a classic subway tile. I love it in all variations from a simple white ceramic to a colored glazed handmade tile.
I also love continuing the tile around and entire rooms. This adds a lot of architectural detail and visual interest to small bathrooms. In kitchens, a tiled wall makes the space feel utilitarian and provides interest and texture to the walls. I especially love tiled kitchen walls in a white kitchen, where the texture can add a layer to keep it from feeling too stark white. It is also a really good option in a kid’s bathroom as the tile protects the walls from moisture and is really easy to wipe clean. It is a great option for making a bathroom design feel special.

Use a Decorative trim to Add Detail
One of my favorite ways to elevate the overall tile design is to use a “jolly” or pencil trim to create a trim detail in the wall tile design. This helps to break up the wall and provide a simple detail that adds interest and even a small amount of contrast. This is extremely affordable, as the special tile detail is minimal in added material cost.
This can also be done in the floor tile by adding a contrasting tile border around the perimeter of the room. Just like with the wall tile, this special attention to detail helps give the finished bathroom a high-end look with minimal upcharge in material cost.

Set tile in an interesting way
Varying the way your tile is set is another simple way to great visual interest using a basic and affordable tile. Sticking with a classic pattern like a herringbone pattern or brick set create a classic foundation and are both an excellent choice for a timeless look. For my boys’ bathroom project, I rotated the tile and set it in a vertical orientation called a “soldier row” to add some variation to the design. I love how it provides an almost architectural element to the space, similar to a baseboard. I also love having a soldier row create the base row in a kitchen backsplash.

Another option that I want to incorporate into a future design, is using a variation of different colors in the same tile to provide a classic pattern. I have been saving a lot of inspiration recently using a colored tile along the border between the floor tile and the wall tile. This a great way to bring in some color while using an affordable white subway tile for the remainder of the space.
I also love the idea of mixing two colors of the same tile in a checkerboard pattern. This can be done in a timeless way that adds a lot of interest to a basic tile. It adds a pattern to your space with out having to spend for a patterned and more expensive tile.
I also love a small hex or penny tile laid out with an interesting pattern. This is still so classic in it’s roots, but allows for a lot of creativity in the colors and design. These tiles are generally more affordable for the material. However, the install of an intricate pattern may increase your installation cost.
Consider your thresholds and transitions
The small details like the transition from tile wall to drywall and the thresholds into a room are what make a room feel intentionally designed and finished. This is an important part of the overall design. Planning this out ahead of time will help you order the material you need and ensure the installer has a clear plan for making this happen.
Where we can make it work, I prefer to do the work to get the flooring transition level between the tile and the adjacent room’ or hallway flooring’s flooring. I prefer the threshold to be in the same material as on of the floors. For example, if the combination is a tile bathroom and a wood flooring, a wood threshold set flush is preferred.

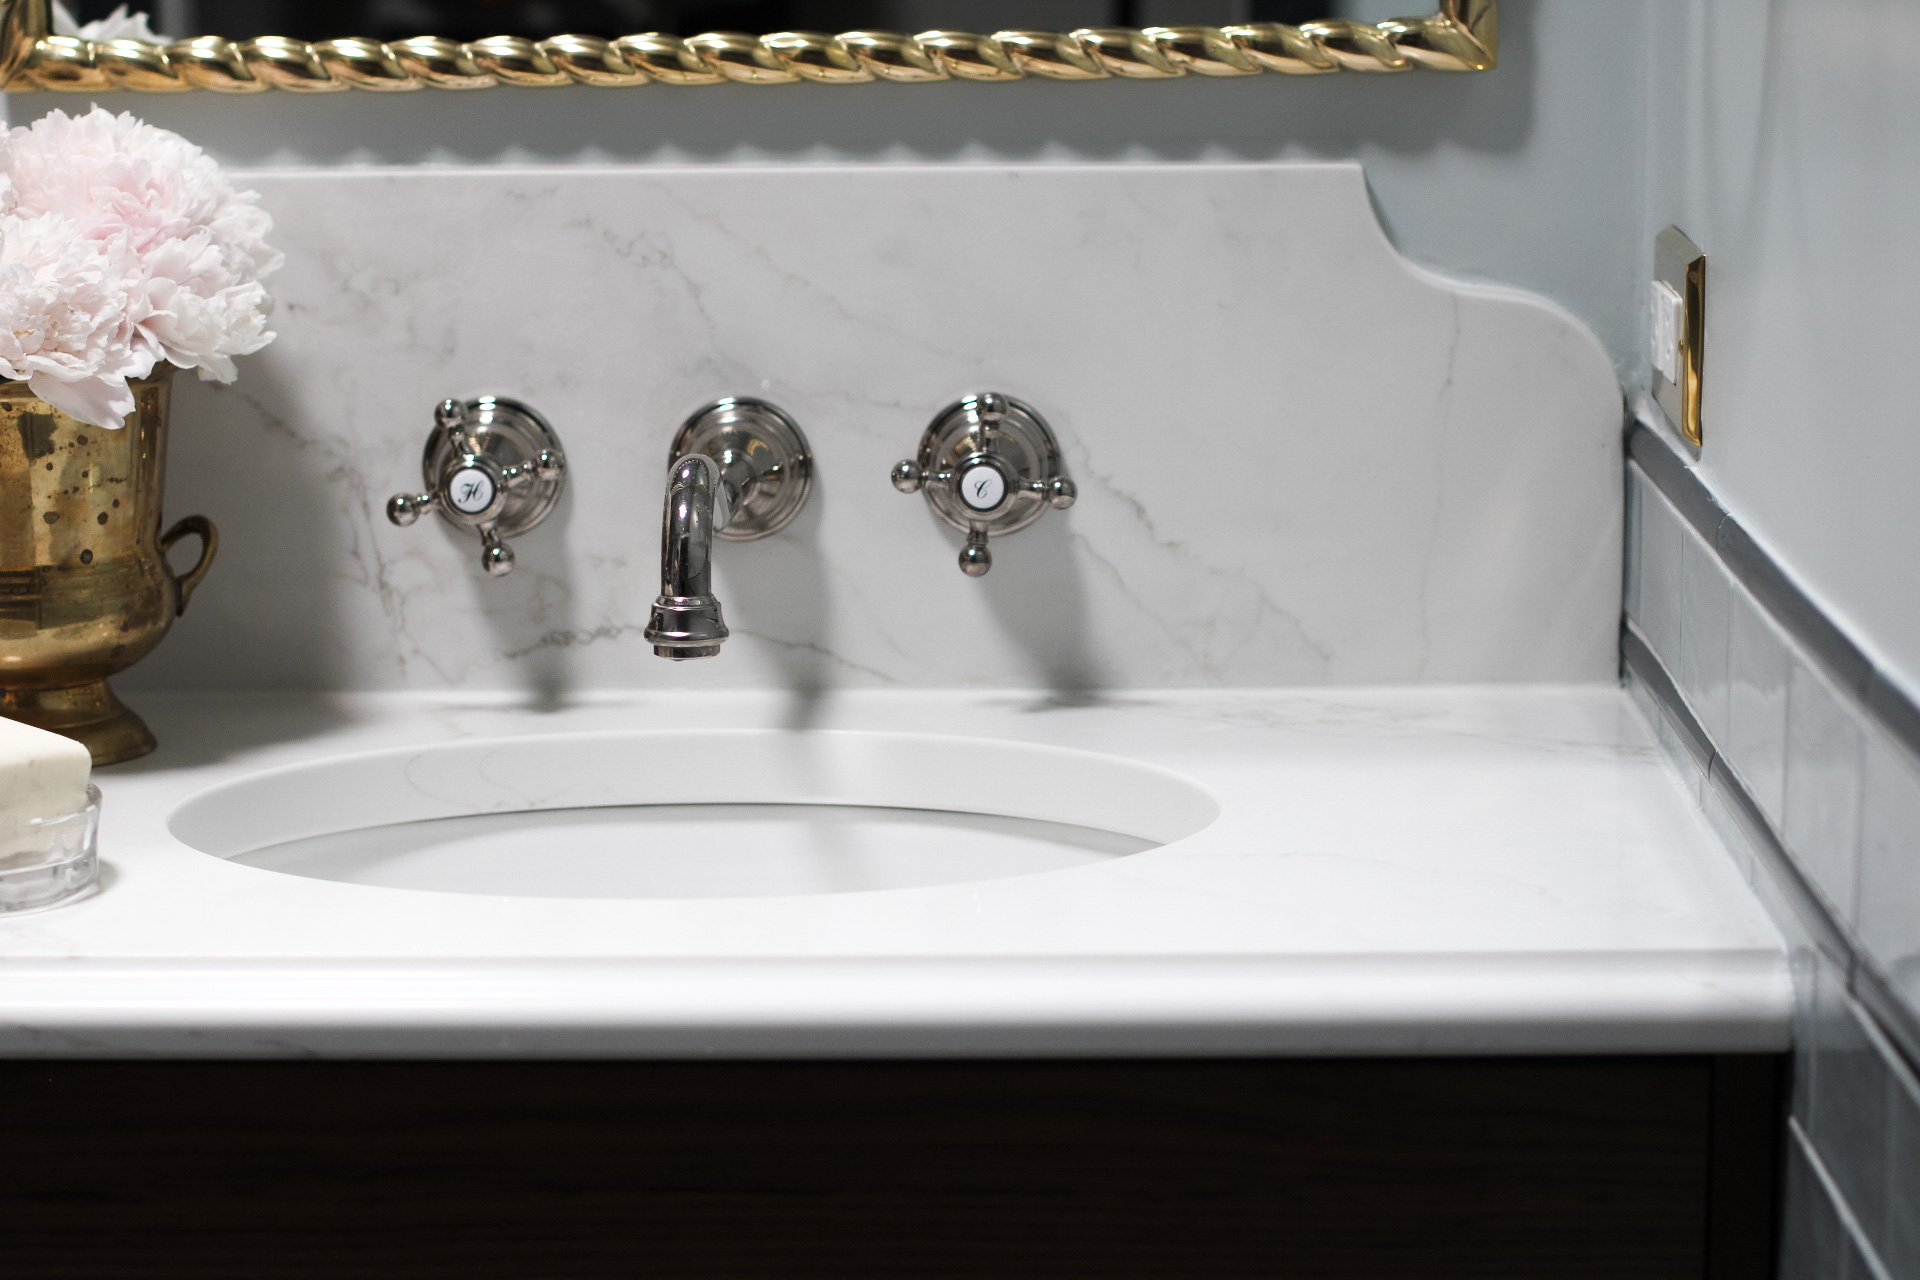
Ideally, all tile terminate without using a metal schluter piece. This is personal preference, but creates a classic finish that isn’t disrupted by introducing another material. I prefer using a tile shape like a bullnose or a pencil that matches the same type tile being used on the walls. The alternative to this is having the countertop material (real stone or quartz) cut and milled to be installed as the border tile. I did something similar in the Boy’s bathroom with quartz to provide a clean and timeless transition in the shower niche.

Create and Communicate A Plan
One of the best ways to make any type of tile look more expensive is to have a detailed design and material plan and team of tradesman dedicated to communication and executing the design as intended. The installation can be the most important part of making a simple tile feel more elevated.
First, do not skimp on a budget tile installer. Having someone who is able to plan the tile layout and cuts and discuss this in a pre-install meeting with you will set your space up for the most beautiful outcome. This requires someone with experience and attention to detail.
Secondly, do your work planning and providing adequate communication of this plan to your installer. Besides the details discussed above (thresholds, edges, pattern and grout), it is important all design details are specified.
- how it will wrap corners (miters, etc)
- if you want a partial row at the top or bottom of a wall,
- where do you want a tile pattern centerline (this is important for lighting, mirrors, wall fixtures),
- do you need to mix boxes of tile so the finish is random in case there is variation in glaze from box to box,
Boys’ Bathroom Sources
- Wall Paint Color: Farrow & Ball No. 205 Skylight mixed in Valspar Paint, Satin
- Door Paint Color: Sherwin Williams Limewash
- Quartz Countertops – Vadara Quartz Sterling Light
- Ikea Godmorgon Vanity (this is a different size than mine. It was discontinued in the size 55 1/8″ size I used)
- Walnut Vanity Fronts
- Wall Faucets
- Undermount Sinks
- Vanity Legs
- Mirrors
- Vanity Lights
- Drawer Hardware
- Pocket Door Hardware ( unlacquered brass)
- Towel Ring (polished nickel)
- Towels: Blue Stripe, Plaid
- Floor Tile
- Wall Tile: Blue Subway, Midnight Blue Pencil Trim Tile
- Offset Drain for Sink Plumbing
- Shower (polished nickel)
- Shower Curtain Rod (polished nickel)
- Shower Curtain
- Bath Mat
- Art
- Toilet Paper Holder (polished nickel)
- Toilet + Polished Nickel Lever
- Peg Rail ( I stained these dark walnut + clear coat sealed them)
- LIttle Kid’s Bathrobes