Before & After: Shiplap Bathroom
This bathroom was great for parties. Meaning, every single time we had people over, they would come out of the bathroom talking about the space. Not in a good way. It needed taken from wallpaper nightmare to a cozy shiplap bathroom.
Main Bathroom Before
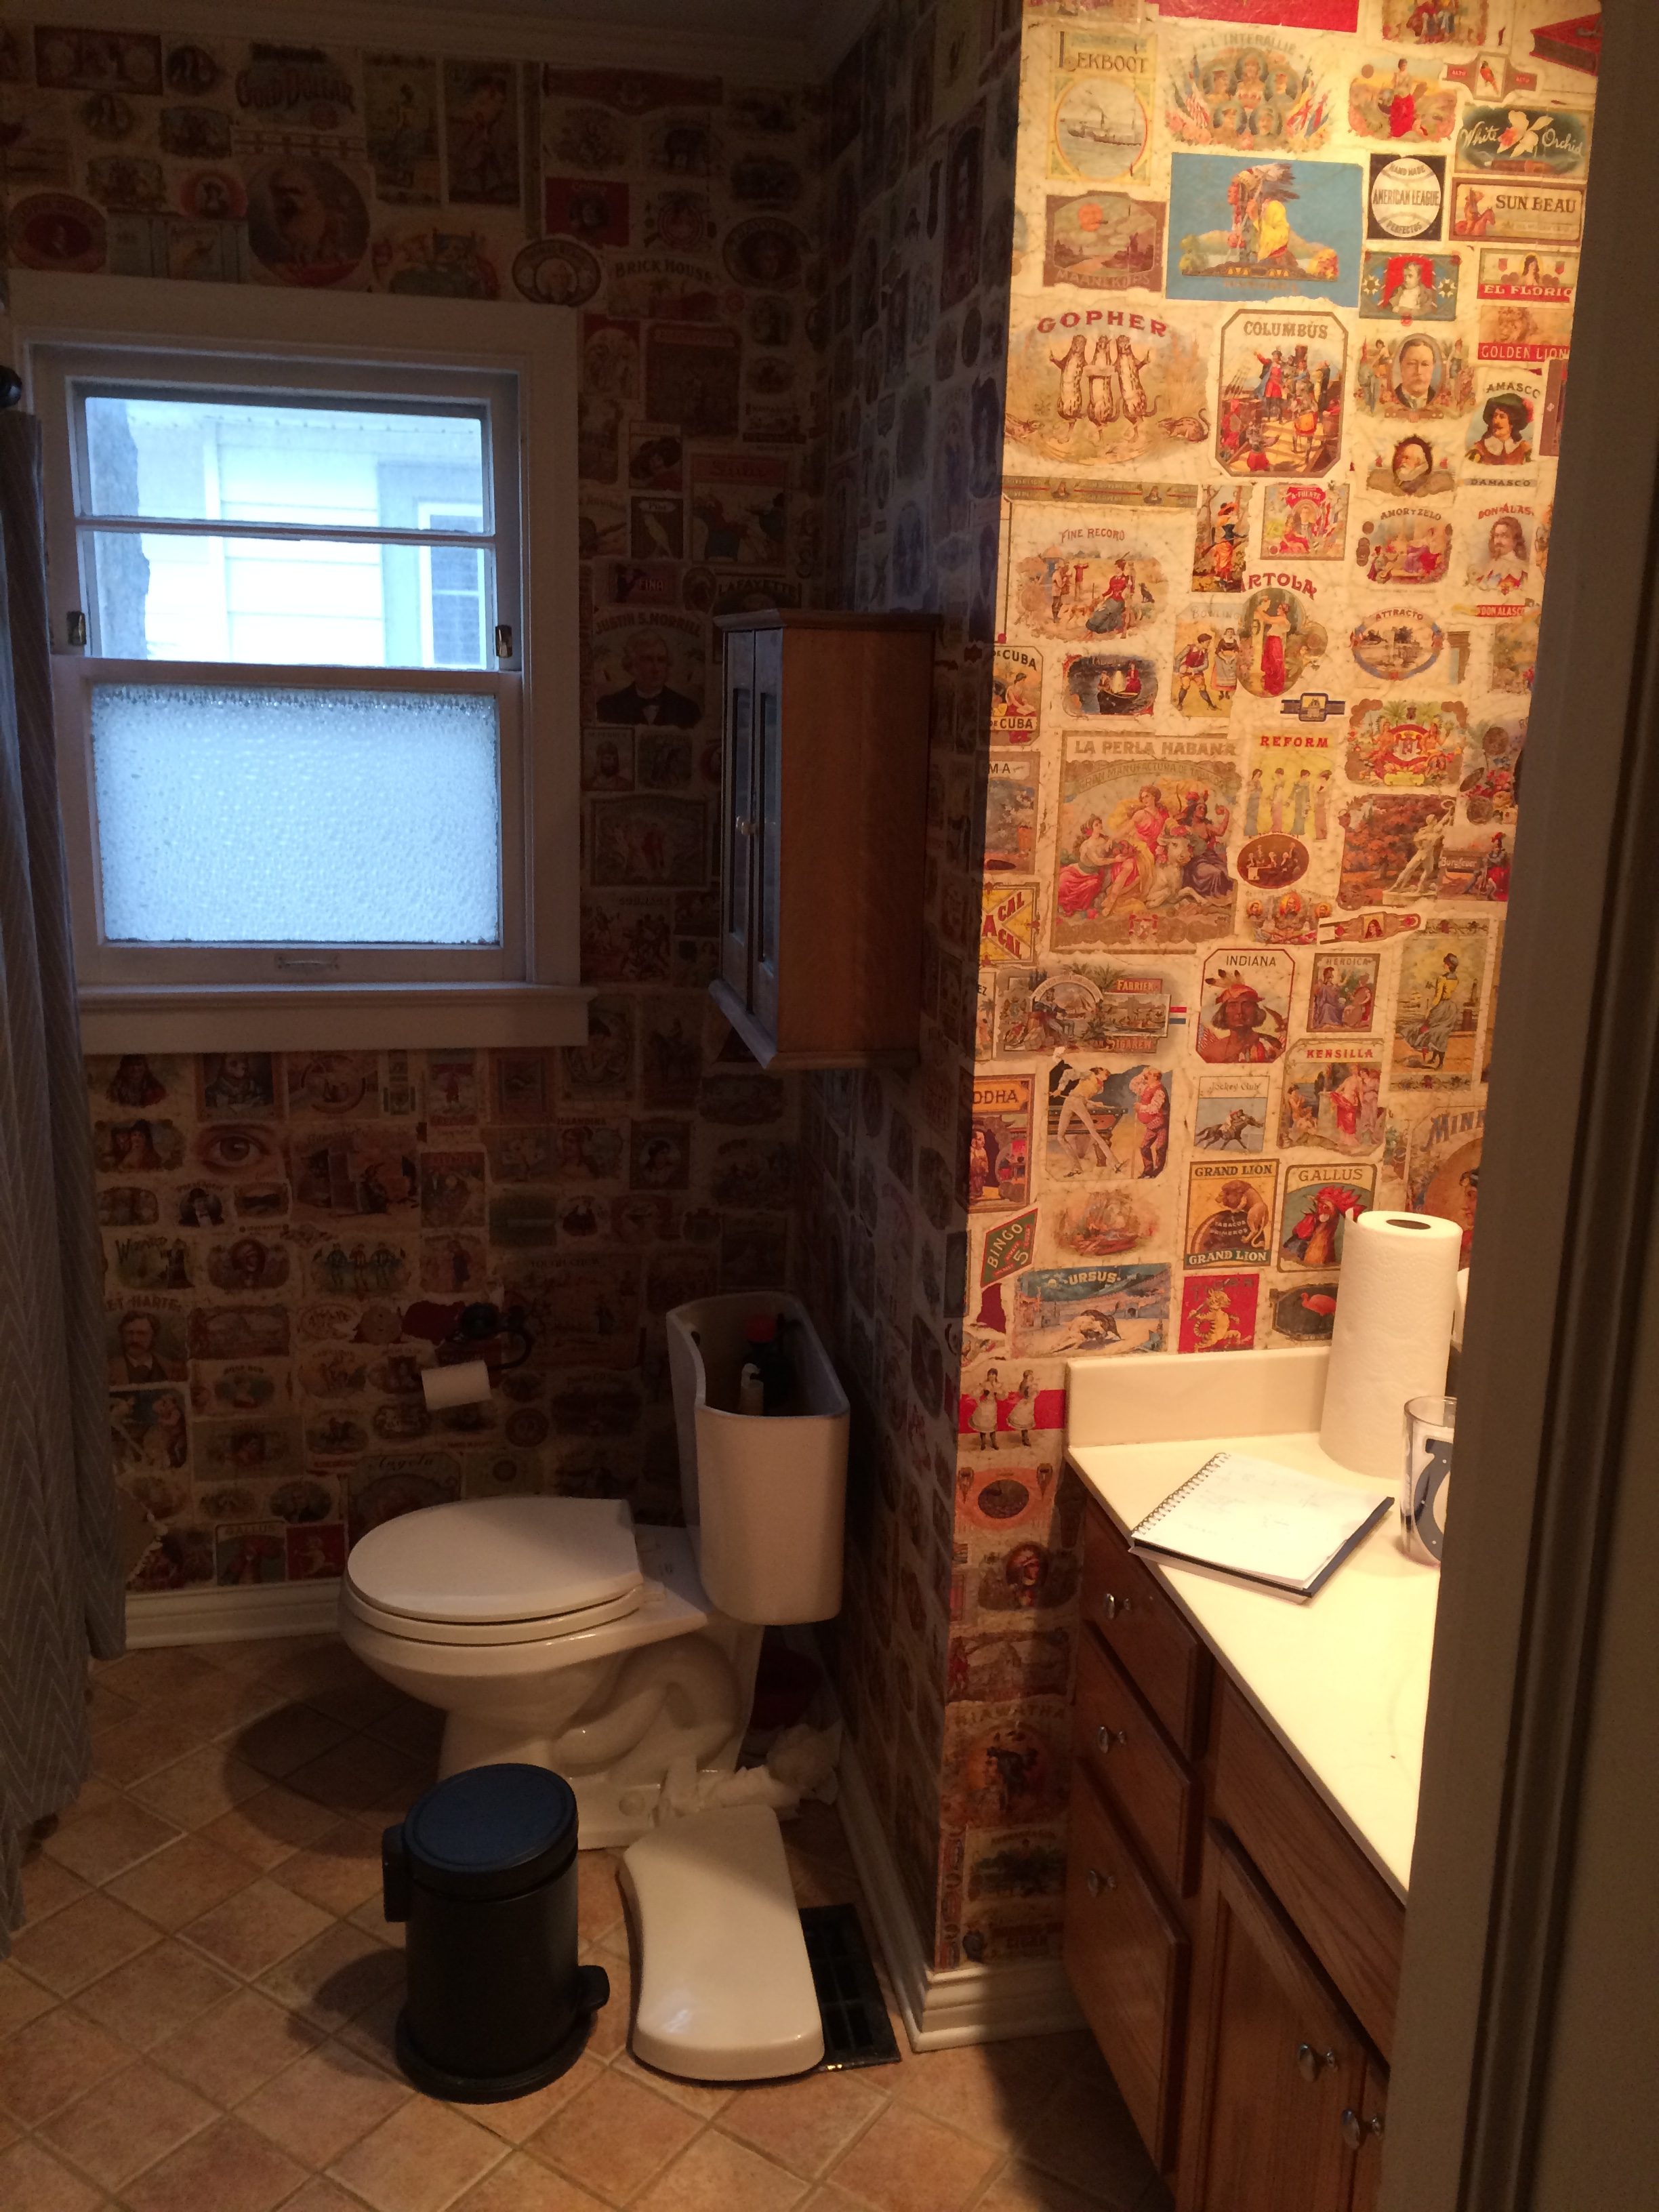
The walls had been “decoupaged” with cigar box wrappers, many of which were embarrassingly offensive. I sometimes felt a need to just put a sign in there with a disclaimer “The thoughts and images displayed on these walls are not reflected by the homeowners”. But instead, we just chose to laugh with our guests who (mostly) thought it was funny. This room was so bad that I refused to even take pictures of it. This one taken when we started demo is the only memory we have, thankfully.
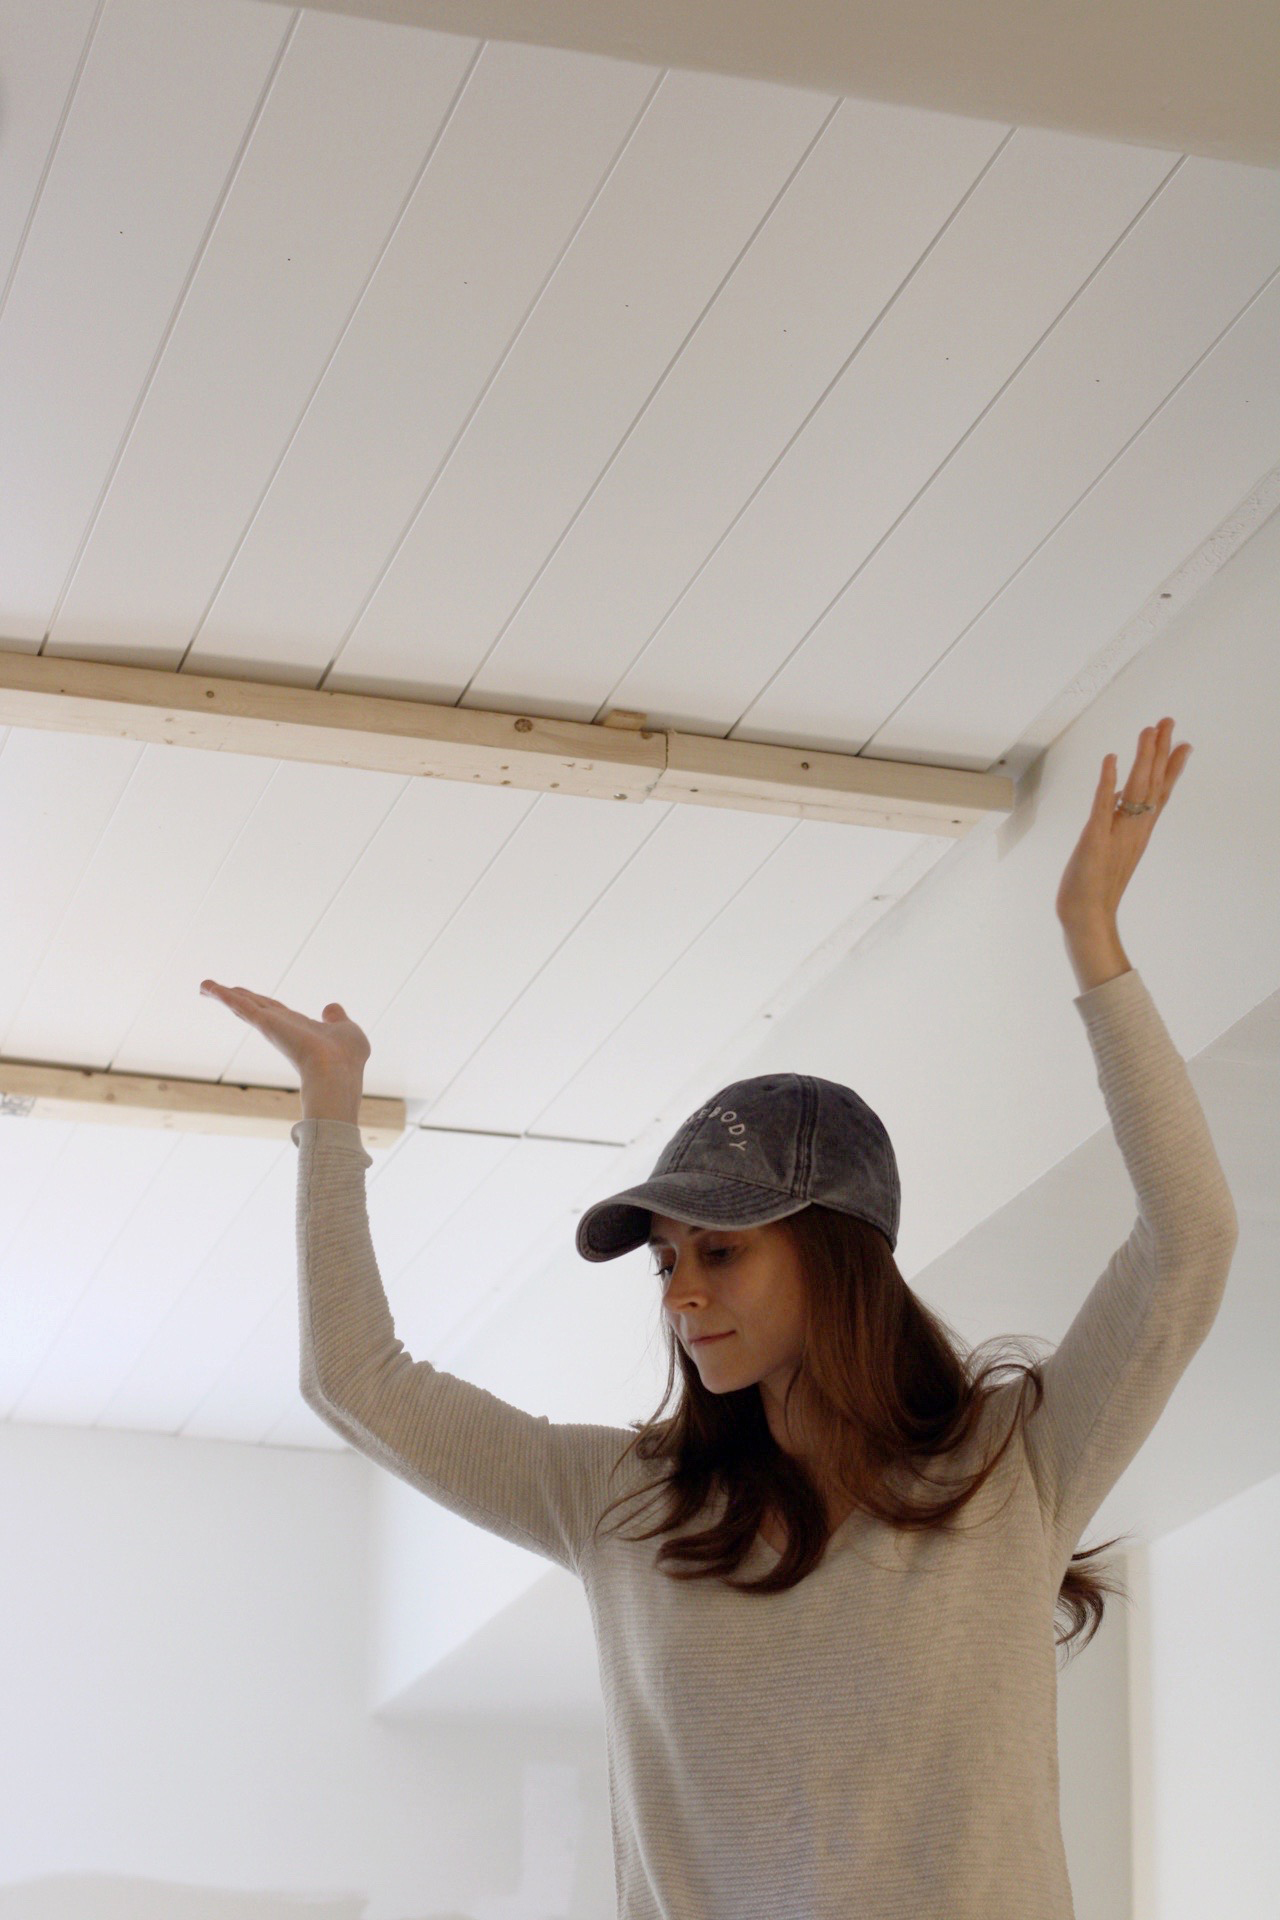
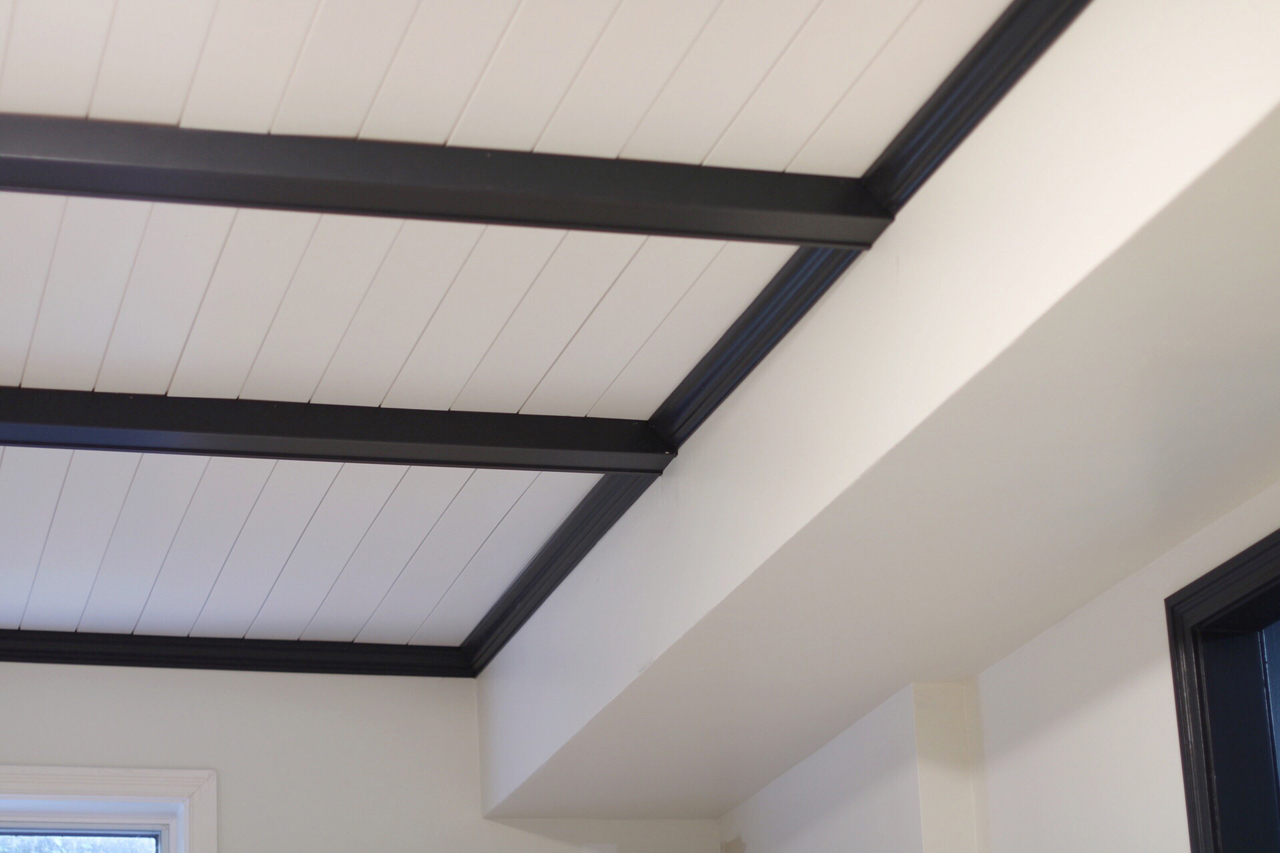
As if wallpaper removal wasn’t a nightmare, try plaster walls with glued on hodge – podge wallpaper finished with a decorative brown glaze. The best solution was a faux- shiplap wall covering to conceal the wall paper. I first painted the walls first, Valspar “rope” then we covered them with 5mm poplar plywood cut down into 6″ strips. Each strip was sanded, nailed to the existing wall using a compressor nail-gun, then each nail hole was puttied with wood filler and sanded down. Once installed, I did a final coat of paint.
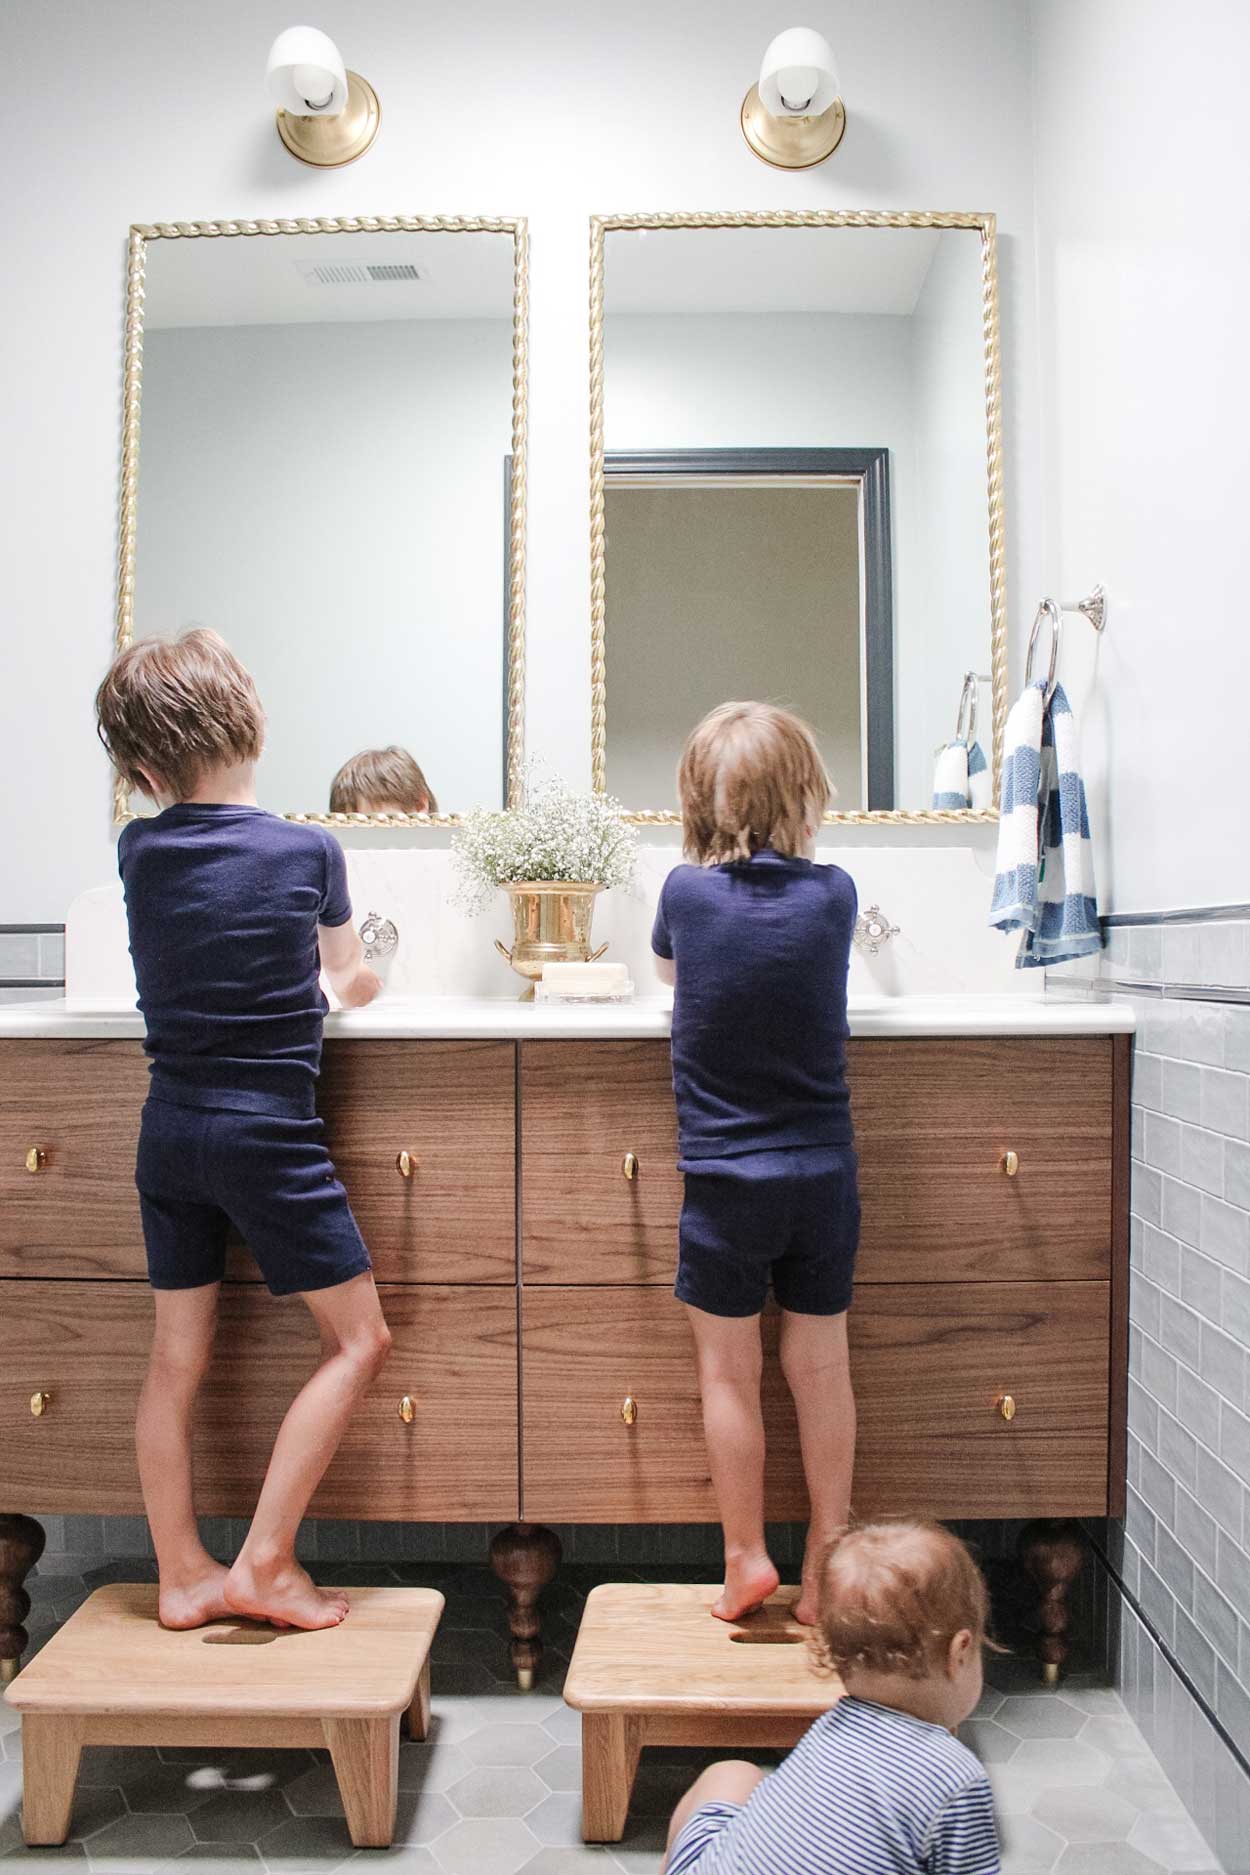
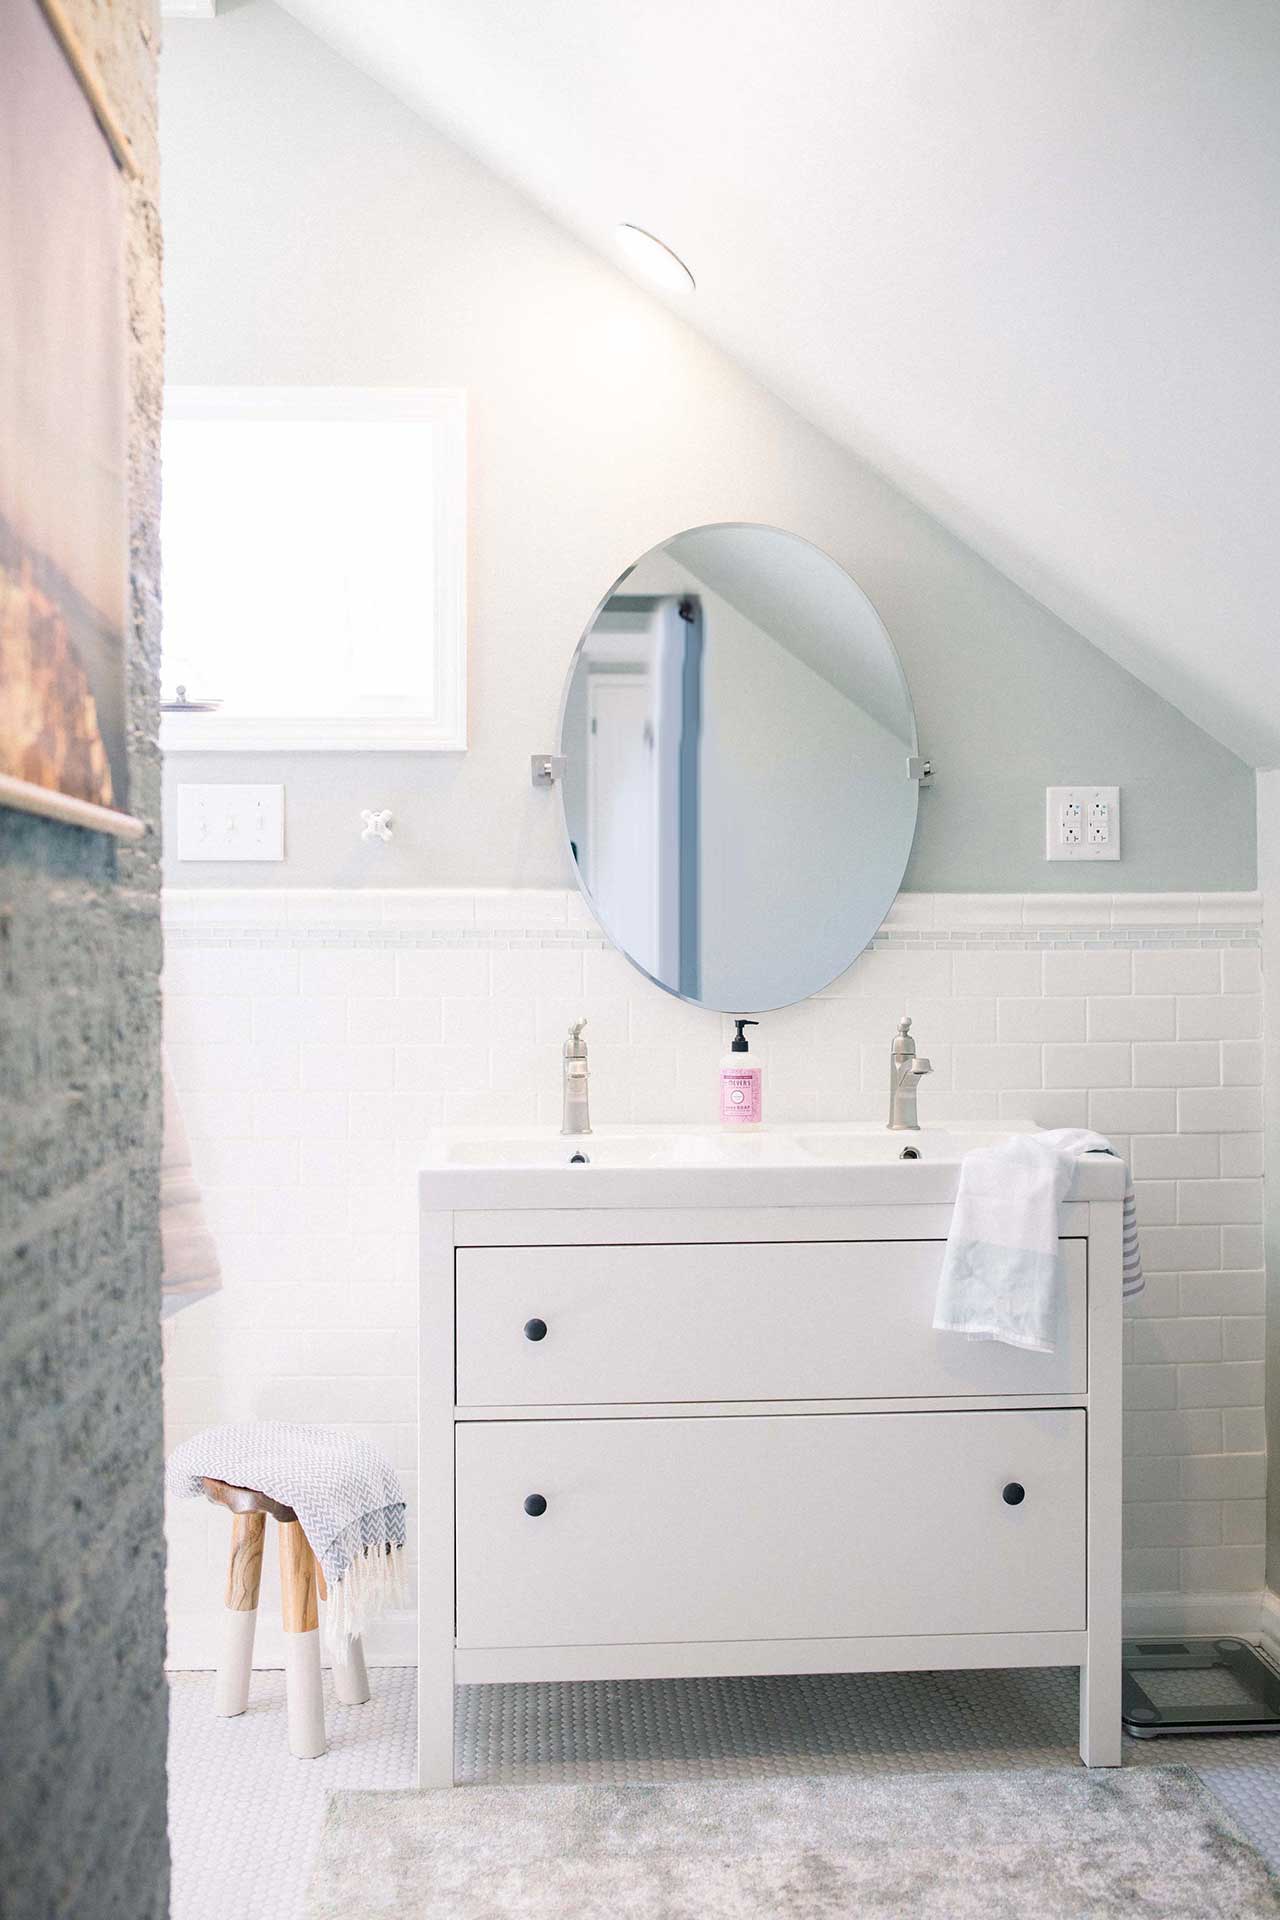
Main Bathroom After
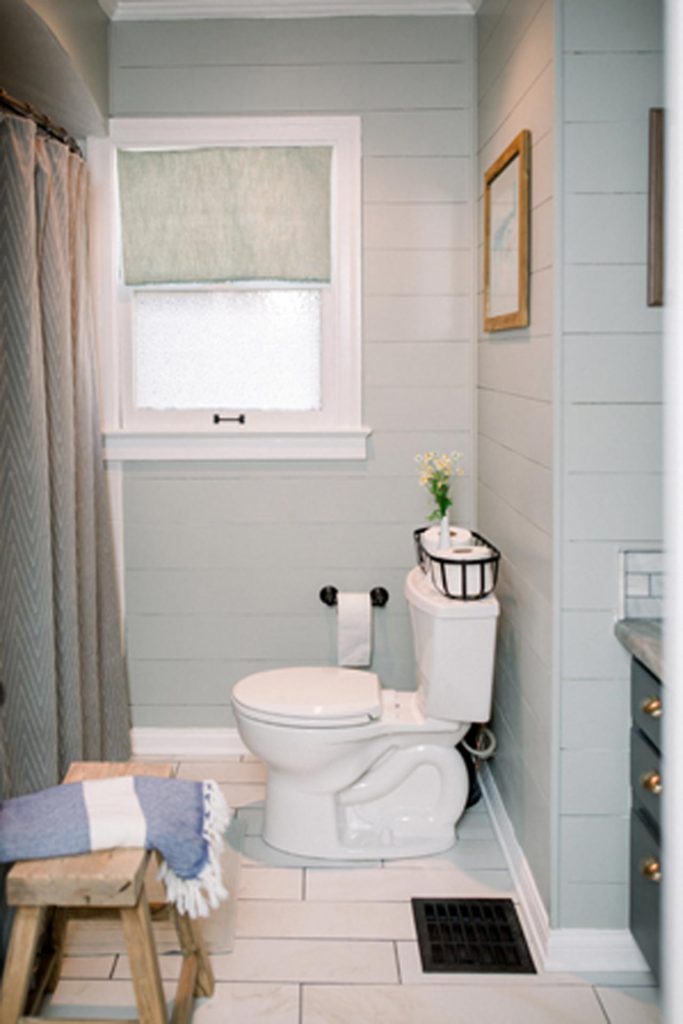
New tile flooring was another necessary replacement in this space. The tiles were cracking and coming up all over. The existing flooring was the easiest demo we have ever had. It took less time to rip it up than it did to have our Jimmy John’s delivered.
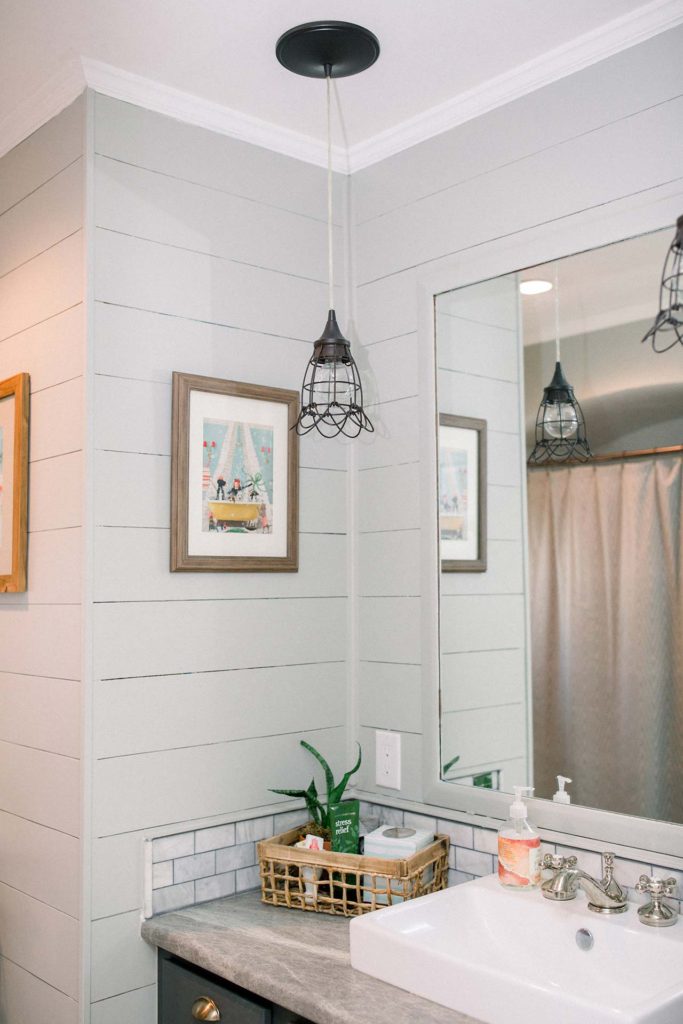
To save on budget, I opted to paint the existing vanity in Benjamin Moore “Chelsea Gray” and update the hardware. The formica laminate countertop in Sequoia was an affordable dupe for soapstone. The matte finish and texture feel natural and has been extremely durable. The existing can lighting above the vanity was converted to pendant lights using a conversion kit and I love the look of the pendants in front of the large mirror.
![]()
This makeover was one that surprised me. A few changes and some hard work and for a small price we were able to drastically improve the space. With as much work as this house needed we had to be vigilant of the price cap in our neighborhood for the eventual resale. We are often faced with finding budget friendly alternatives to materials and finish details to help spread our budget across the many spaces that need help. The challenge with this approach is that I have high end tastes and can’t leave anything untouched. In the end, this is one of my favorite spaces in the house, and also one of the most affordable!