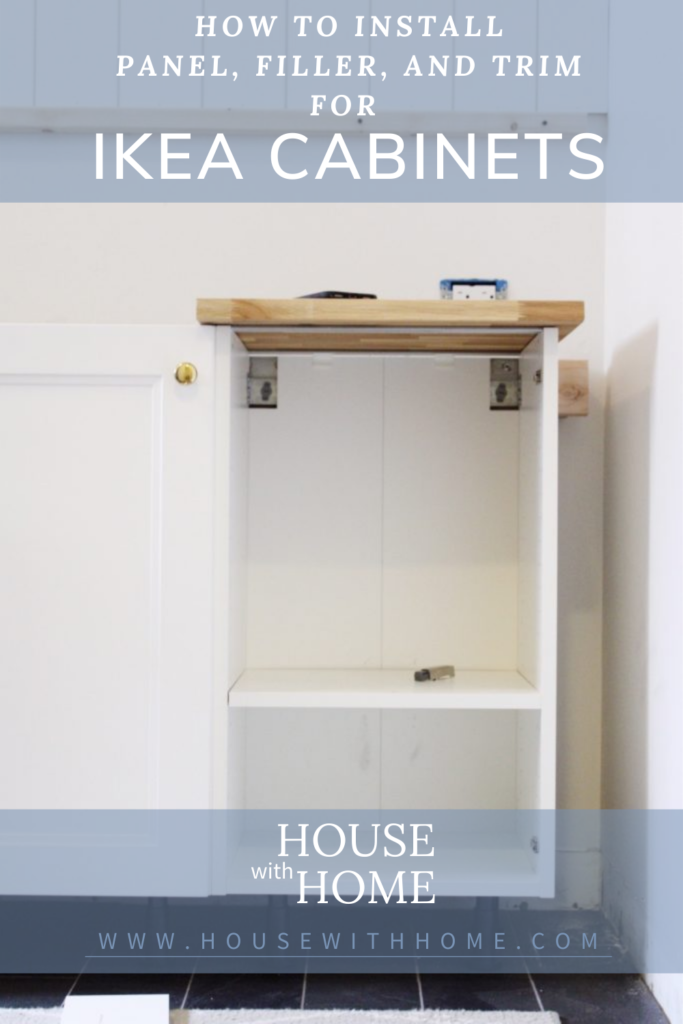
How to use filler panels with your Ikea Cabinets
Adding filler and panels to your Ikea cabinets the right way will make a huge difference in the overall look of your kitchen. It is the difference between your Ikea and /or Semihandmade kitchen having cabinets that look like a DIY and those that look like an expensive custom kitchen. Understanding my “best practices” for installing the filler and panels is super simple and will ensure your kitchen looks like a million bucks, not Ikea bucks.
Important Measurements to Know
Ikea Panels: 1/2″ thick
Ikea Doors: most doors are 1/2″ thick, Axstad is an exception with 3/4″ doors
Semihandmade Panels: 3/4″ thick
Semihandmade Doors: 3/4″ thick
Ikea Cabinet Frame walls (reminder- you use the Sektion frame for both Ikea or Semihandmade): 3/4″ thick
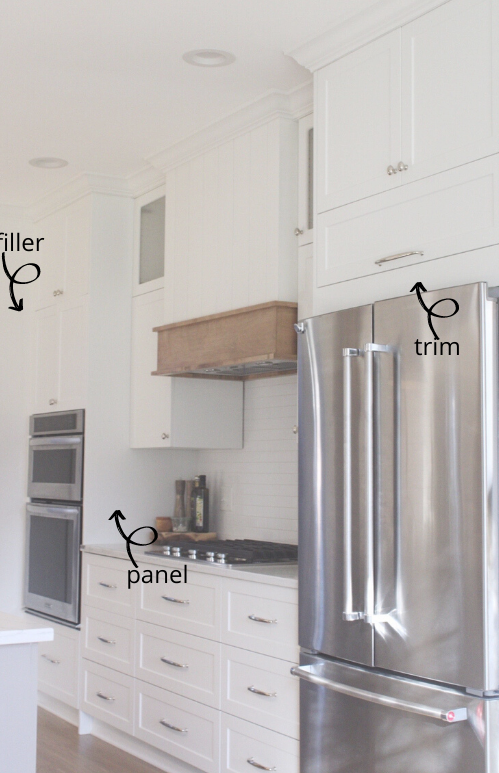
What is the Difference between Filler and Panels?
Nothing, except for how they are used! Both Ikea & Semihandmade sell trim, filler, and panels in a variety of heights and widths so that you can build in your cabinets. These can all be used interchangeably to create a kitchen that is well detailed. Typically, it is referred to as a “panel” if it is running parallel to the cabinets and/ or use to cover the sides of the white Sektion cabinet frames. It is called “filler” it you are using it to fill in the perpendicular gap between a wall and a cabinet. Trim is what you would use to fill space along the face of the cabinets, like you may have above a refrigerator, or the gap between the ceiling and upper cabinets. But really, it is all the same! Once I know where I need to fill in or cover up, I get the measurements, then determine what size pieces from the Ikea item list or Semihandmade item list will work best.
When Do You Need Filler?
Any place you have a gap between cabinets and a wall or between two cabinets that are spaced. So the next question is
“Why do you have a gap to start with?”
Two Reasons:
- Ikea cabinets are not custom! They only come in specific widths for lowers and uppers therefor you likely have “leftover” distance on your walls that you need to fill.
- You need to open a door against a wall. For this reason it is recommended you have a minimum of 2″ between a wall and a door cabinet. If it is a drawer cabinet, I prefer to have a minimum of 3/4″ to ensure the drawers can open if your wall is not perfectly square.
Planning where the filler and side panels go is a key element in making sure you kitchen looks well designed. I first try and minimize how much filler I use by running many iterations of cabinet plants to minimize the necessity for a surplus of “extra space”. I then like to look at the run of cabinets and balance the filler on the ends, or if necessary around a central element like a sink or stove. Sometimes you can use up some of the “extra space” by using a side panel.
A real-life Example
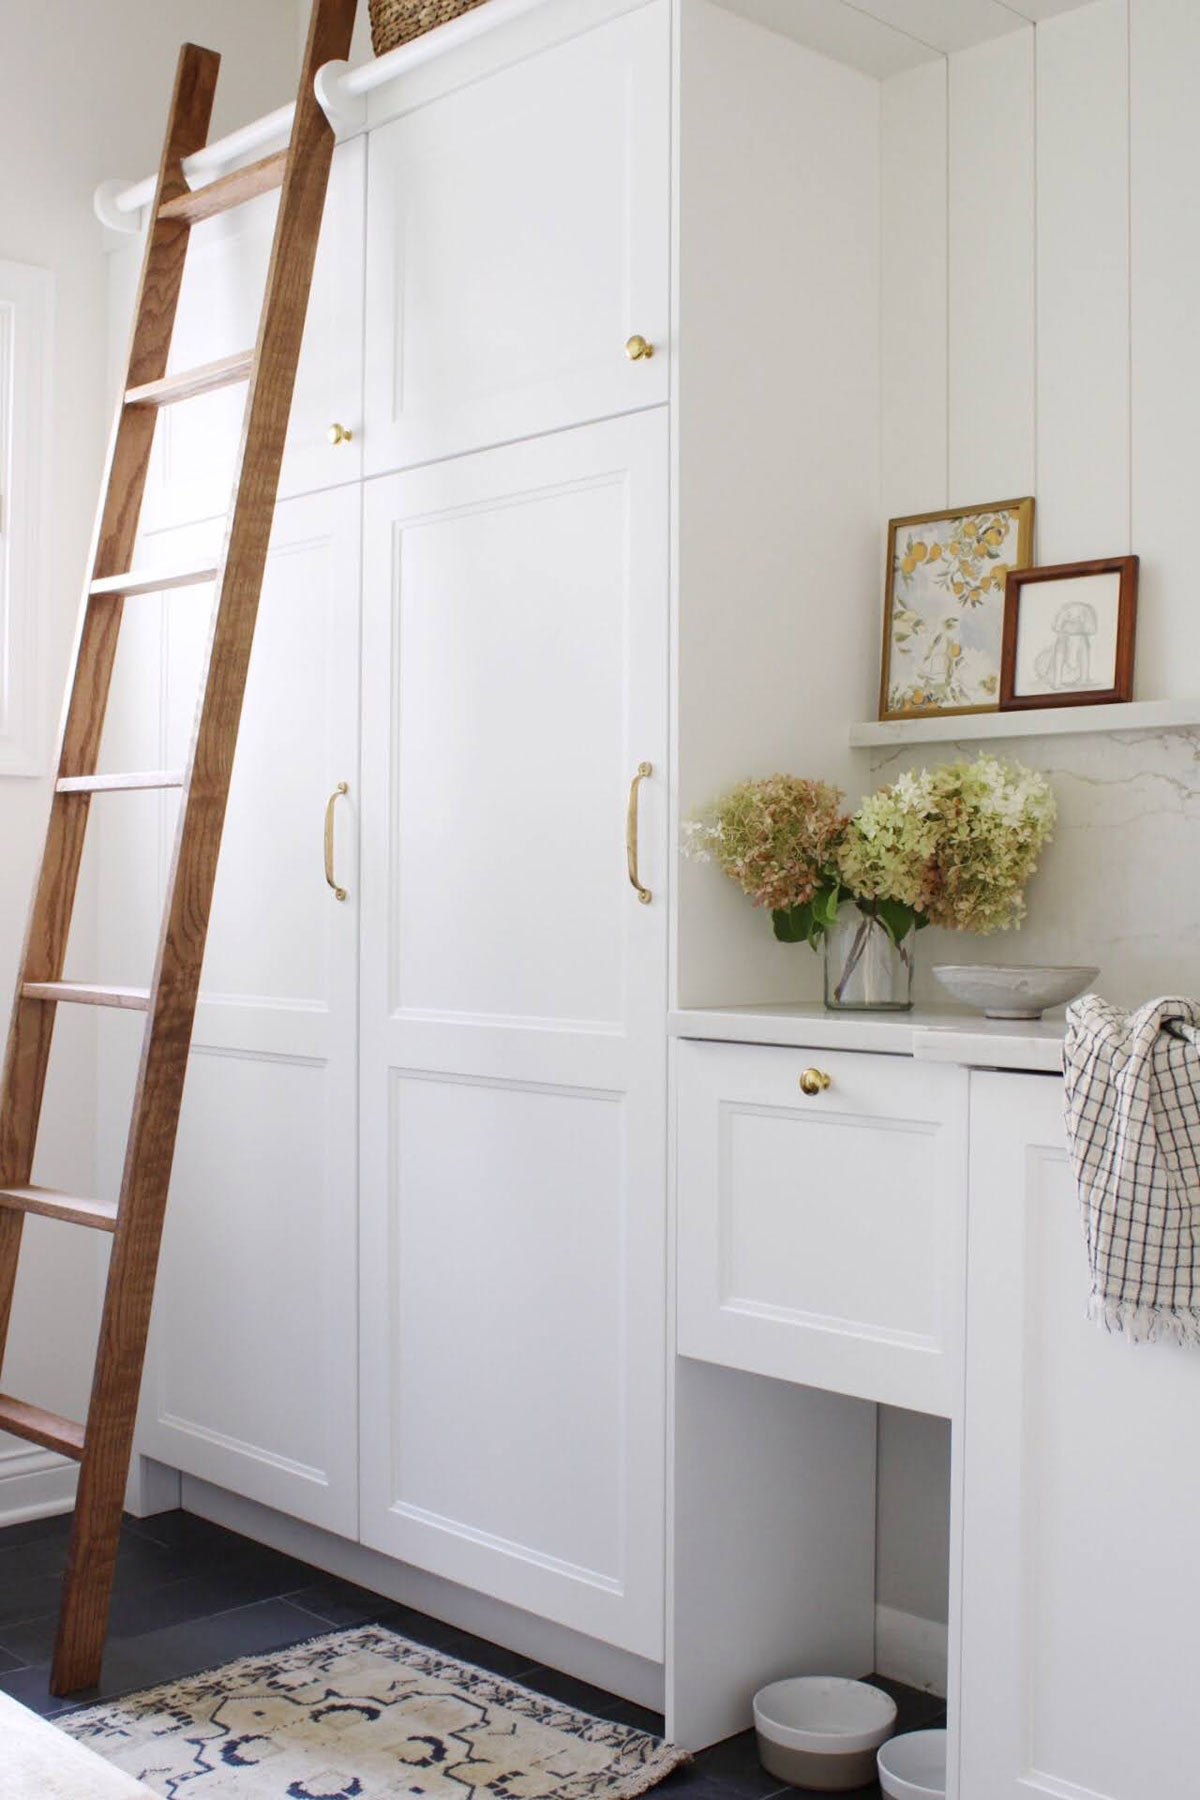
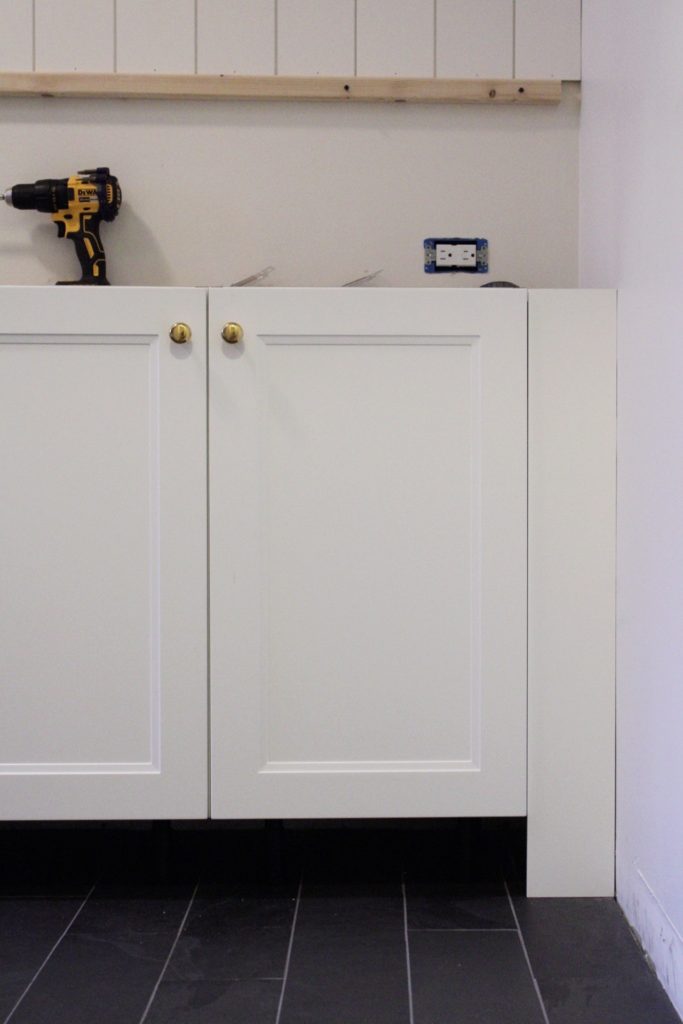
I am going to break down how to do this on a recent personal project, my home’s mudroom. For this project I used the Ikea Axstad fronts.
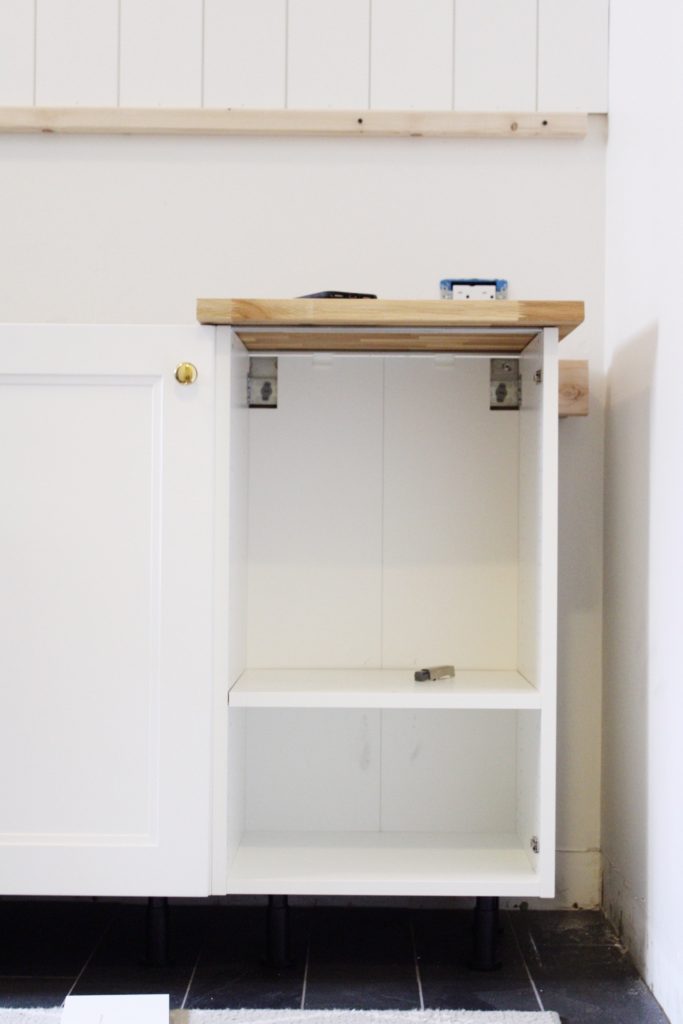
This gap here is what I needed to fill. I needed the minimum of 2″ to open the door against a wall. Total, I had 10″ of “extra space to fill” along this entire wall. This distance of 10″ is less than the smallest Ikea Cabinet frame which is 12″ wide. Potentially, I could have increased the size of a few of the cabinets in this run to use up some of the 10″. However, for this space I wanted all of the cabinet doors to be a uniform size, thus eliminating the option to do this. So back to the filler, I decided to evenly split the 10″ to be 5″ on each end. For this project I wanted my filler to run to the floor, rather than terminating above the toe kick. This is so that is matches the filler on the other side, which runs along a pantry. This is my preferred look when running filler along a pantry or tall appliance because it balances the panel on the opposite side.
How to Install: Don’t Recess the Panels and Filler!
The Ikea install method has you installing the panel flush with the cabinet frame, like this:
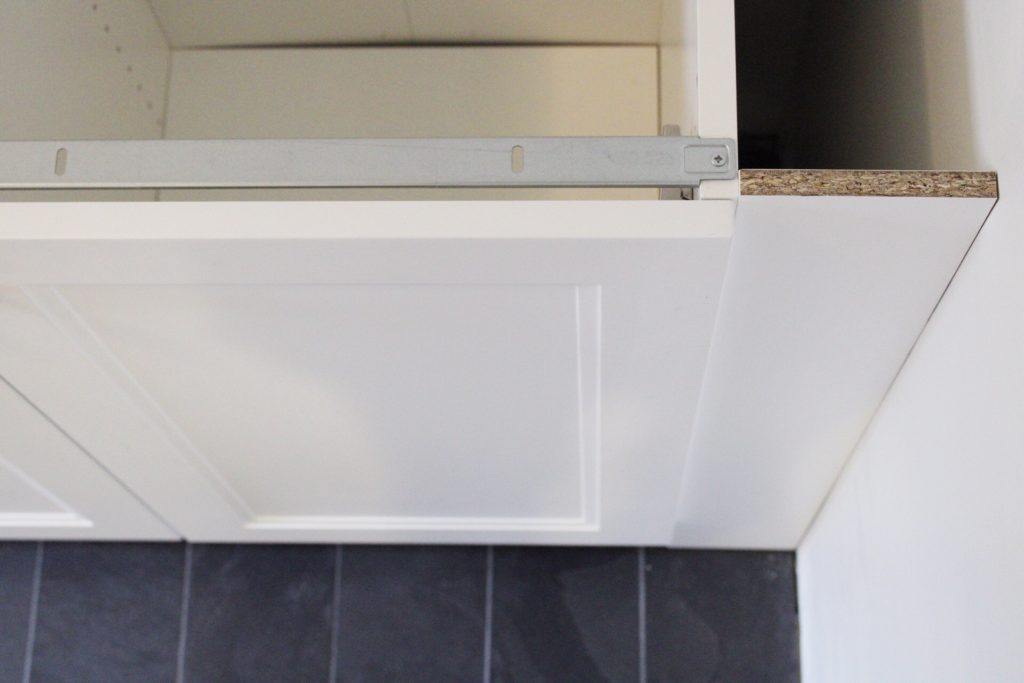
If you do this, when you attach the doors on, they will sit proud of the panels. To me this screams “IKEA KITCHEN”. Even in an expensive custom kitchen, there is a time and place to recess your panels, but it is rare. Keep the filler and panels set flush with your doors! Just like this.
How to Install the Filler: Install Blocking on the Back
- ) Cut down your filler to the dimensions you will need. Then cut scrap wood (we like to use 2 x 4’s) to create blocking.
- ) Check that the length of your screw is not longer that the thickness of your blocking plus the thickness of your panel, but is long enough to attach the together.
- ) Attach the blocking to back of the panels.
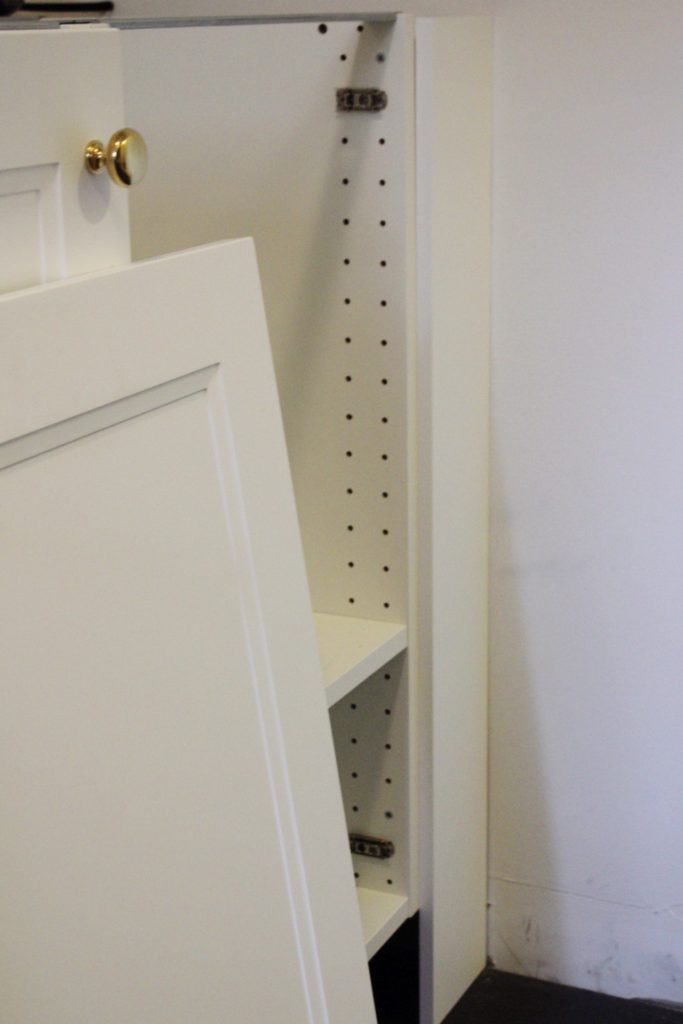
- ) Push the filler piece with the attached blocking back into the space you are filling. Be sure to get the piece plumb. Make sure the back edge of the panel is lined up with the front edge of the frame to ensure the attached panel will be flush with the cabinet doors.
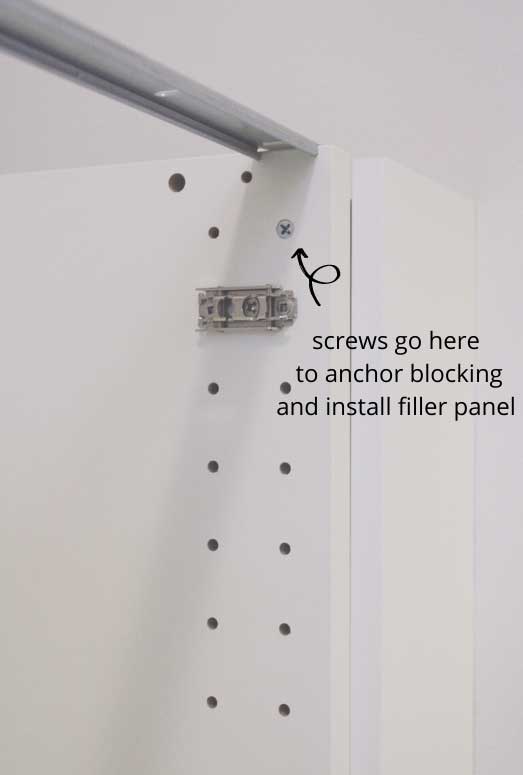
- ) From the inside of the cabinet screw the cabinet frame to the blocking. Please take care to do this in a way that looks nice. I really hate it when you open up a cabinet and the inside of it is riddled with screws that appear randomly placed.

How to Install the side Panels:
- ) Cut down your panels to the dimensions you will need. Measure twice and cut once.
- ) Check the length of your screw is not longer that the thickness of the frame (3/4″) plus the thickness of your panel, but is long enough to attach the together.
- ) From the inside of the cabinet screw the cabinet frame to the panels. Please take care to do this in a way that looks nice. I really hate it when you open up a cabinet and the inside of it is riddled with screws that appear randomly placed.
In summary, my 3 biggest tips:
- Try to optimize your design to minimize the amount of filler, panels, and trim you will need. This will save you work installing and cost of extra material that really doesn’t make your kitchen more functional. You want the “extra space” to be used as cabinets. Also, utilize Semihandmade’s custom door sizing where possible to eliminate the need for trim.
- Keep your panels and filler either flush with the doors or slightly proud of the doors. Do not install them flush with the cabinets frames.
- When you cut a panel or filler piece, plan to put the cut edge along a wall and keep the pre-finished. This allows you to caulk the cut line and cover up any imperfections caused by the cut.
How much does an Ikea Cabinet Bench Seat Cost?
I talk in depth about understating the pricing for Ikea Kitchen Cabinets in my post “How much does an Ikea Kitchen Really Cost?”. This information will be helpful if you are trying to determine is this is an affordable option with out going through the effort to fully design and estimate the cost off your item list.