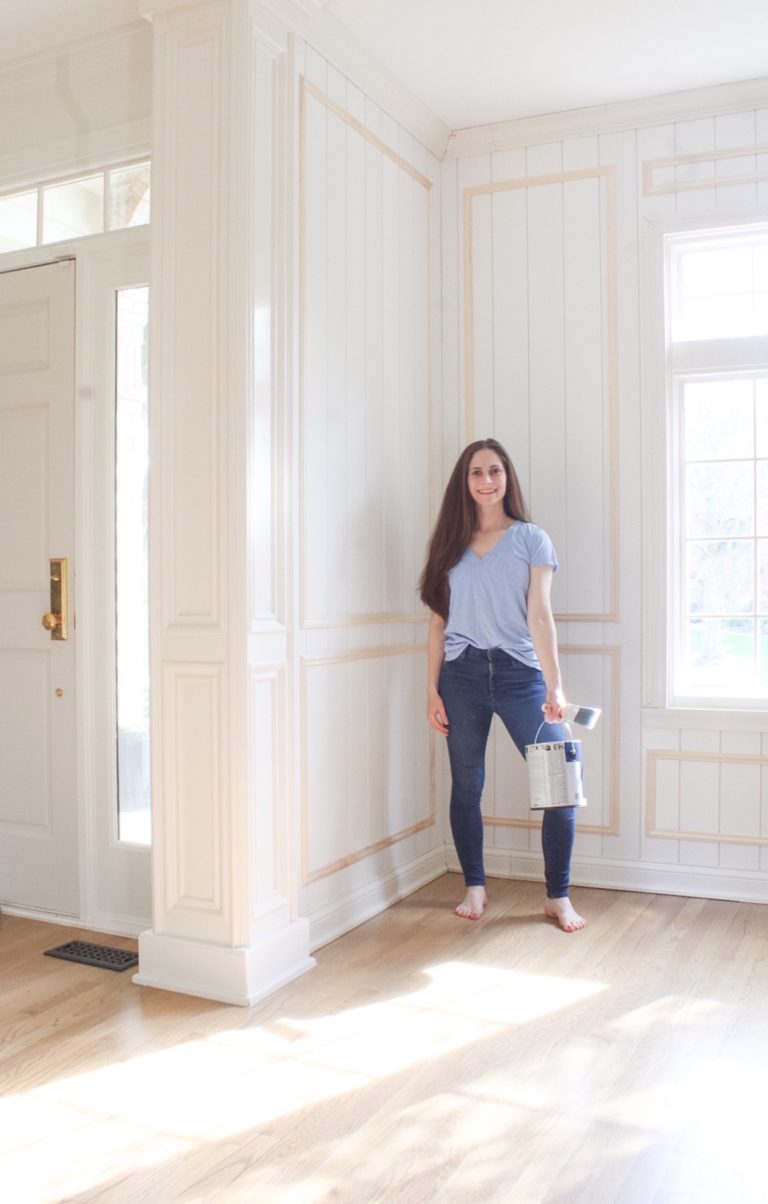
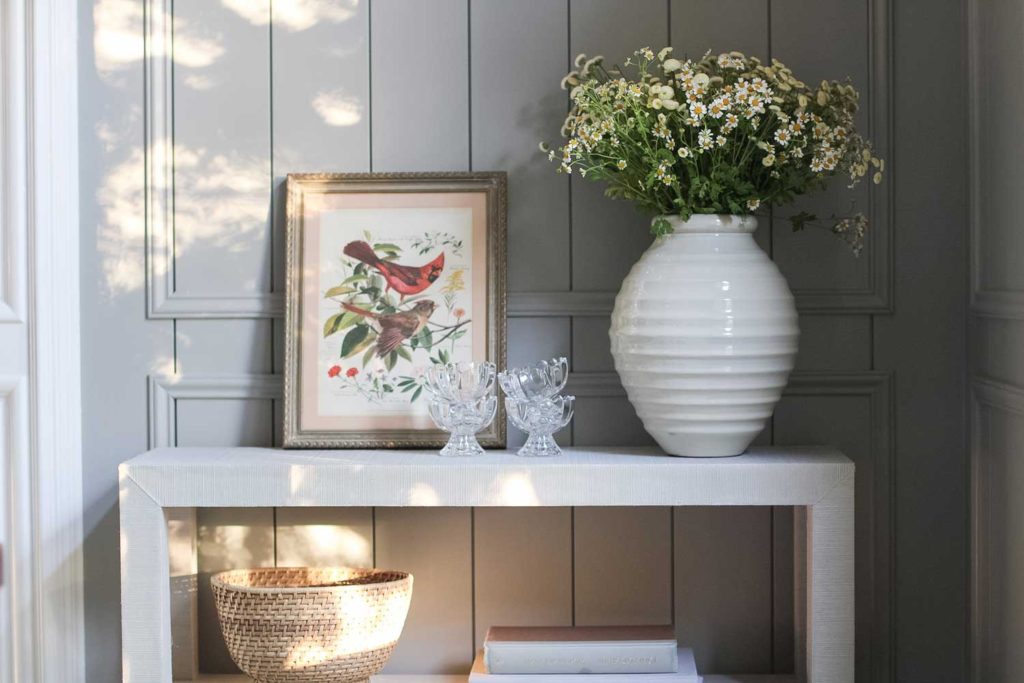
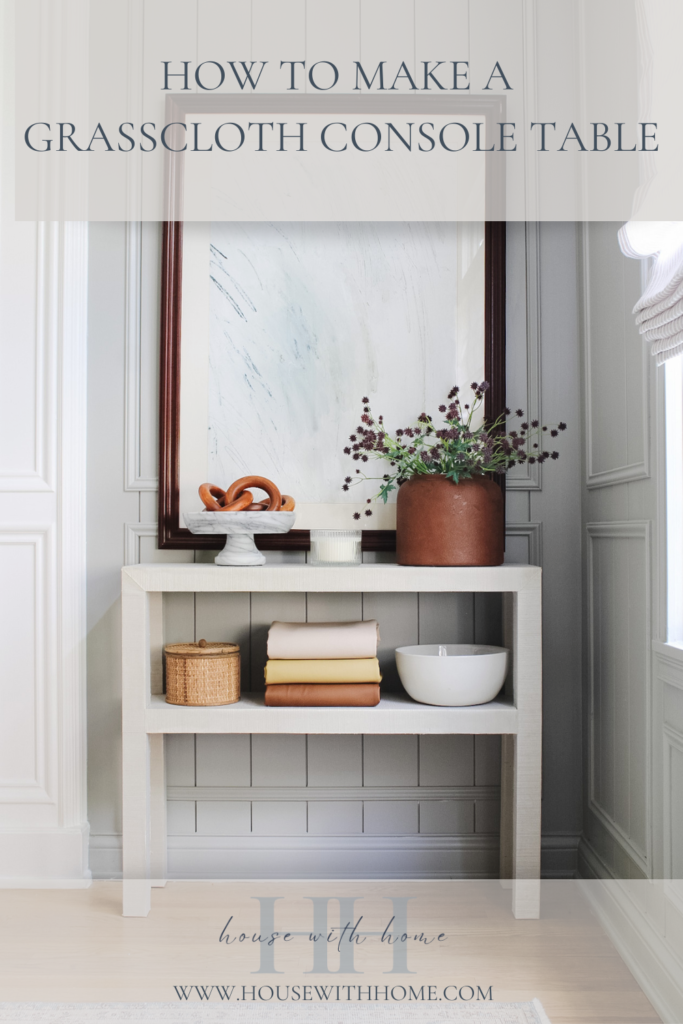
DIY Grasscloth Console Table | One Room Challenge Spring 2021 Week 7

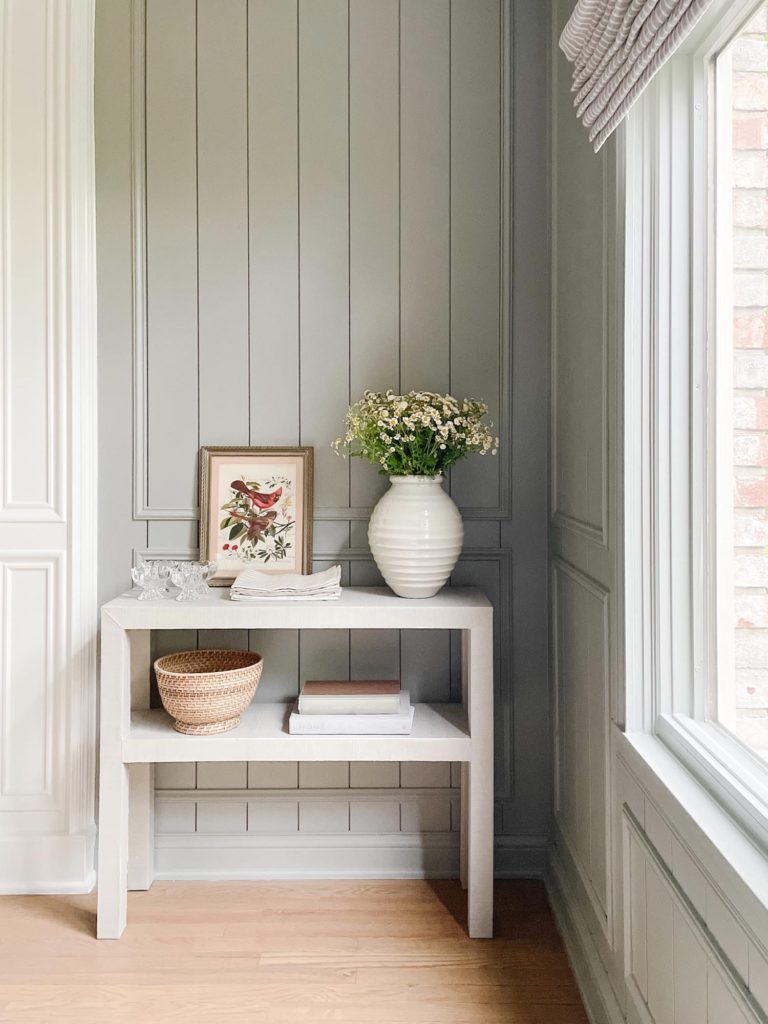
I decided to make my own DIY Grasscloth Console Table after swooning over the pricey Blake Console from Serena & Lily. Why do the perfect pieces always happen to be the most expensive? I needed a small console table for the small dining room wall that is shared with the entry. I wanted something open, slim, and to have a textural finish. And of course the Blake console from Serena & Lily was the perfect piece….except for the hefty $1,500 price tag. So here is thing, I am all about investing in good quality pieces that will stand the test of time in our home and have timeless design. And I truly think this piece would do that. But my budget was already used up, and a $1,500 raffia covered table in the same room my boys finger paint made me cringe. So for now, I am going to DIY it and if I still love it after time passes, maybe I can invest in the real deal. But spoiler, the DIY looks really good!
1) Design the DIY Grasscloth Console Table
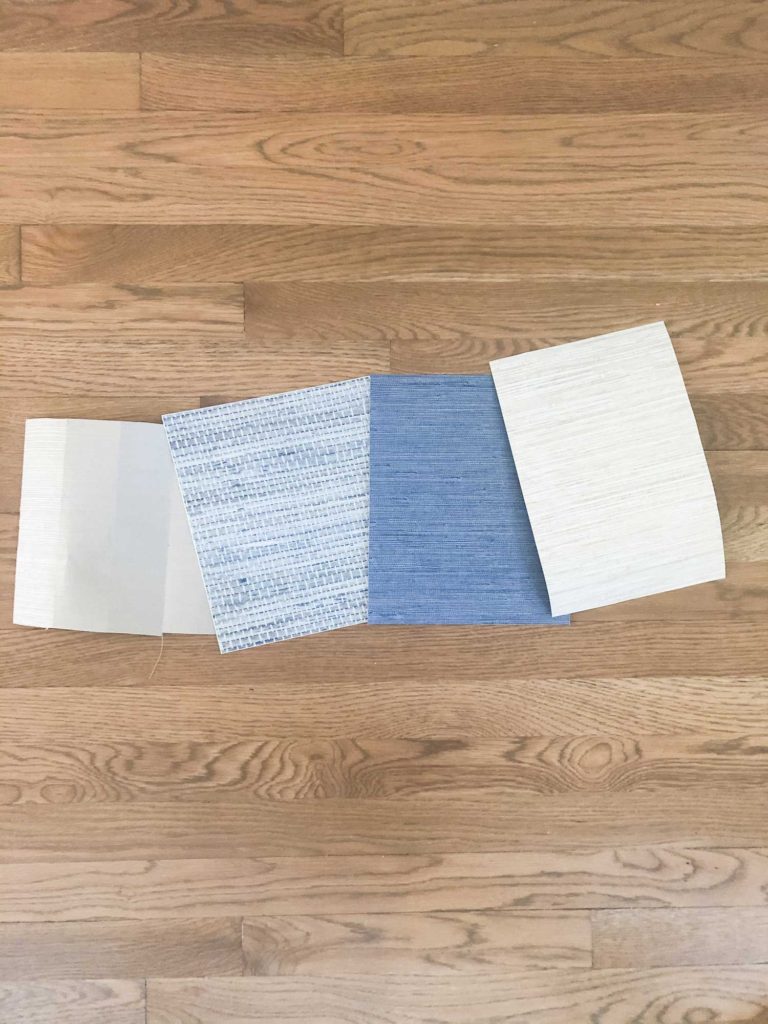
I mentioned earlier that the Serena & Lily Blake console was the inspiration for this DIY grasscloth console table. I ordered several wallpaper samples to try and get the look I wanted that would feel as luxe as their table. Personally, I did not want a wallpaper that was peel and stick, because I wanted the ability to reposition the paper as I added it on to the table. True grass cloth can be extremely pricey. To complicate matters even more, some retailers do not tell your their “grass cloth wallpaper” is actually a printed, textured vinyl. Nothing wrong with that, but in the end it won’t have the same texture as the inspiration Serena & Lily Blake console. I ended up finding this beautiful grasscloth and affordable option that matched the wallcolor (Farrow & Ball Lamp Room Grey) perfectly!
Deciding on how to build the table was the next piece. Initially I considered just drawing up plans and having Kris build it from lumber. I ended up deciding against that because lumber is pricey right now and I found these Ikea Lack tables and thought they would be perfect. They already had the chunky top and legs I needed. I could stack two of them without the shelves to create the table for under $30. After having finished the project, I think building it from lumber would have been a far easier way to go.
2) Assembling the Tables
Table One (the bottom table)
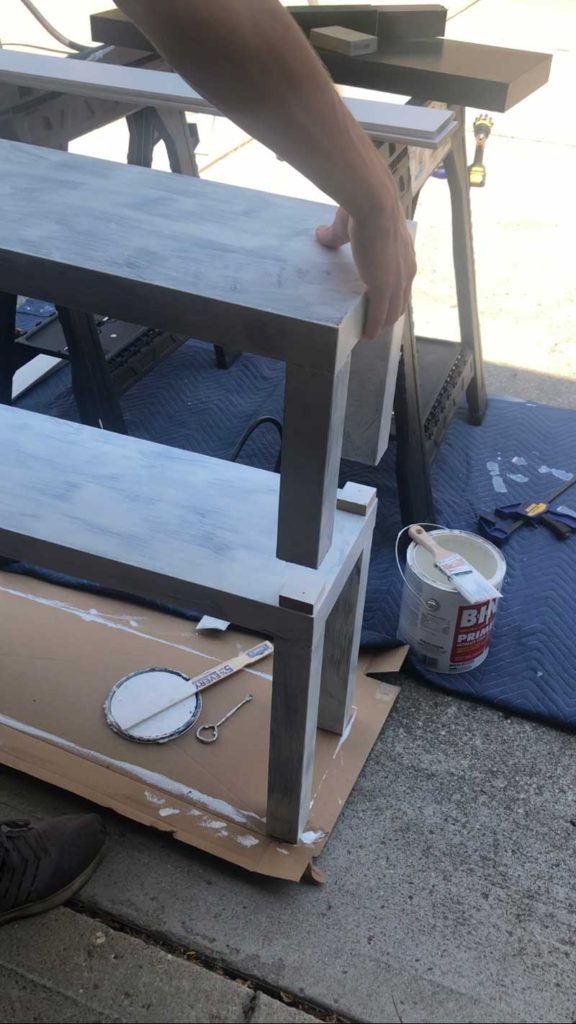
The first thing was to assemble the Ikea Lack tables. I noticed was that installing the legs per the assembly instructions would leave a small 1/8″ overhang from the console top to the legs. I really wanted them to be flush so that the paper for the legs could run seamlessly across and not have to break at these “lips”. To remediate this, we drilled a large hole over the pre-drilled holes in the top. We then filled this with liquid nails and pushed the legs with the hanger bolts down in the the hole. Because the holes were larger, it gave me the ability to shift the legs to line up with the exact edges of the top in the corner. We also added the liquid nails to the top of this leg piece to help ensure it would hold long term. The legs were checked and adjusted to be square and then we let it dry and strengthen.
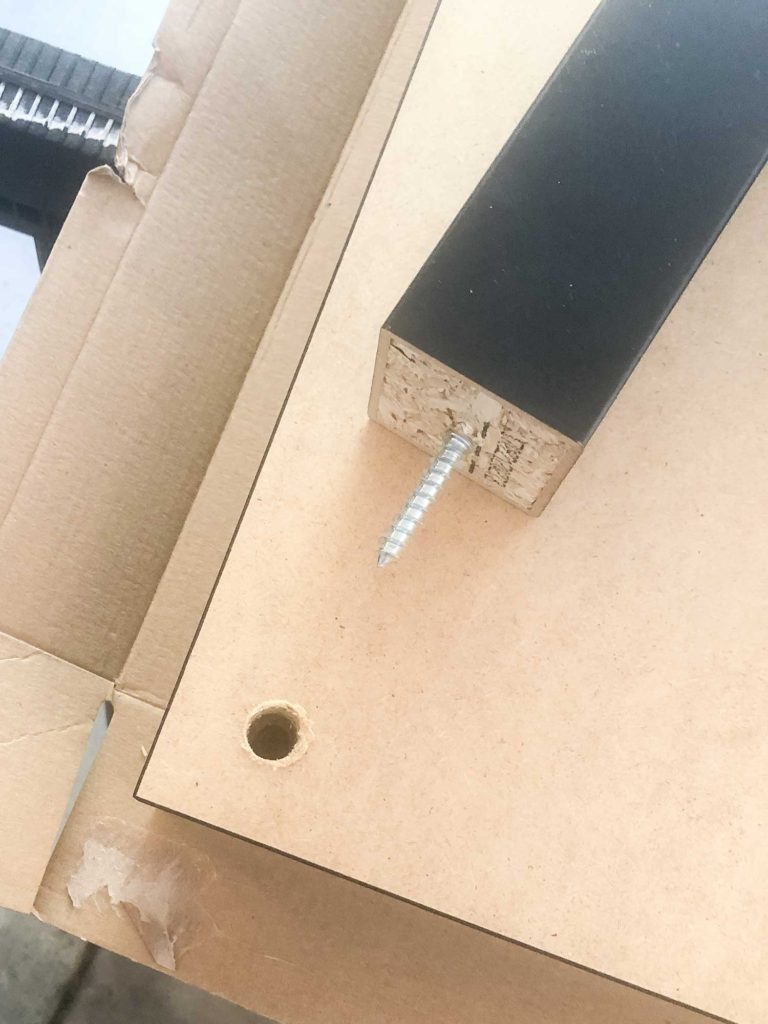
Table Two (the top table)
While the first table dried, we moved on to the second one. For this table I wanted to cut down the legs so that the “shelf” was not centered, but closer to the top. We cut down the 15 3/4″ long legs to 10″. We attached the second tables legs to the second tables top following the same steps as table one, and let it dry.
Connecting the Tables for the DIY Console Table
Next we had to connect the two tables (table two stacked on top of table one). The big bummer here was the legs are hollow, with a few blocking pieces running inside. So when we cut down the legs for table two we had a hollow leg. I assumed this would be the case, but was hoping for a different outcome. To remediate this we cut our own blocking out of scrap wood and used liquid nails and a few actual nails to secure the blocking to the top of table one. Next, we sat table two on top of table one so the legs slid right on top of these blocking pieces. We then used a combination of pockets hole screws (using Kreg Jig) and liquid nails to secure the two tables together.
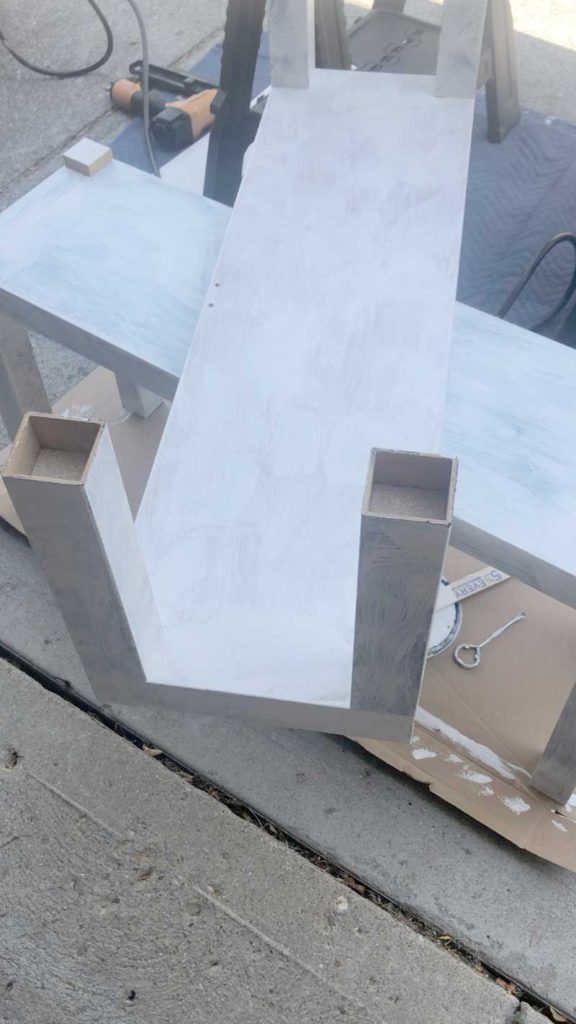
At this point, I had for sure realized after all of the “hacking” of this Ikea table, it may have been easier to just build it out of lumber. But here we were with our hacked Ikea lack table, as the foundation for the DIY grasscloth console table. The pocket holes had left a lot of rough fringe from the coating on the lack furniture, so I trimmed that off. Then I used my tried and true BIN primer to give it a quick coat. Hoping this would help provide extra grip for the paper. I think this is a step that would easily be skipped if you were building it out of wood and not hacking Ikea furniture.
3) Cutting the Grasscloth
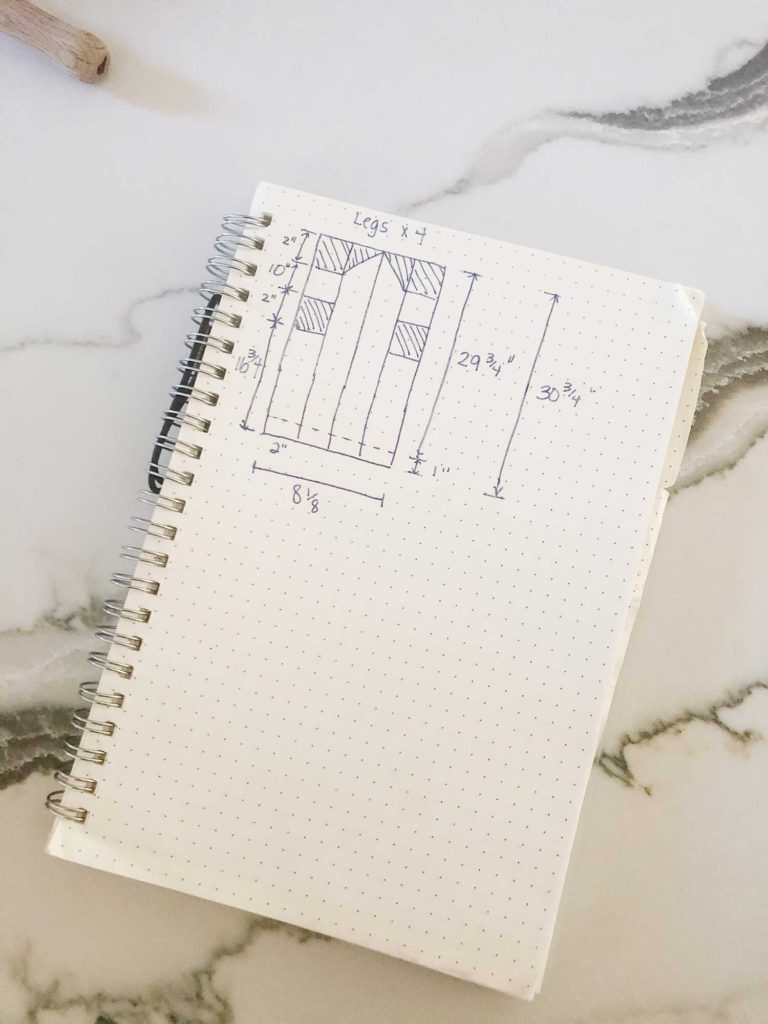
Here is where I had to exercise my memory and use the skills from my Girl Scout’s Origami badge, highschool geometry, and Purdue CGT 16400. I sketched out the dimensions for each piece of the table for how to cut and fold each piece of grasscloth.
Then I got to work measuring and cutting each individual piece – 4 legs, the top of the top and it’s sides, the underside of the top, the top of the shelf and it’s sides, and the underside of the shelf. This was the most tedious part and took a few hours to do. I used an exacto knife and a metal straight edge to cut throught the grasscloth. I had put a thick piece of cardboard underneath each to ensure I could push hard to cut the grass threads.
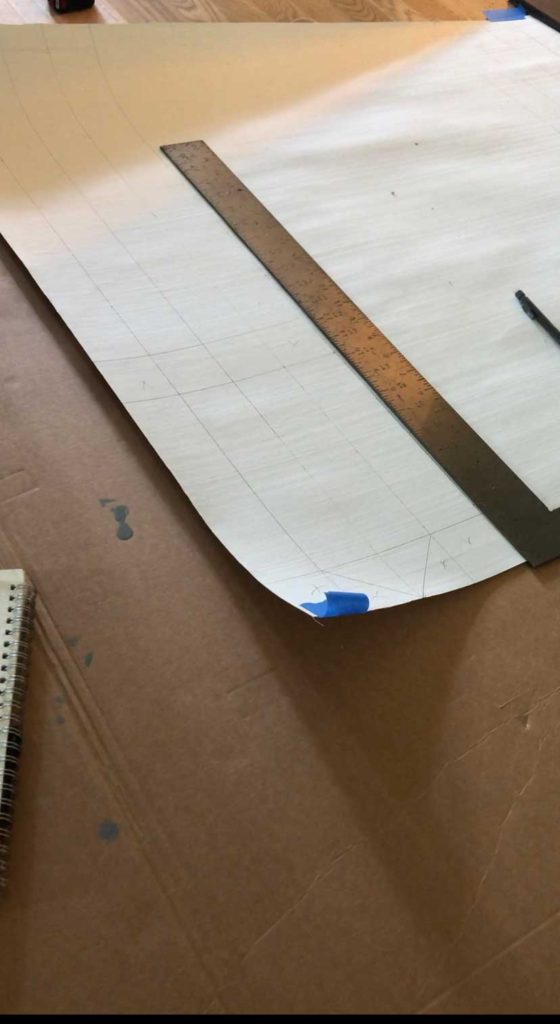
For any location that would be a fold, I ran the exacto knife across these, being very careful to just score the paper backing and not cut through. This made it so I could pre- crease all of the folds before installing.
Tips:
I did not include any overage on the dimensions to account for folding. I tested this both ways, and ended up having to trim a few pieces down.
Be gentle when using the wallpaper smoother perpendicular to the grain of the grasscloth, it was cause it to break and leave little grass threads/ frays sticking up!
4) Adding the Grasscloth to make the DIY Grasscloth Console Table
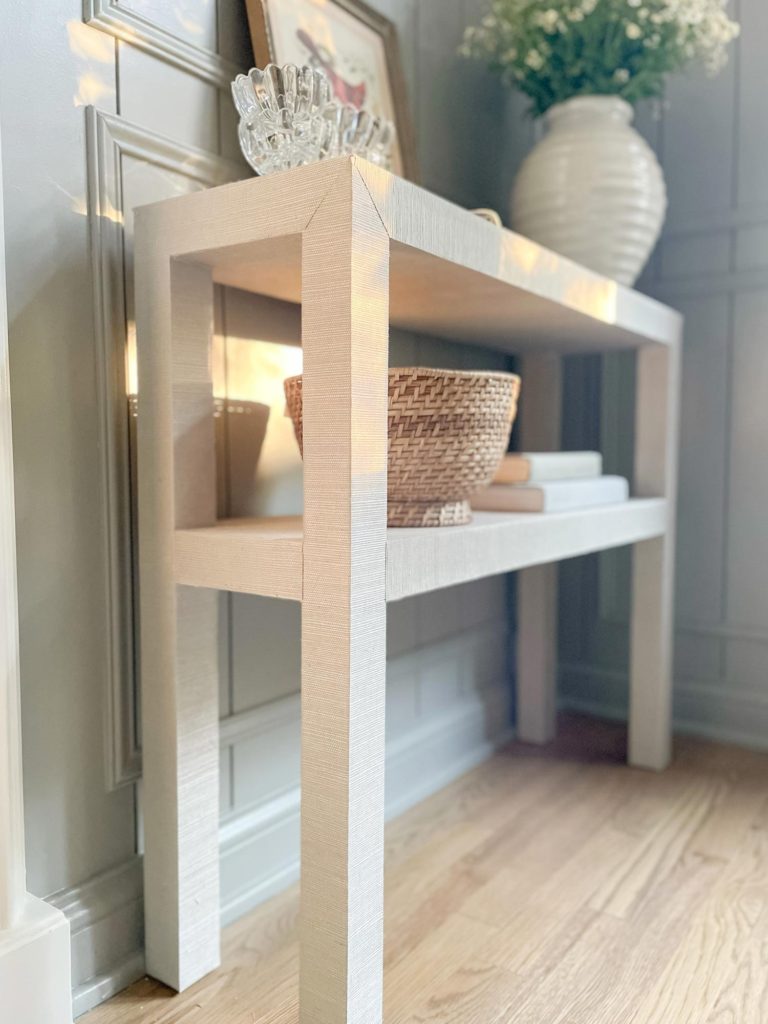
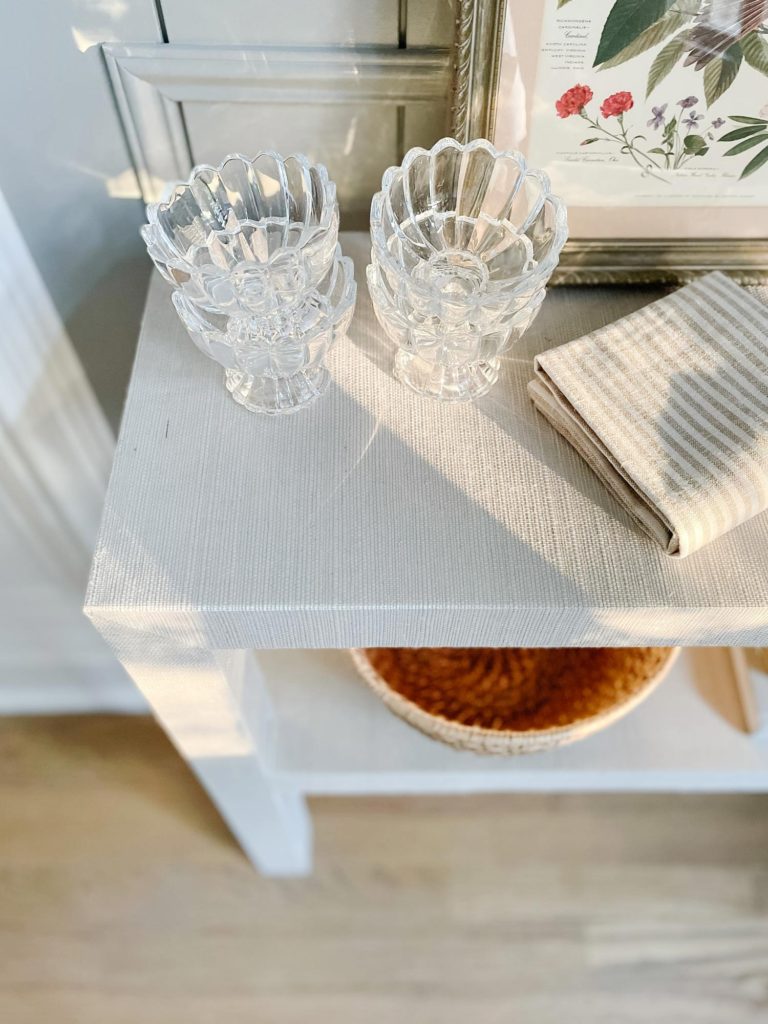
I used this wallpaper paste with the roller to add the paste to the back of the pre cut wallpaper. When adding the the paste, I also added it to the surface of the table. I worked my way around the table smoothing each piece as I went. To be honest, when I was doing this there were a few locations where seams weren’t lining up. The other issue was the paper wasn’t staying stuck down at a few of the diagonal folds. I was really discouraged, but I finished up applying it all and let it sit overnight.
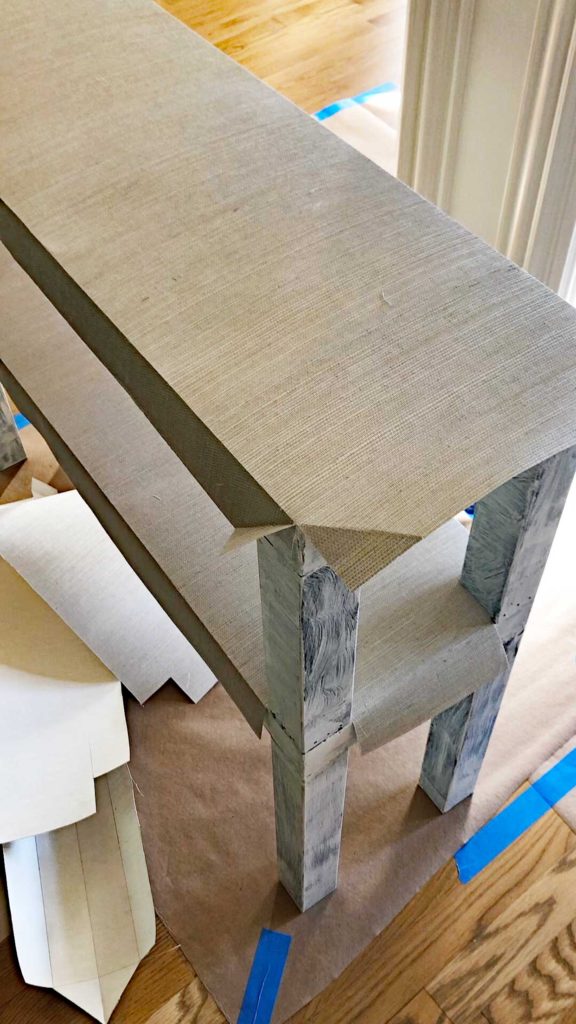
The next day I used fabric glue to hold down the folds that were not wanting to stay flat. The diagonal corner folds and the folds at the bottom of the legs were the primary problem spots. The seam glue was much more tacky than the wallpaper adhesive and did the trick.. I also cut a few slim filler pieces for 3 different spots where there was a small gap. When I did this I was careful to match the direction of the weaving in these locations. I attached this with the fabric glue, and it is a nearly seamless fill. There were also a few locations where I needed to trim a little overlap with the scissors. Because I was cutting near the edge of the paper it left a stiff frayed edge along these locations. This was another easy fix by smoothing them down with a little of the fabric glue.
This last set of steps made all the difference in making the table feel less DIY Grasscloth Console Table and more “Is that the Serena & Lily Blake Console Table?”
DIY Grasscloth Console Table – Was it worth the effort?
Yes! For around $150 and one day of work I feel like this a really good dupe for the Serena & Lily Blake console table. Sometimes, I think smaller DIY projects like these can still look like a DIY when they are done. This is one that I honestly think looks really nice.
There is for sure a reason the inspiration table is so pricey. Grasscloth itself is not cheap. I luckily found this beautiful one that felt way more expensive that it truly was. This project also requires a lot of patience and attention to detail. I would liken it to a sewing project, which I usually don’t have the attention span for. But, if you know that going in and don’t try and rush templating, cutting, and installing the grasscloth, the possibilities are truly endless. If I were to do it over, I would likely skip hacking the two Ikea Lack tables. I would either build the frame out of lumber or use a piece of furniture that doesn’t need “hacked” to get it to the right dimensions. This Ikea Lack console table would be really easy to just add paper to, no hacking required. I didn’t use this one because the dimensions were wrong for my space.
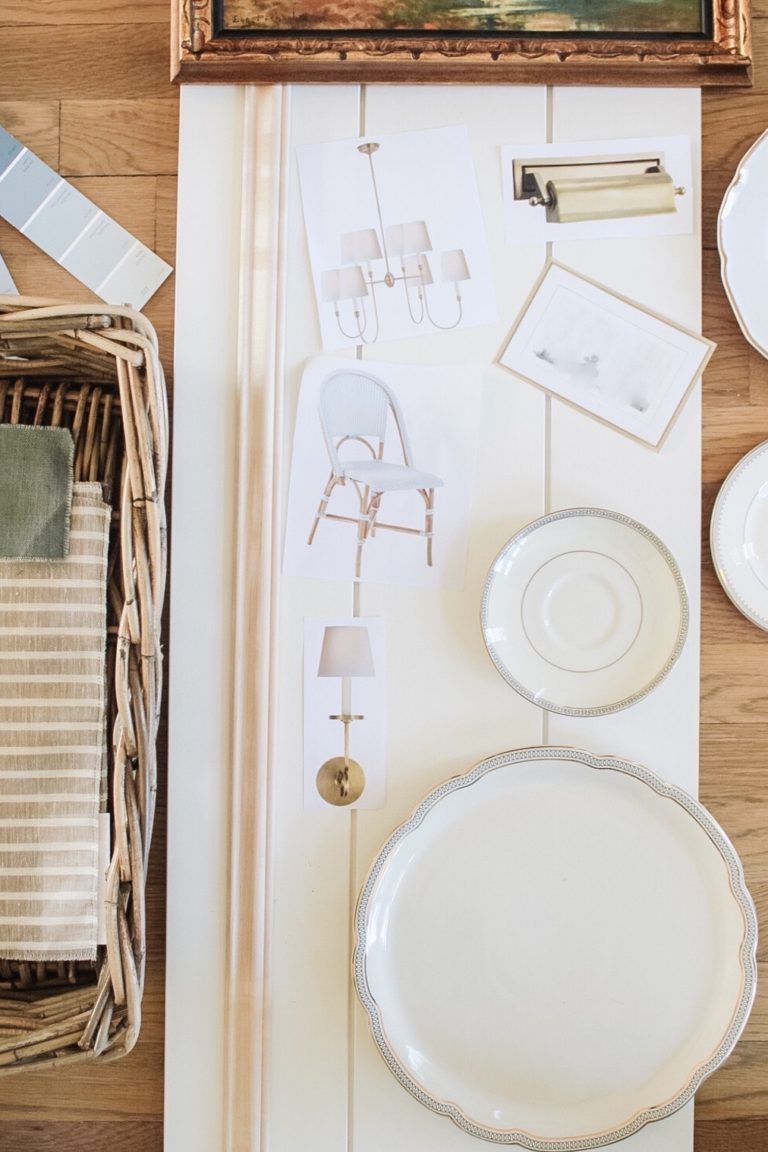
Coming Up this Week
- Installing the new sconces
- Artwork and frame DIY
- Possibly adding a light over art
Be sure to follow along on my Instagram, where I share the “live action” of this project!
Project Checklist
Have sconces hardwired to frame buffet- Have a library light added to highlight artwork
- Find Large scale art for dining room/ entry/ walkway wall.
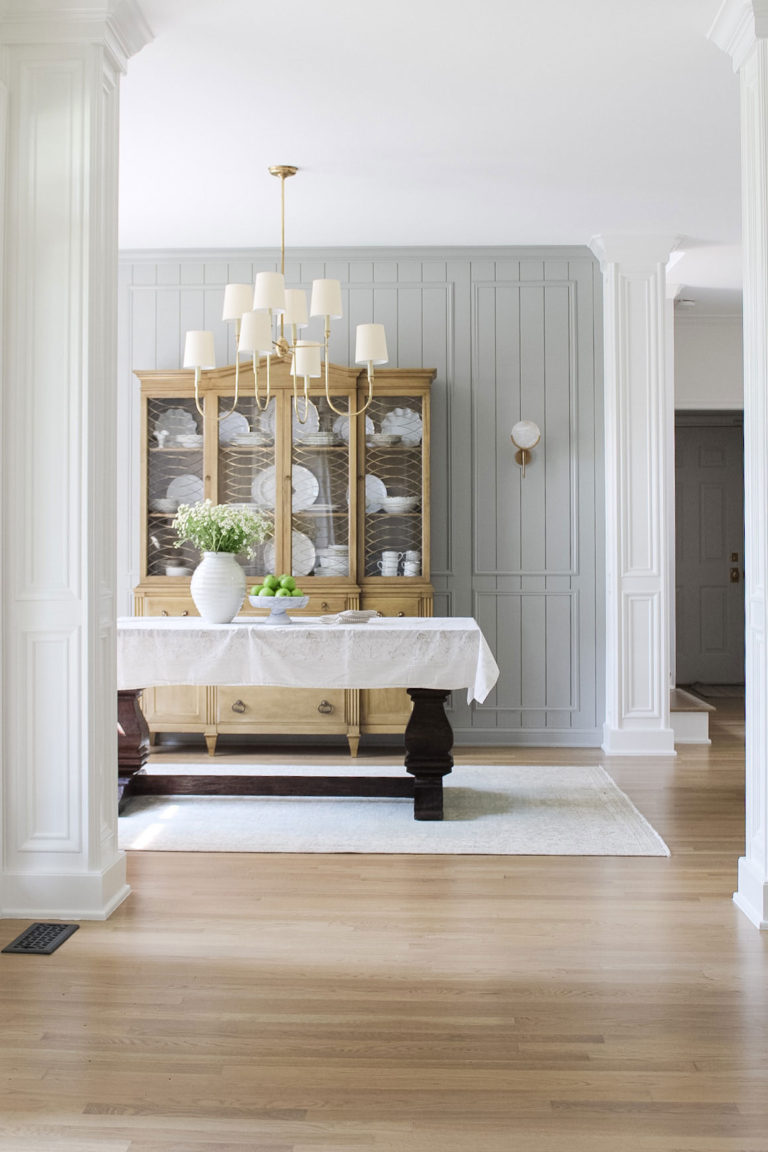
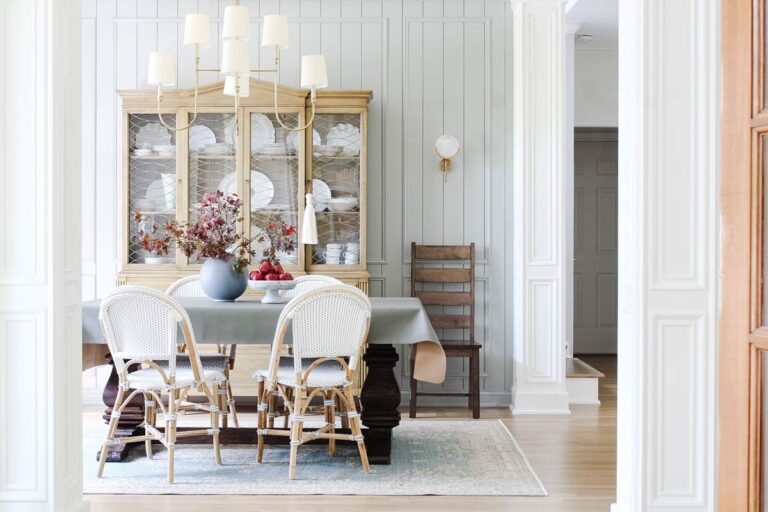
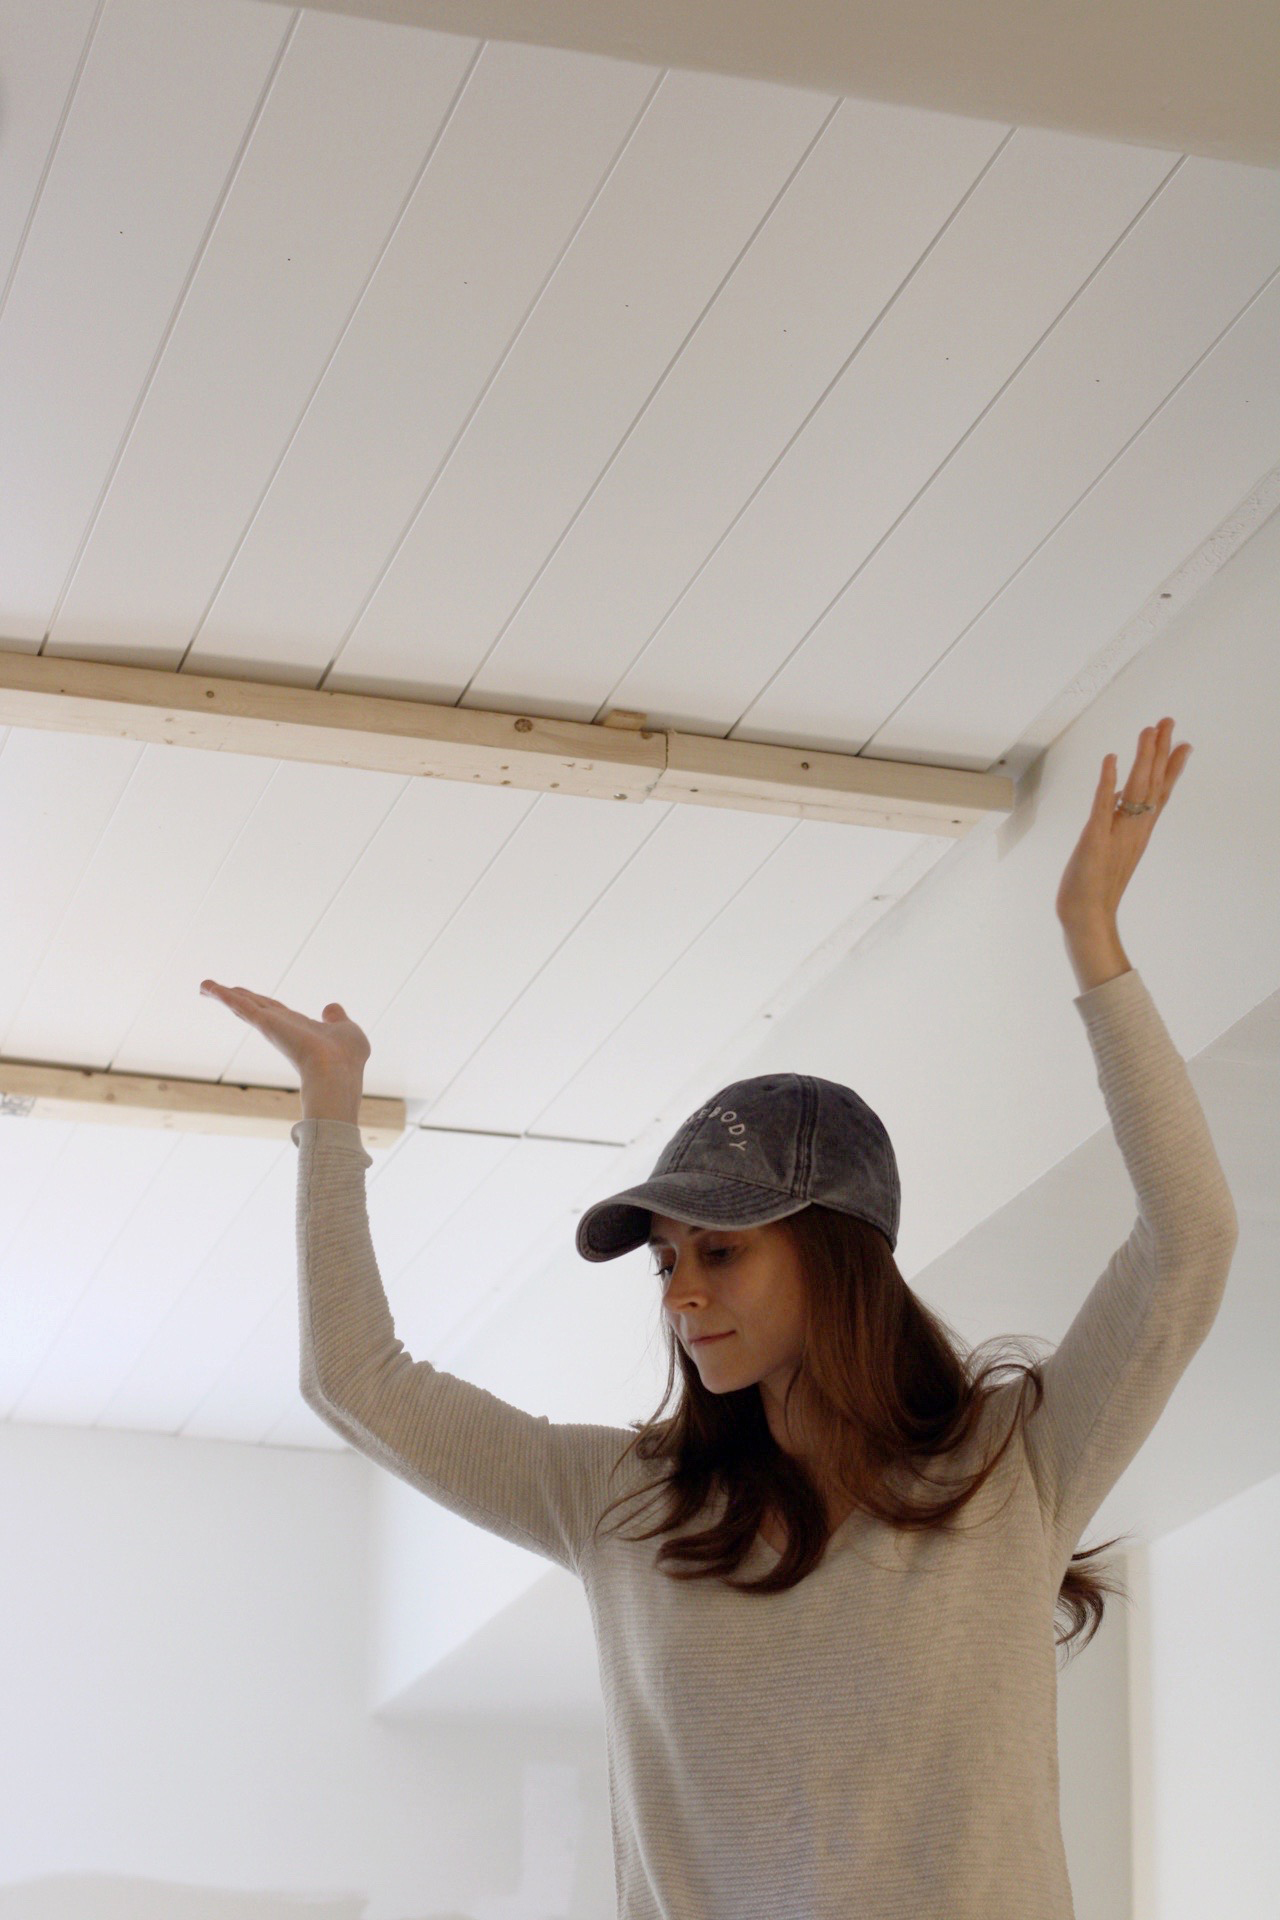
Design, install, and paint millwork —-making progress!Design and order window treatmentInstall new chandelier, sconces, and art light- Clean table and get new chairs
- Sell existing light, chairs, and buffet
find a small furniture piece for “bar/serving cabinet” —now have a plan for this, it will be a DIY!- Styling for china cabinet and bar/serving cabinet
Decide if I want/ need a rug and find one if so.
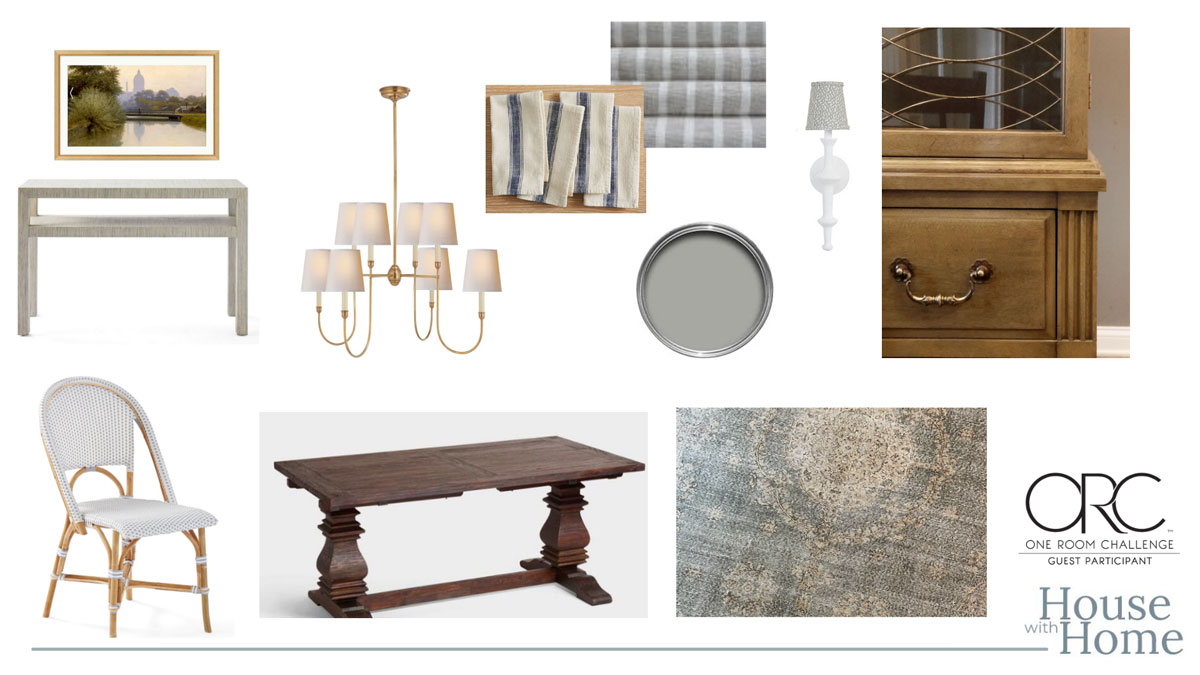
One Room Challenge 2021 Dining Room
Be sure to follow along with the other featured and guest designers here!