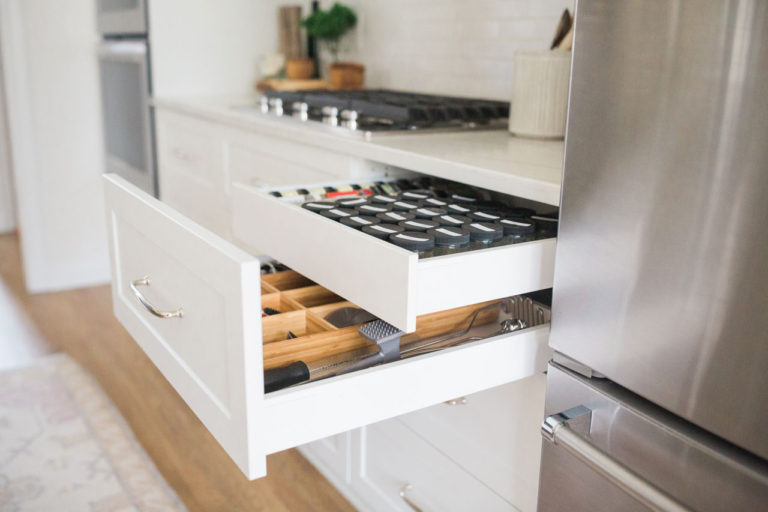
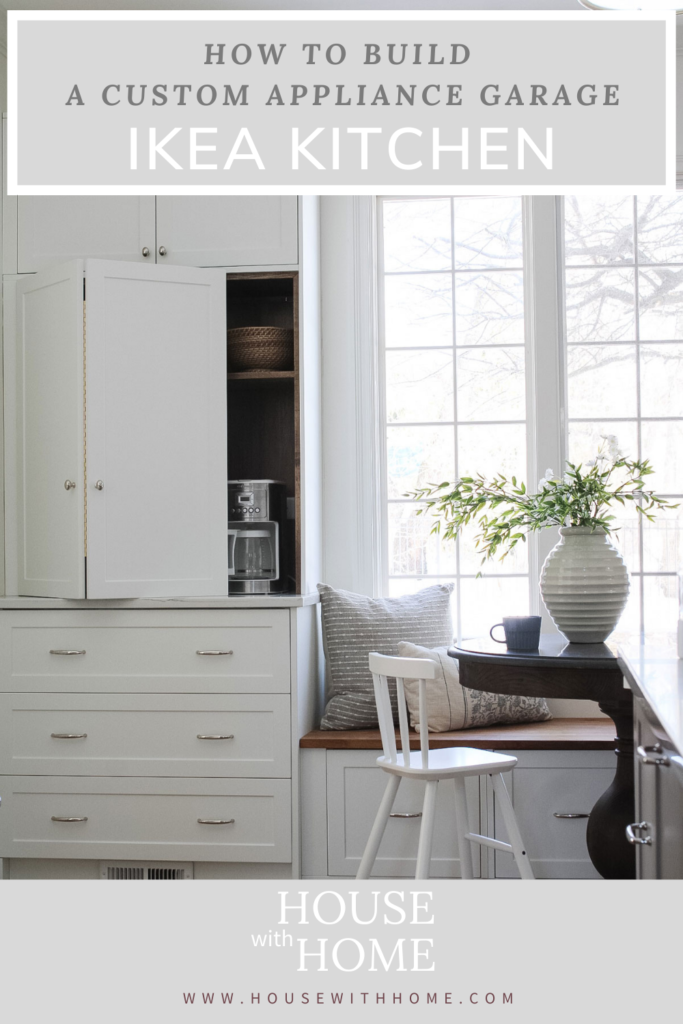
How to Create an Appliance Garage for an Ikea Kitchen
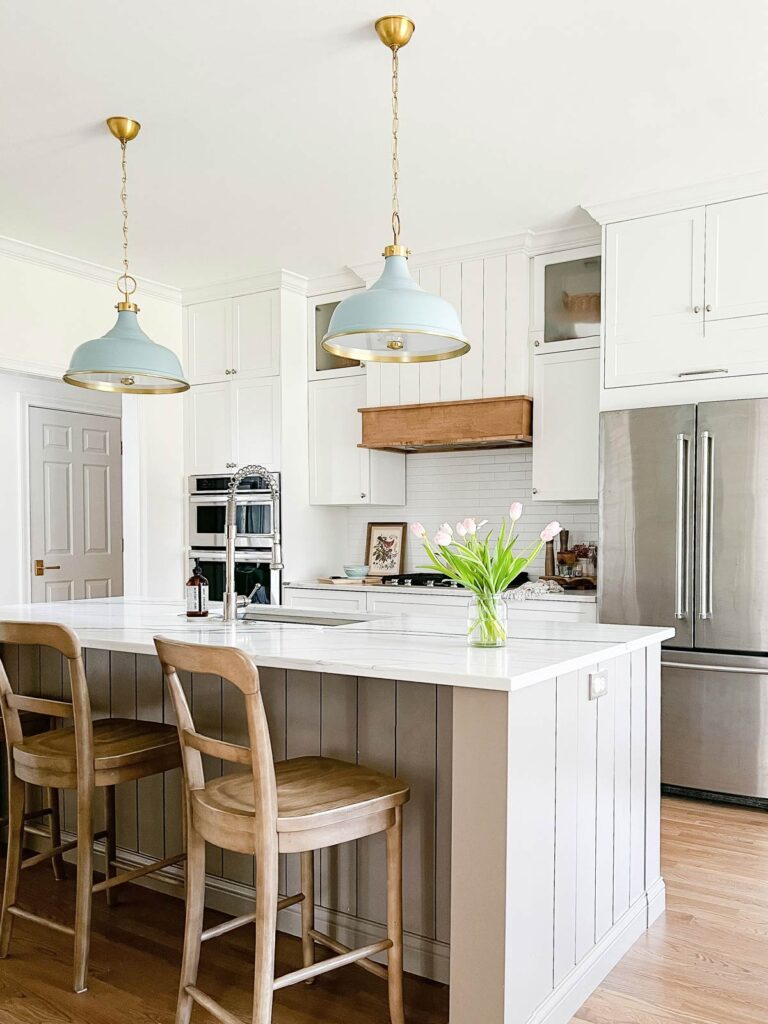
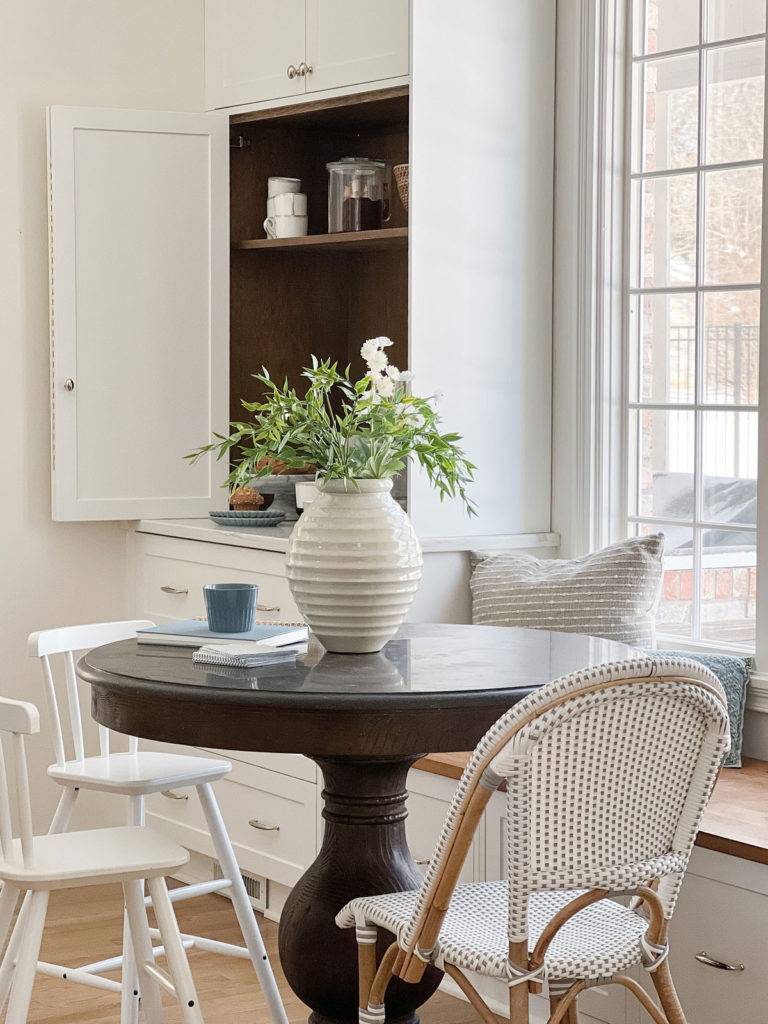
Creating an appliance garage or countertop hutch for your Ikea kitchen is one of the best ways to elevate it functionally. After living with our Ikea Kitchen for 3 years, we made a few adjustments to create this custom hutch. It perfectly hides all of the cords and clutter, but also looks beautiful when open!
Besides determining the size or your cabinet you will use, the other decision you will need to make for your appliance garage is how the door(s) will open. This is specific to your cabinet arrangement, function the cabinet will serve, and ability to “hack” the cabinet. Although Ikea’s hinge offering is high quality, they do have limited offerings for the type of hinges and resulting door openings you can source from them. The great thing about the affordability of an Ikea kitchen is the potential to have a little budget flex and really upgrade certain other features.
The three options for an appliance garage, or countertop hutch, that I considered for our cabinet and include in client projects are:
- Traditional opening Doors
- Ikea Flip Up hinges
- Slide in doors
- Accordion Hinge Doors
Regardless of which option you choose, I recommend that when you build the Ikea cabinet you omit the bottom panel of the cabinet. This way, when your doors are open, your countertops are exposed making for a more custom feel. It also allows for a more continuous surface for you to pull appliances out from behind the doors.
Traditional Hinge Doors for an Appliance Garage
This is the easiest way to install an Ikea kitchen appliance garage, because you don’t need anything special. It is just the typical Ikea Sektion cabinet (either the “high” depth 15″ or base depth 24″) installed on your countertop. For this option you would just use the standard Ikea Utrusta hinges. My friend Erin has an example of the traditional hutch doors in her DIY Ikea kitchen. She also has an awesome tutorial on creating a pull out appliance shelf on her blog, read about it here. This option works great in a lot of applications. Especially if your cabinet doors being open won’t interfere with the flow of using your countertops. I really like this option for locations where the hutch is a shallower depth (the 15″ cabinets) on top of the full depth base (24″) and the doors are 12″ or 15″ wide. This ensures that when the doors are open they are not overhanging the countertop in a cumbersome way. This option is also great if ease of install is priority, because it requires no “hack” to upgrade the Ikea kitchen cabinet system. For our kitchen, the door closest to the window being left swung open, interfered with sitting on the bench seat. This is why it was not the ideal option for our appliance garage.
Ikea Flip up Hinge door for an Appliance Garage
This Ikea hinge is a great option for a shorter height cabinet that you will have at eye-level or higher. Otherwise, the flip up can block your visual of what is in the cabinet. You don’t want to be ducking below the door to see what is in your appliance garage. I think this option would work really well for a pantry cabinet where you may want an elevated location for hidden small appliances that don’t need to be at counter height. Alternatively you could use another hinge like this swing up one. You would need to carefully check the specifications to ensure it works with your configuration. I have personally not yet used this in a design to determine how well it would work.
Slide in Doors for an Appliance Garage
This is another great option that I originally detailed out for our appliance garage. Because the doors need to “slide in” around your cabinet, you have to plan for a clearance, or gap, between the Ikea Sektion cabinet frame and the surrounding panels. This requires a lot of planning when you have a stacked cabinet, like ours. In our instance, the base cabinet drawer set was 36″. Stacked on top of our appliance garage cabinet was another 36″ wide cabinet. To create the clearances with the panels, our appliance garage would need to be a 30″ wide Ikea Sektion cabinet. This would give 3″ of gap on either side for the doors to slide into. In most applications, this would be completely fine. However, we really wanted to maximize the amount of space inside our appliance garage cabinet. Losing those 6″ made the inside opening smaller than we wanted. Designer Anne – Marie Singer has a great breakdown on how she built her slide in door cabinet using Ikea cabinets, read it here!.
Accordion Hinge Doors
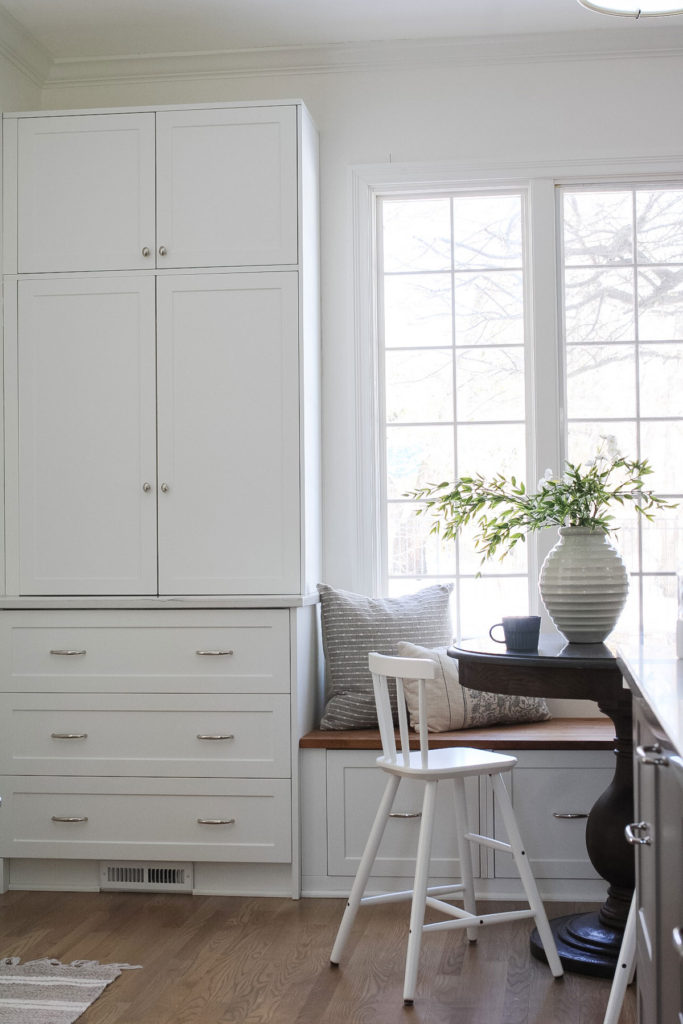
The final option I considered for our appliance garage, were the accordion doors we ended up going with. The benefit of this option was that it was relatively easy to “hack”. I used standard Ikea hinges on the open side, and a simple piano hinge to connect the folding doors. Personally, I loved the traditional look that the folded doors provide when they are open. Which is much of the time for us! For my specific kitchen this option worked really well because the cabinet is next to a wall. When they fold up they are not interfering with anything. It allows the window side to be clear so my boys can stand on the bench and help. This keeps the bench seat easily accessible.
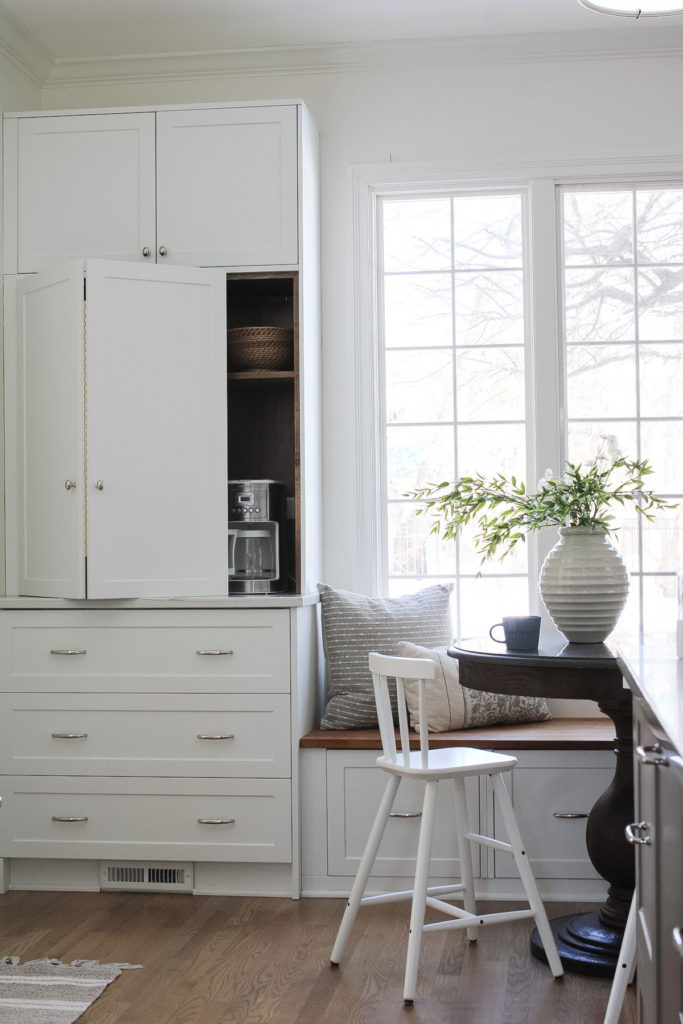
TIP: to keep the backside of the doors looking custom, I ordered the hinge (wall side) as a standard 18″ w X 40″ high door. The side that folds in (window side) I ordered as an “undrilled door” 18″ w X 40″ high. The undrilled door had no drillings for the Ikea hinges, so it is a smooth flat surface on the back. This is completely unnecessary if you are buying your doors directly from Ikea and don’t have the option to specify this “custom” detail. All of our kitchen doors and panels were sourced through Semihandmade, and you can read more about it here.
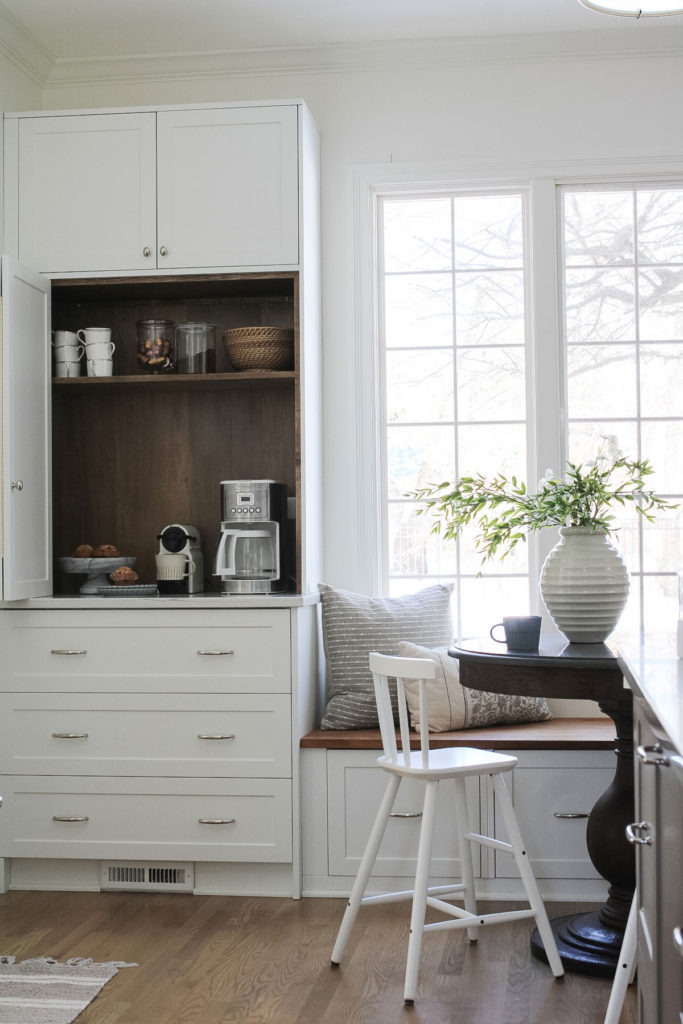
Appliance Garage Details
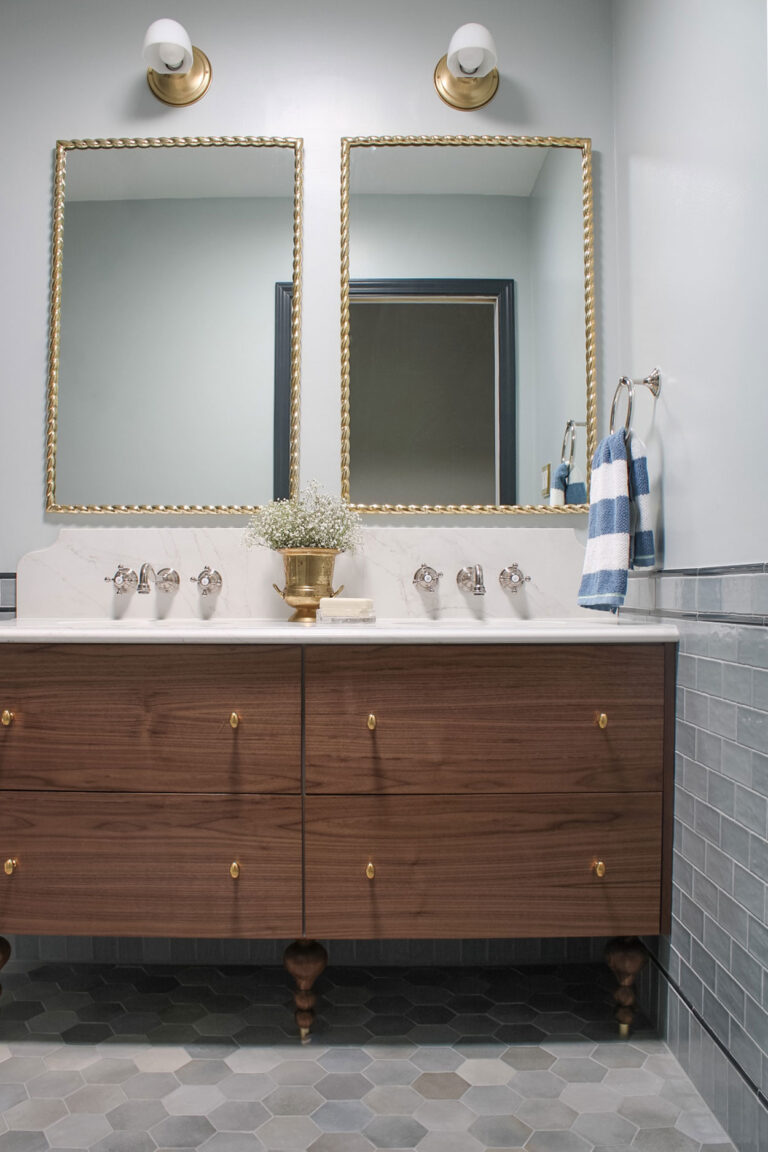
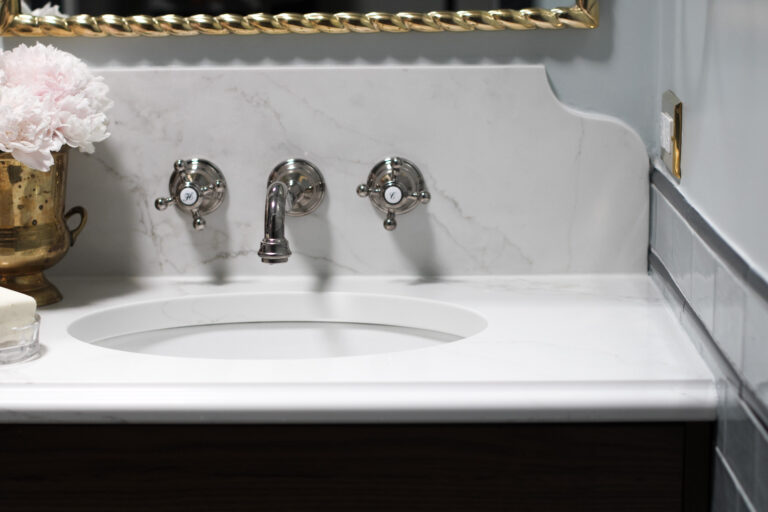
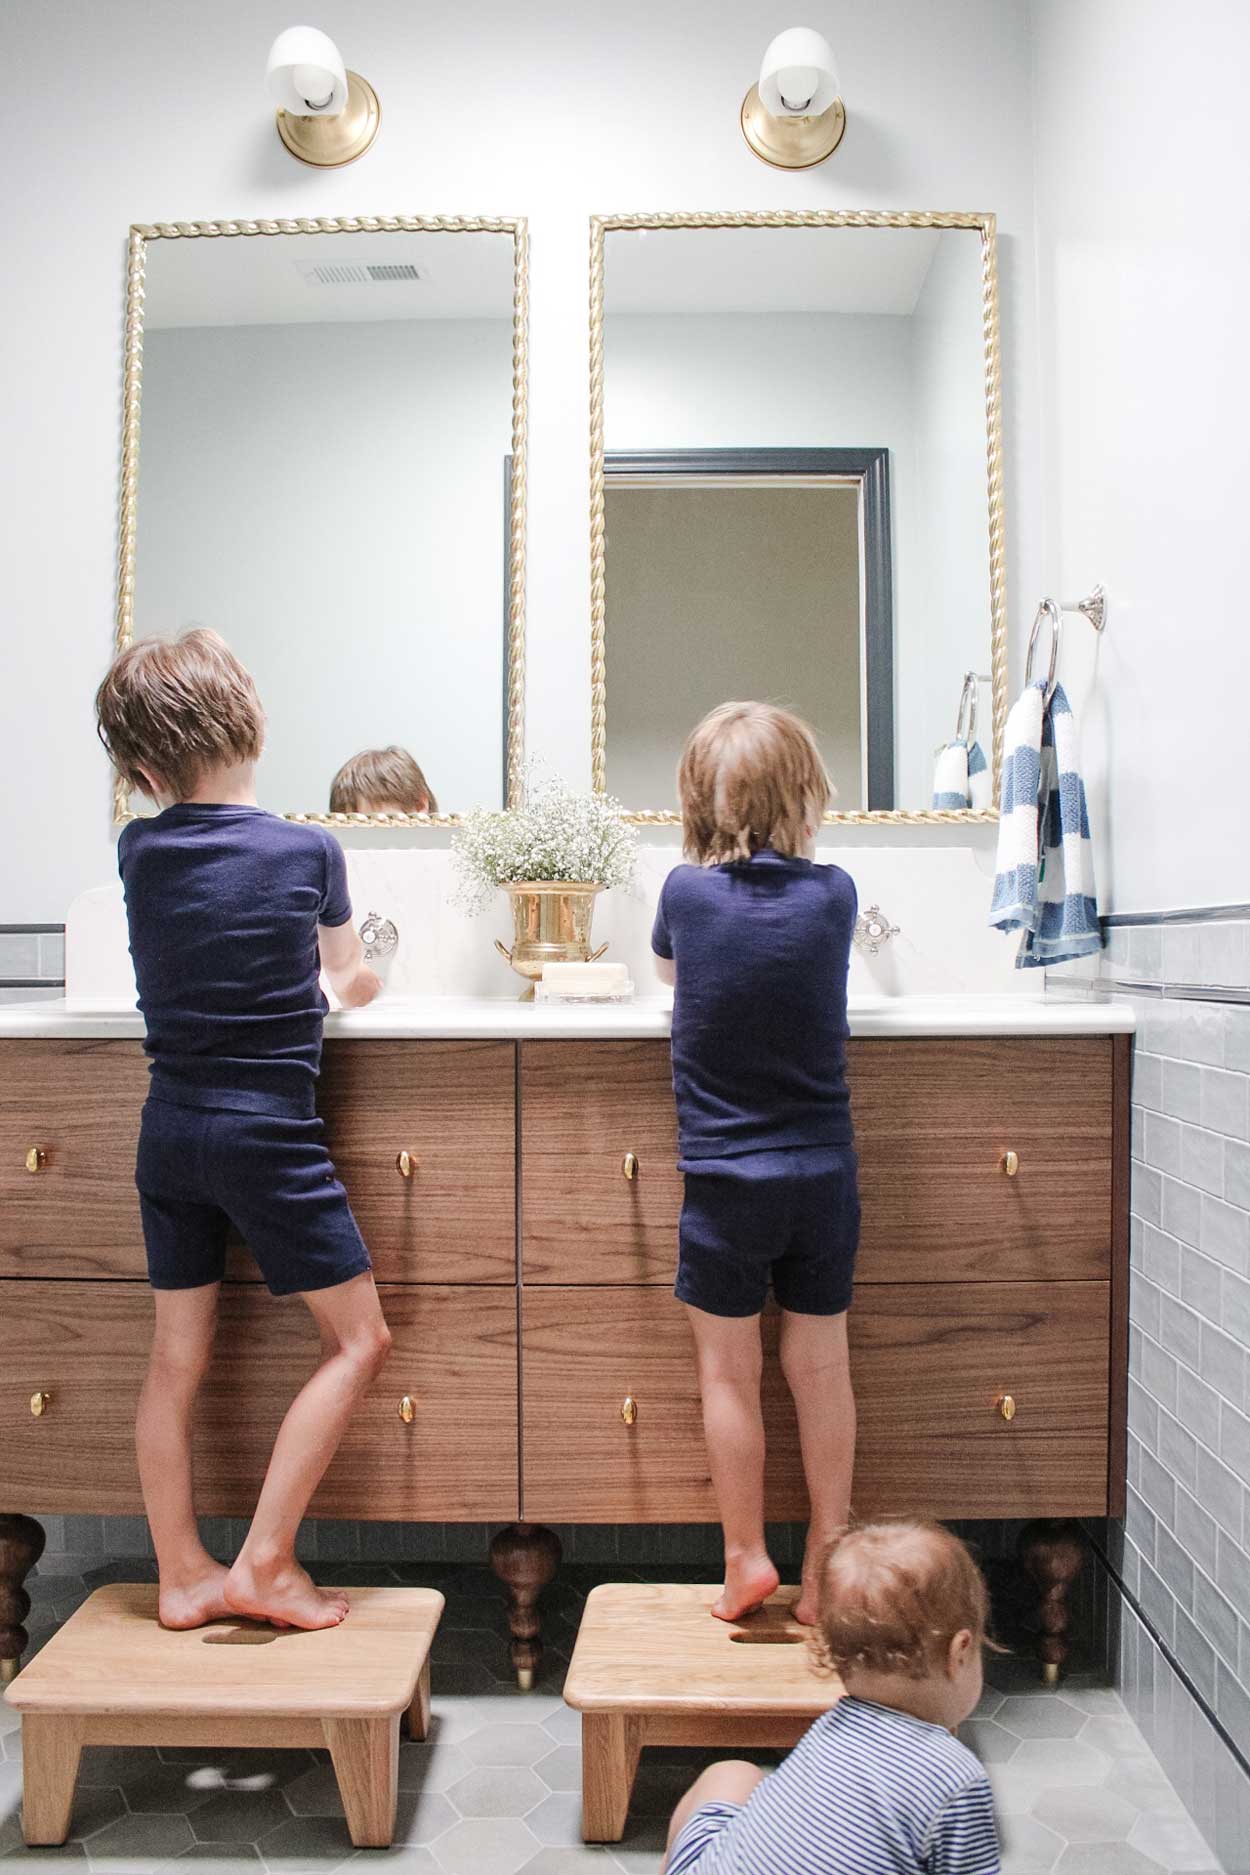
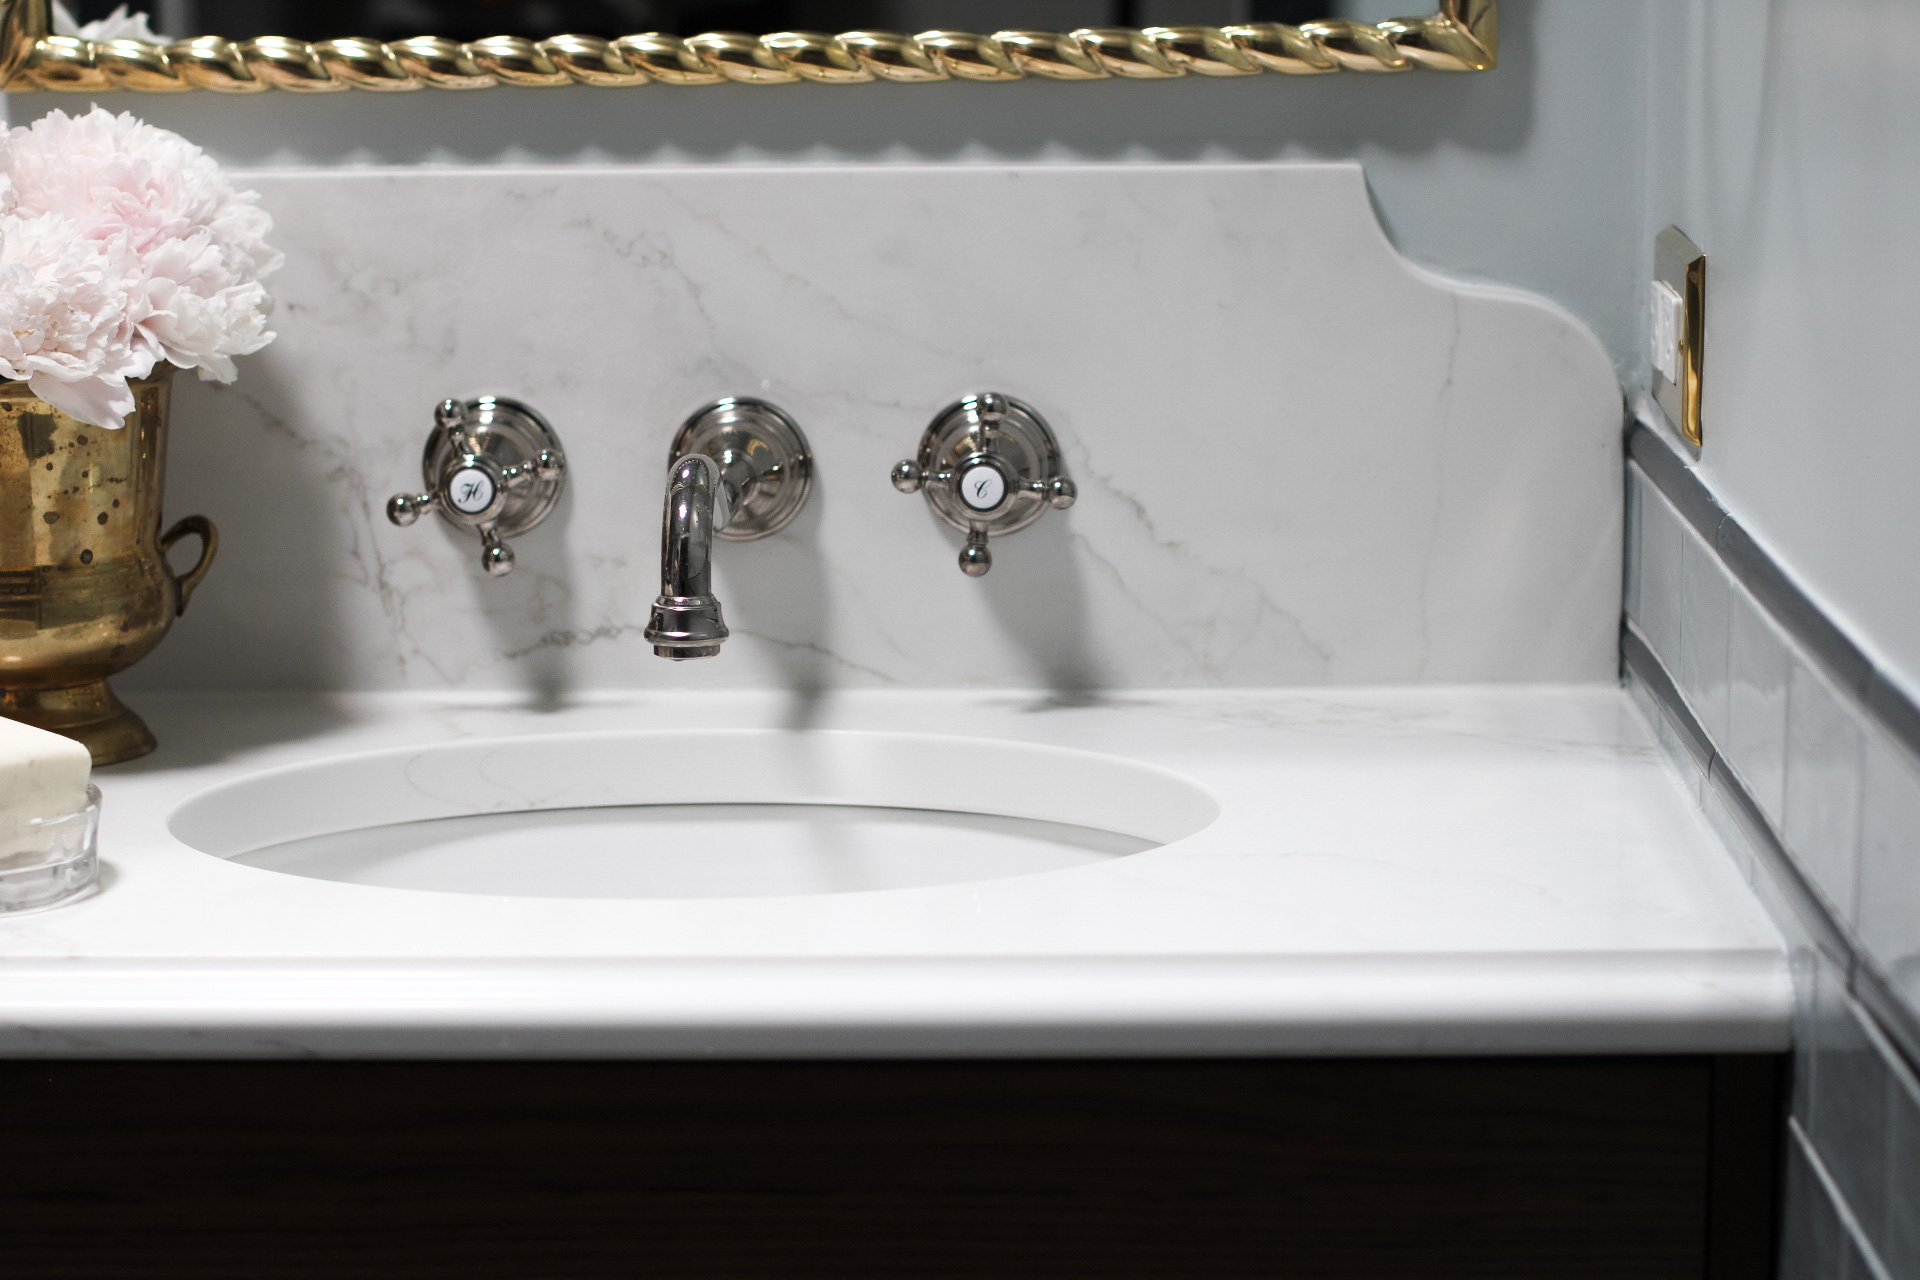
Our appliance garage has it’s doors left open a significant part of the day because it stores our coffee maker, and we drink it all day long. For this reason, I really wanted the inside of the cabinet to be beautiful to look at. We opted to switch out the Ikea Sektion frame, and build our own using maple ply. To do this we just replicated the exact dimensions of the Ikea cabinet frame. We then stained it to match the other wood details in our kitchen. This stain really compliments the walnut details we have used in other rooms of our home, like the Ikea Godgmorgon Vanity in our boys’ bathroom renovation.
Sources
This post contains product links that may contain affiliate links. When you use the link to make a purchase, I may make a small commission. This is not an additional cost for you, but helps me to produce this blog and content for you to enjoy. My full disclosure is here. Thank you!