How to: Affordable Home Office Storage from Ikea Cabinets
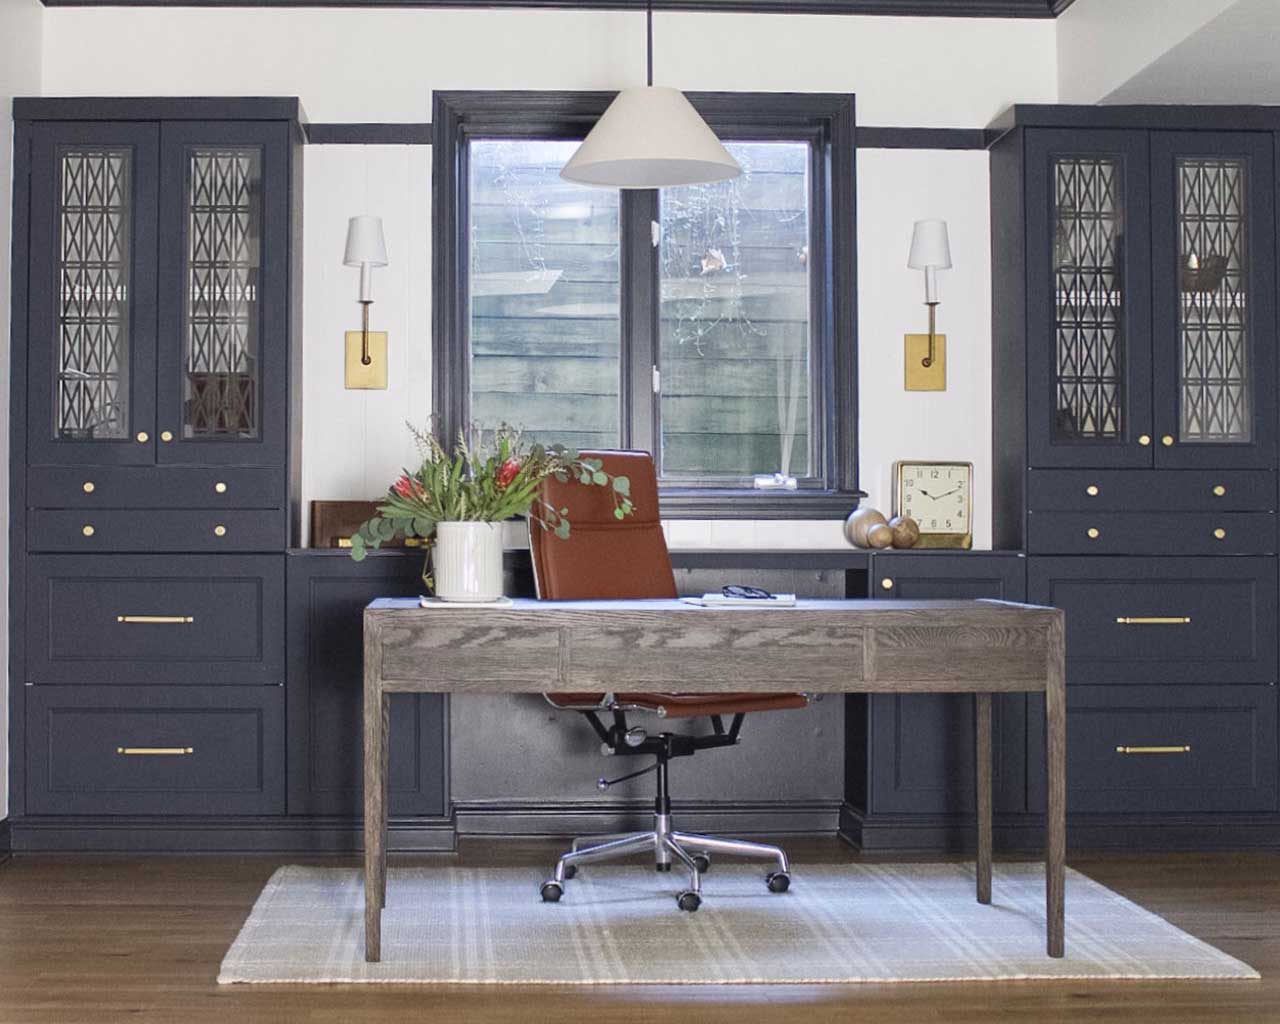
Our home office is my favorite Ikea cabinets hack yet! When we were renovating our basement home office last fall as part of the One Room Challenge (see all about it here), the built-in desk was the focal point of the entire interior design. This Ikea hack was the perfect way to add storage to our small space on a relatively small budget. Adequate storage was a priority, as this serves as my husband’s dedicated home office. I also wanted something to serve as a beautiful background for his all-day Zoom calls. Note: he doesn’t care about this like I do. This is also the first thing you see when you walk down the steps into the basement, so high visual impact is important.
The priorities for this built-in desk were:
- Maximize storage
- Provide a secondary work surface that could be flexible
- Create an aesthetic impact to the room and a great Zoom background
- Keep the project budget reasonable
- Separate the office desk from the remaining living space
Maximize Storage utilizing Ikea Cabinets
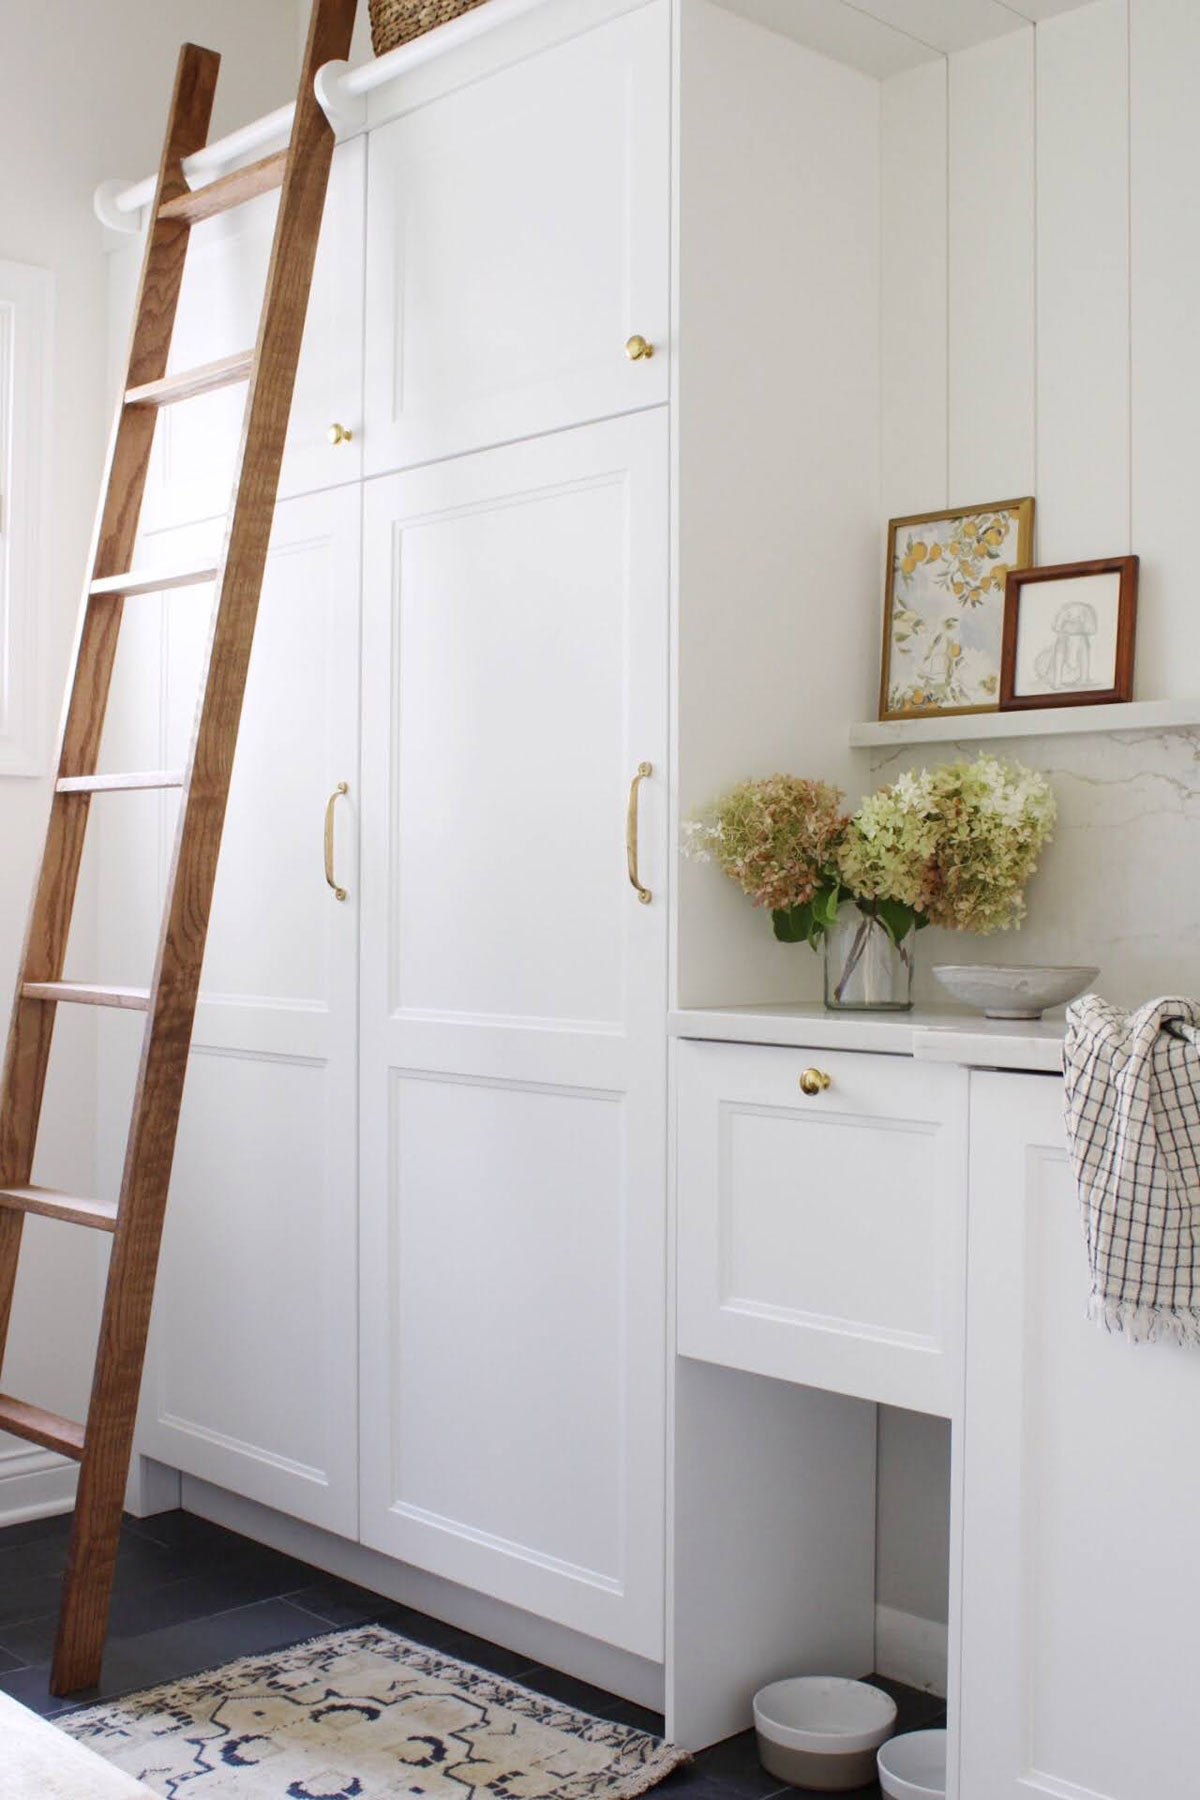
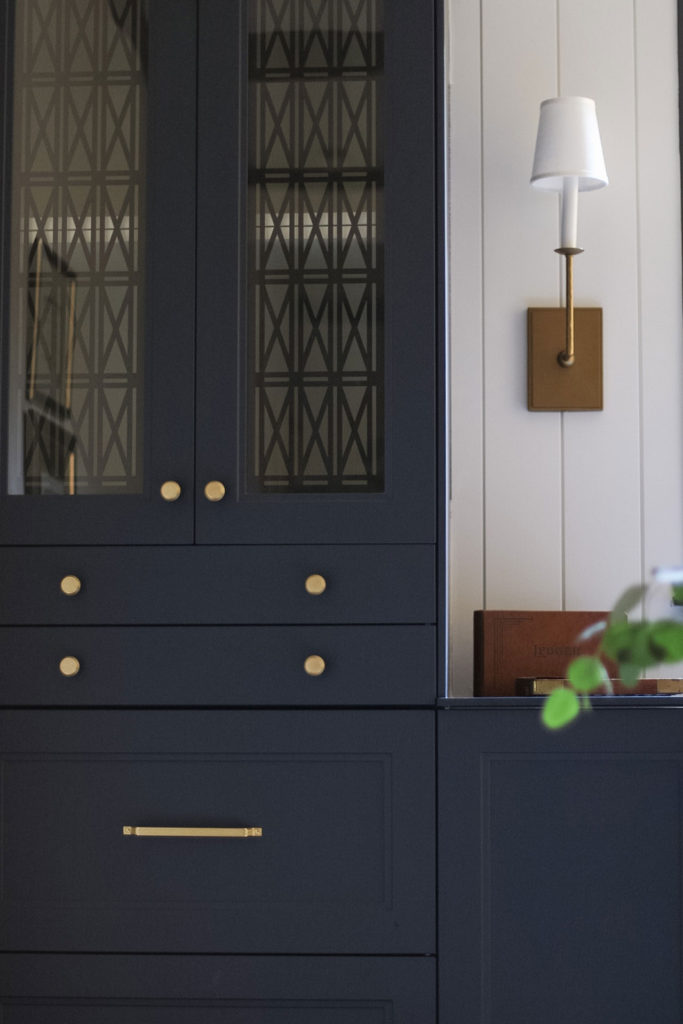
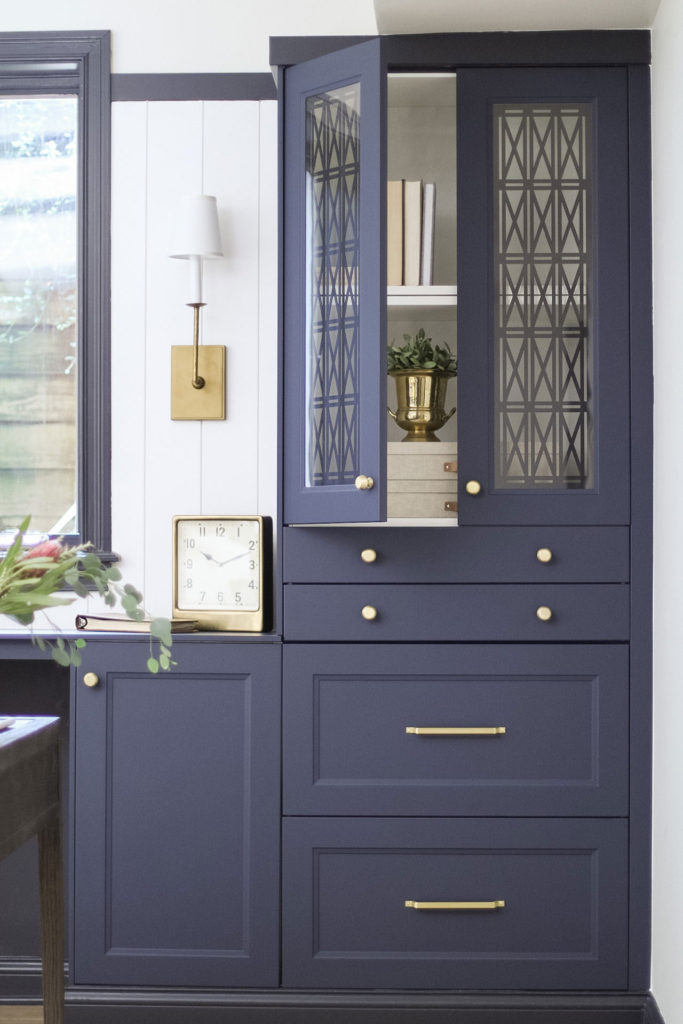
Because the basement is a tight space, standard 24″ deep cabinets take up a lot of the limited floor plan. This pushes the writing desk out into the den/ living room area. I ended up using the 15″ depth cabinet offering to prioritize more floor space as compared to deeper storage units. Because of this, I wanted to be thoughtful about the storage across the wall. The large drawers provide enough space for filing storage (more about that here). The lower door cabinets are perfect for a perfect place for a trashcan and our small printer behind closed doors. The upper hutches work perfect for storing books, awards, and baskets for stowing away supplies in the drawers. I love the idea that this area is serving as a functional home office, but could also transition to more of an “entertaining” bar area if we needed it in the future.

Provide a secondary work surface that could be flexible
The height of the lower cabinets is 30″ + the height of the Ikea toe kick (4.5″) or your alternative baseboard height. We chose to stretch the “desk top” over these cabinets which gave us a slightly higher than standard desktop height. For our purposes, this works well because this desk space is not our primary work area. If you wanted to keep the height of the desk at a more standard 30″ you could omit the door cabinets from your design. You would then have the desk float between the two taller hutch cabinets. You could also raise the middle desk area to a higher height and create a standing desk option.
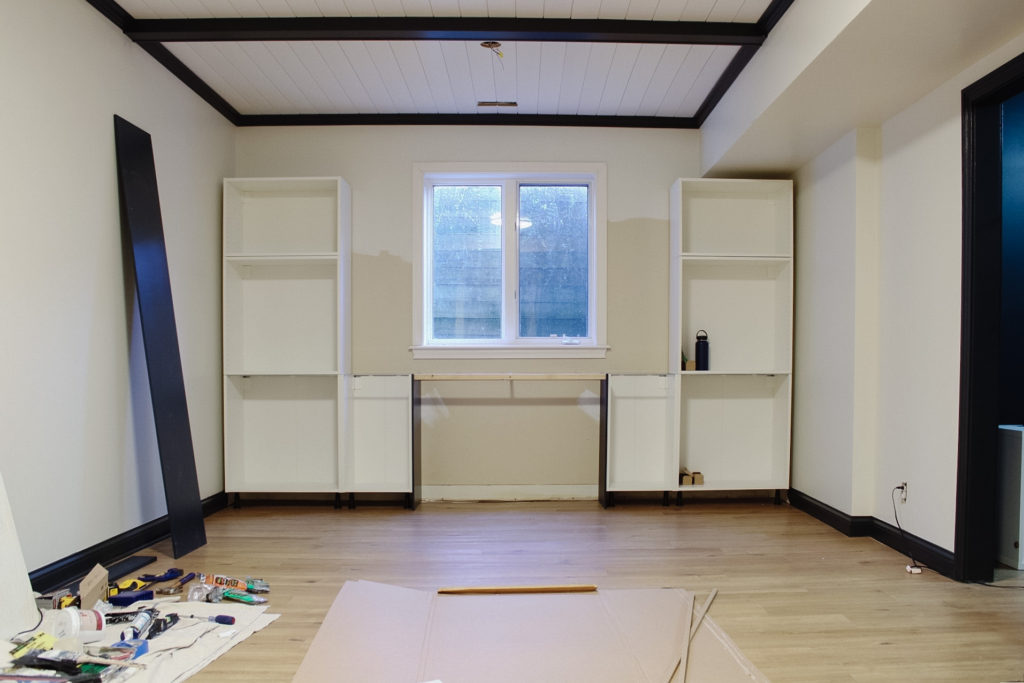
This particular countertop was built by anchoring 2″ x 2″ dimensional framing lumber into the studs and facing it with a panel. This was a very cost effective way to have the countertop be in the same color and material as the rest of the built-in desk area. Alternatively, a butcher block countertop would be another beautiful way to customize your desk.
Create an aesthetic impact to the room and a great Zoom background
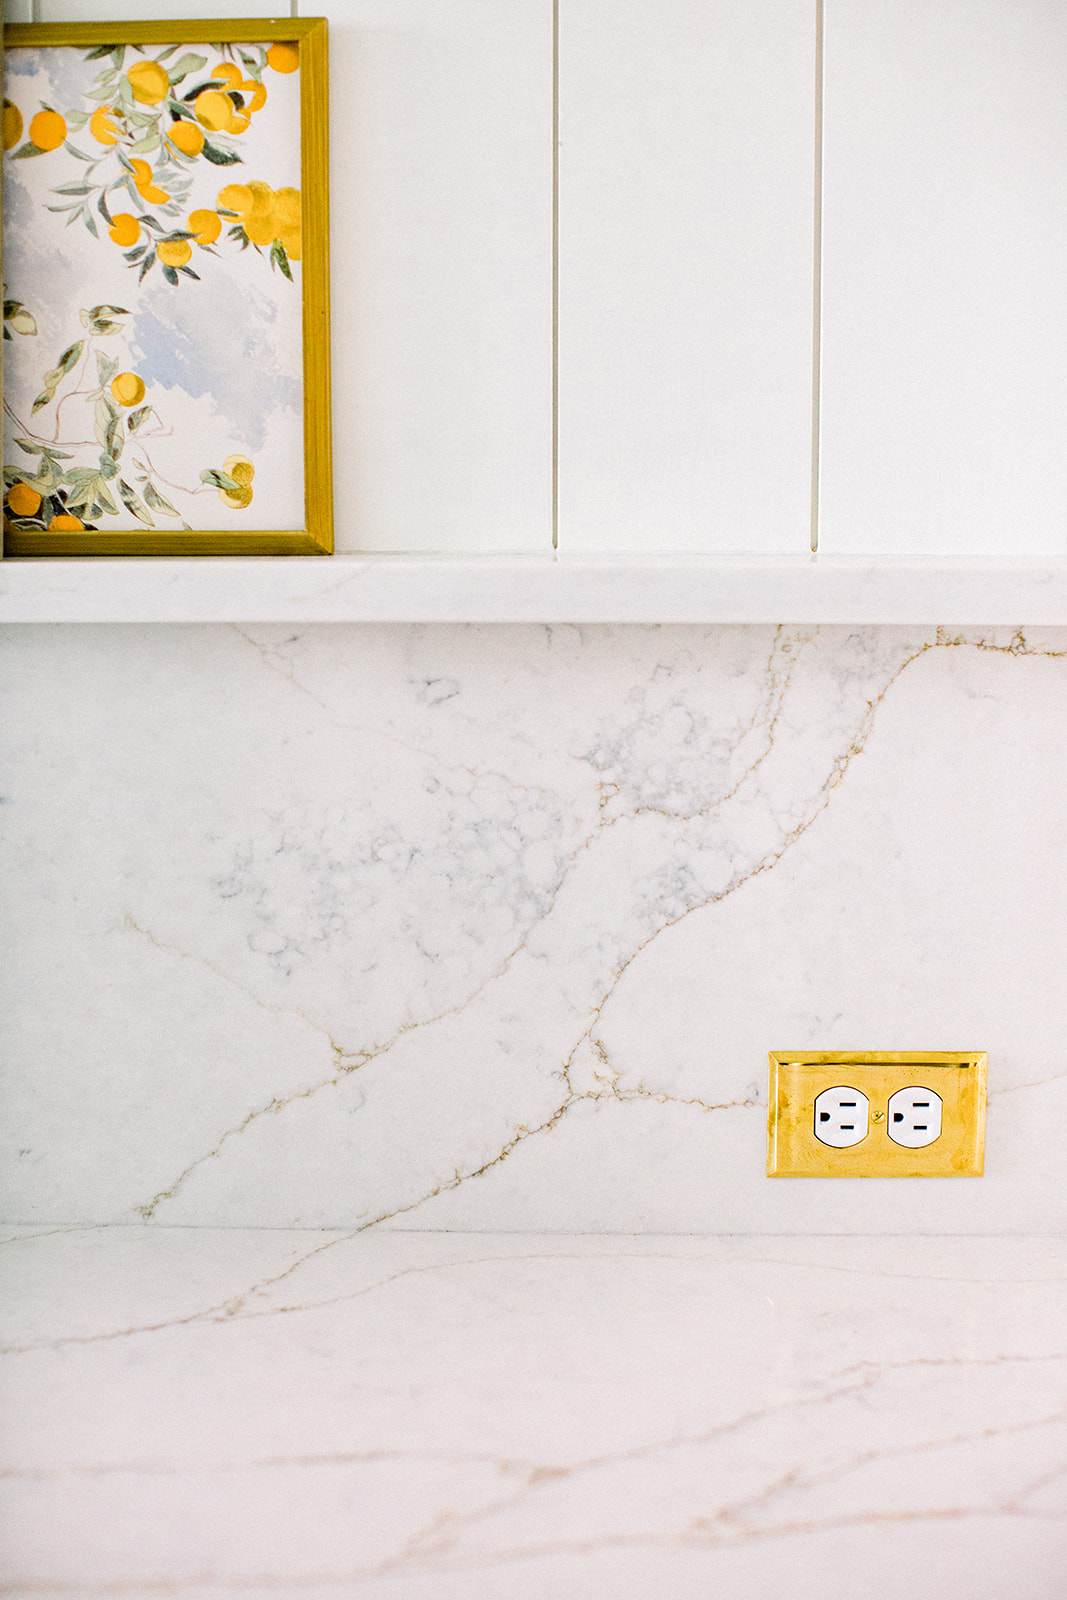
I really wanted to add an additional layer of detail to this design to make it feel more interesting. I used the glass panel doors and had custom screens made from a wonderful company, Modern Metal Designs. If you are interested in recreating this exact design for 15″ x 40″ Hancock pattern, you can email them and request the “House with Home Ikea Cabinet Screens”. I love that the screens add texture to the space, while helping to hide the contents of the cabinets. I installed the panels to the back of the glass doors using this tape . You could also attach with glue or small L brackets. The tape has worked really well and provided a clean look to the back of the doors when the cabinets are open.
Keep the project budget reasonable using Ikea Cabinets
If you are a regular follower, you know that I am a strong advocate for using the Ikea cabinet system. More on that in this post! They are affordable, accessible, and can be customized to create so many beautiful designs. The great thing about these Ikea pieces are the flexibility to change and adjust the internal fittings, like shelves or pullout drawers, as the needs for your cabinets evolve. For this project, it was an easy decision to use the product that I love designing for clients and have used in my kitchen and mudroom. I debated using an alternative door company like Semihandmade which I used in our kitchen, and I absolutely love. However, this space is in the basement and budget was a priority, so I decided to stick with the Ikea Axstad in Blue. With the cost savings from sticking to Ikea only product, I was able to really focus on using the cabinets as the base and upgrading the overall look with the Modern Metal screens and door and drawer hardware. The Ikea Axstad fronts come in a range of colors and have a timeless beveled shaker look..
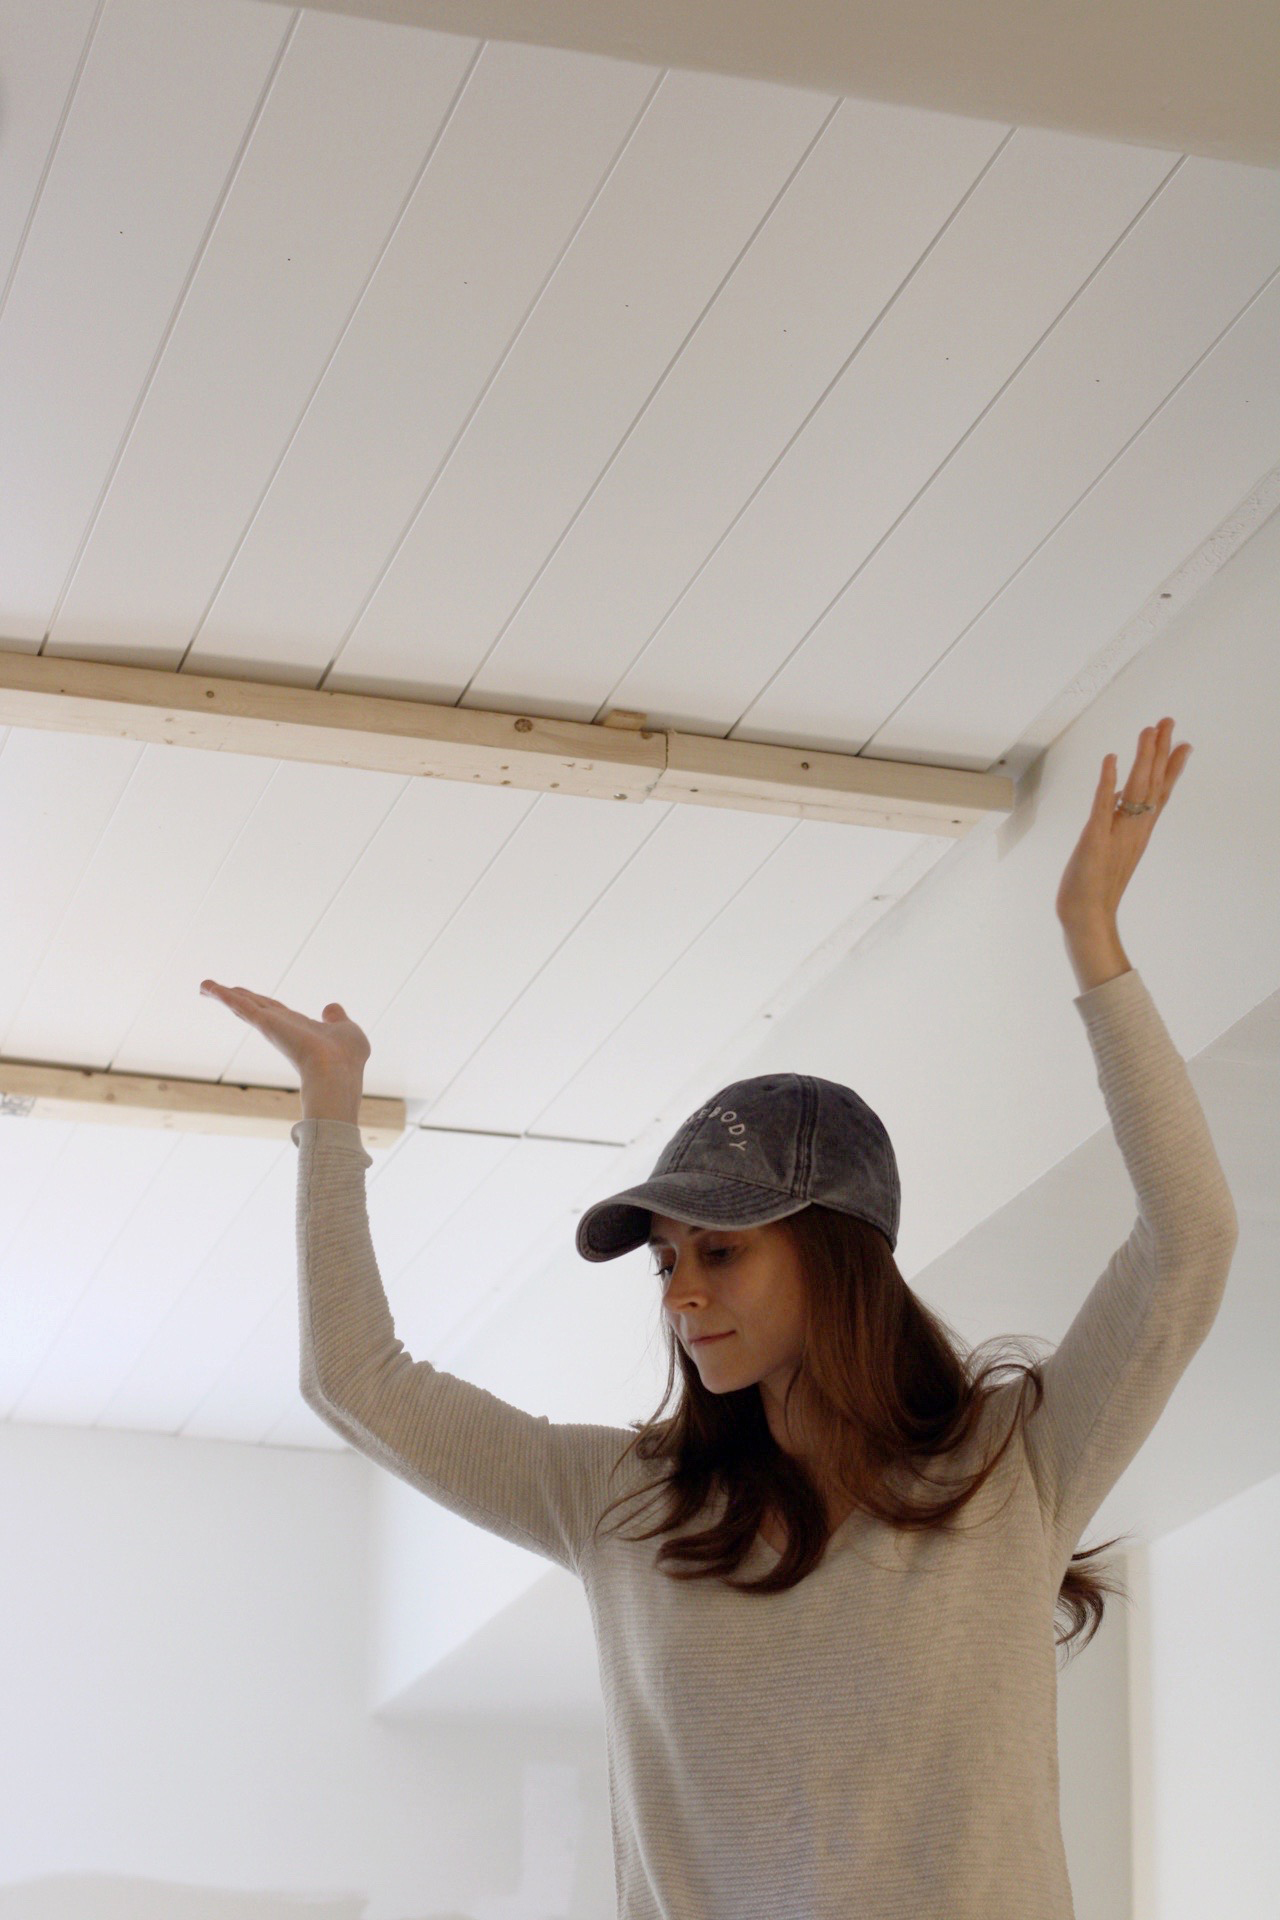
Trim and Details
To trim out the header we cut down mdf trim boards. I also opted to wrap the existing room’s baseboard under the cabinets rather than use the Ikea toe-kick that snaps on to their adjustable legs. If you do this, be sure to set your cabinets at the correct height to accommodate your baseboards! For the top “trim” and “baseboards” I painted them in Sherwin Williams “Ink Well”. This is not an exact match, but works well with our lighting. I also used this color I used for the adjacent walls and trim. I recommend taking a piece of trim in to your preferred paint store and have them color match it. I also like to color match to a few color swatches and get samples. Paint the samples on the back of a piece of the Ikea panel/ filler. Study these in your room at different times of day and in different lights to find a good color match.
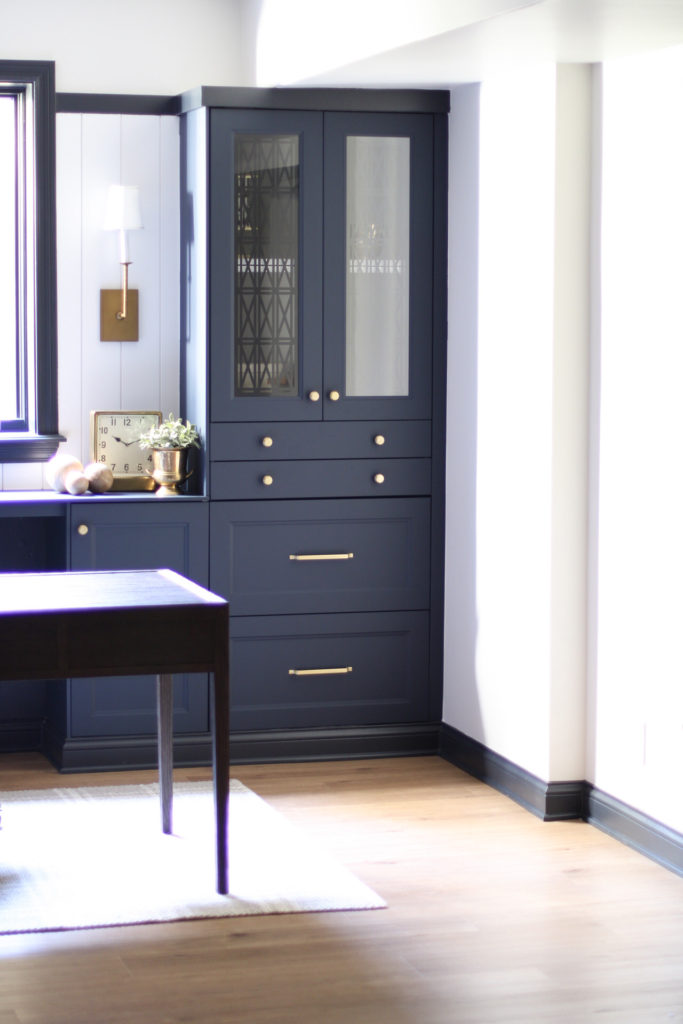
The overall width of the wall this is installed on is 12′-5 1/2″. The overall ceiling height is 8′-8″. The height of the cabinets (including the top trim) is 7′ 3 1/4″.
Do you want a more detailed drawing of the exact cabinets and panels that I used to create this design? I have put together a detailed drawing to help you better understand all of the components to build this built-in desk. Subscribe and download here.
Resources

How much does an Ikea Cabinet Bench Seat Cost?
I talk in depth about understating the pricing for Ikea Kitchen Cabinets in my post “How much does an Ikea Kitchen Really Cost?”. This information will be helpful if you are trying to determine is this is an affordable option with out going through the effort to fully design and estimate the cost off your item list.