How to Create a Custom Ikea Kitchen Island
Creating a custom kitchen island for our Ikea kitchen was one of the trickier parts of the process. I have loved using ikea cabinet frames and semihandmade doors to create an affordable, functional kitchen. However, using a modular system like this, requires a lot of creativity to achieve the custom details I had designed. Hopefully this post will help you plan your own custom ikea kitchen island, whether you plan to DIY or hire a carpenter to build around your ikea cabinets for you.
When we were planning this kitchen, there was a lot of balancing and adjusting plans to meet all of the constraints we had. Budget, timeline, aesthetic and materials were the biggest factors that shaped the final design and construction process we settled on. I hope this will help shed some light on the why and how we did ours this way, and be particularly helpful for those who plan to use an Ikea & Semihandmade kitchen. I am going to break down the planning process and then share the most important construction details we used. Because your island size and configuration will vary, this is not intended to serve as a set of plans on how to build your island. However, I am happy to answer any specific details pertaining to our design and will provide a follow up post answering these questions.
Initial Design: Aesthetic
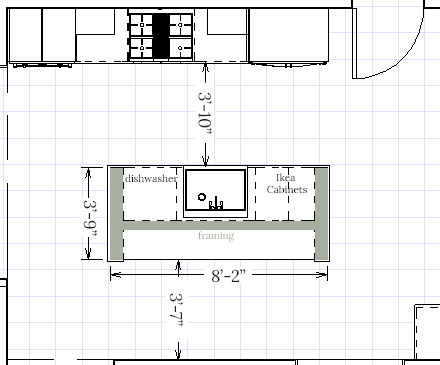
It’s no surprise that this where I start my planning. I wanted a substantially sized island but it had to fit into our space constraints. Initially, I started by setting the footprint and the desired walkways. The walkway between the main counters and the island needed to be wide enough that multiple people could be working in the space and not feel cramped. Another key consideration was being able to open the dishwasher and the drawer on the opposite side simultaneously. On the backside of the island, we had to leave adequate room for bar stools to be pulled out and still leave a walkway behind.
Since the perimeter cabinets and walls were set I played around with dimensions until I got the overall footprint set. Then, I worked backwards to fill in with cabinets and appliances. I started with the dishwasher and sink, due to their standard size. I then adjusted the remaining space for two Ikea cabinets, going back and tweaking the overall width of the island to accommodate what I needed. This part of the process is where you get into the weeds, going back and forth between the function and aesthetic you want. It was important to me that the overall island size felt balanced, not too long and slim or too big or small overall for the space. I also had to keep in mind what functional cabinets I wanted to house in the island- a trash can pull out and a drawers for storage.
Next Step: Materials
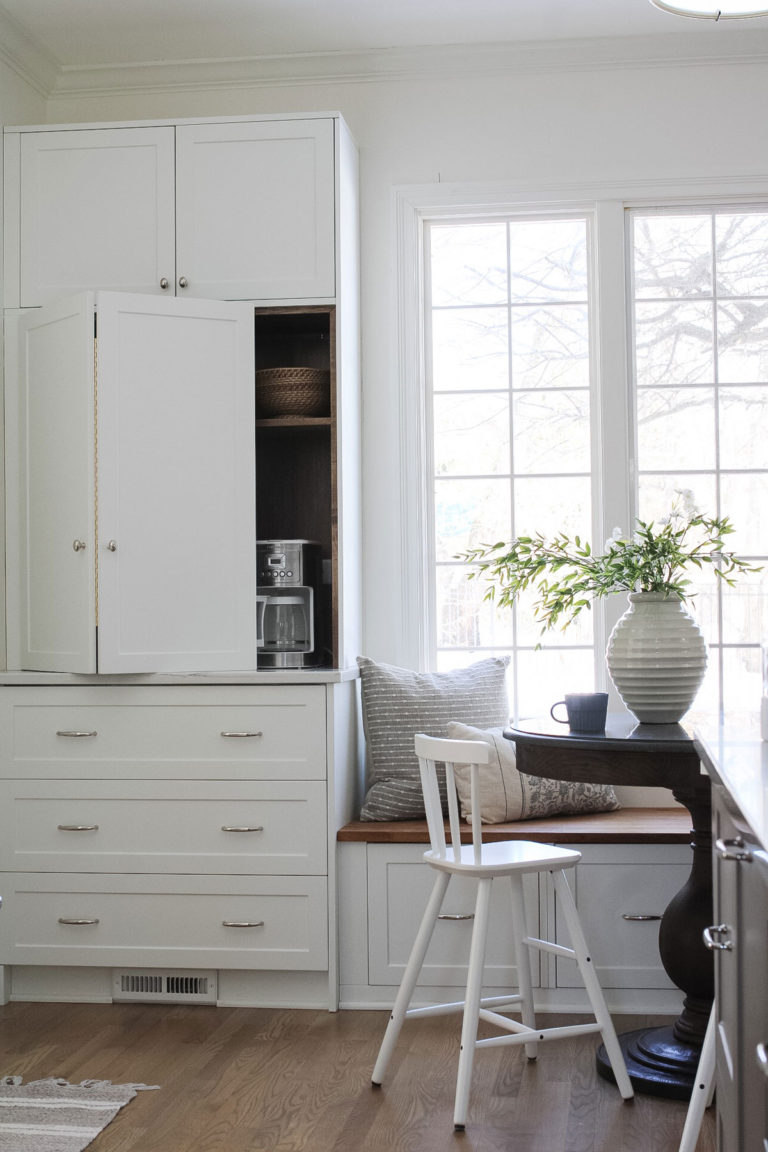
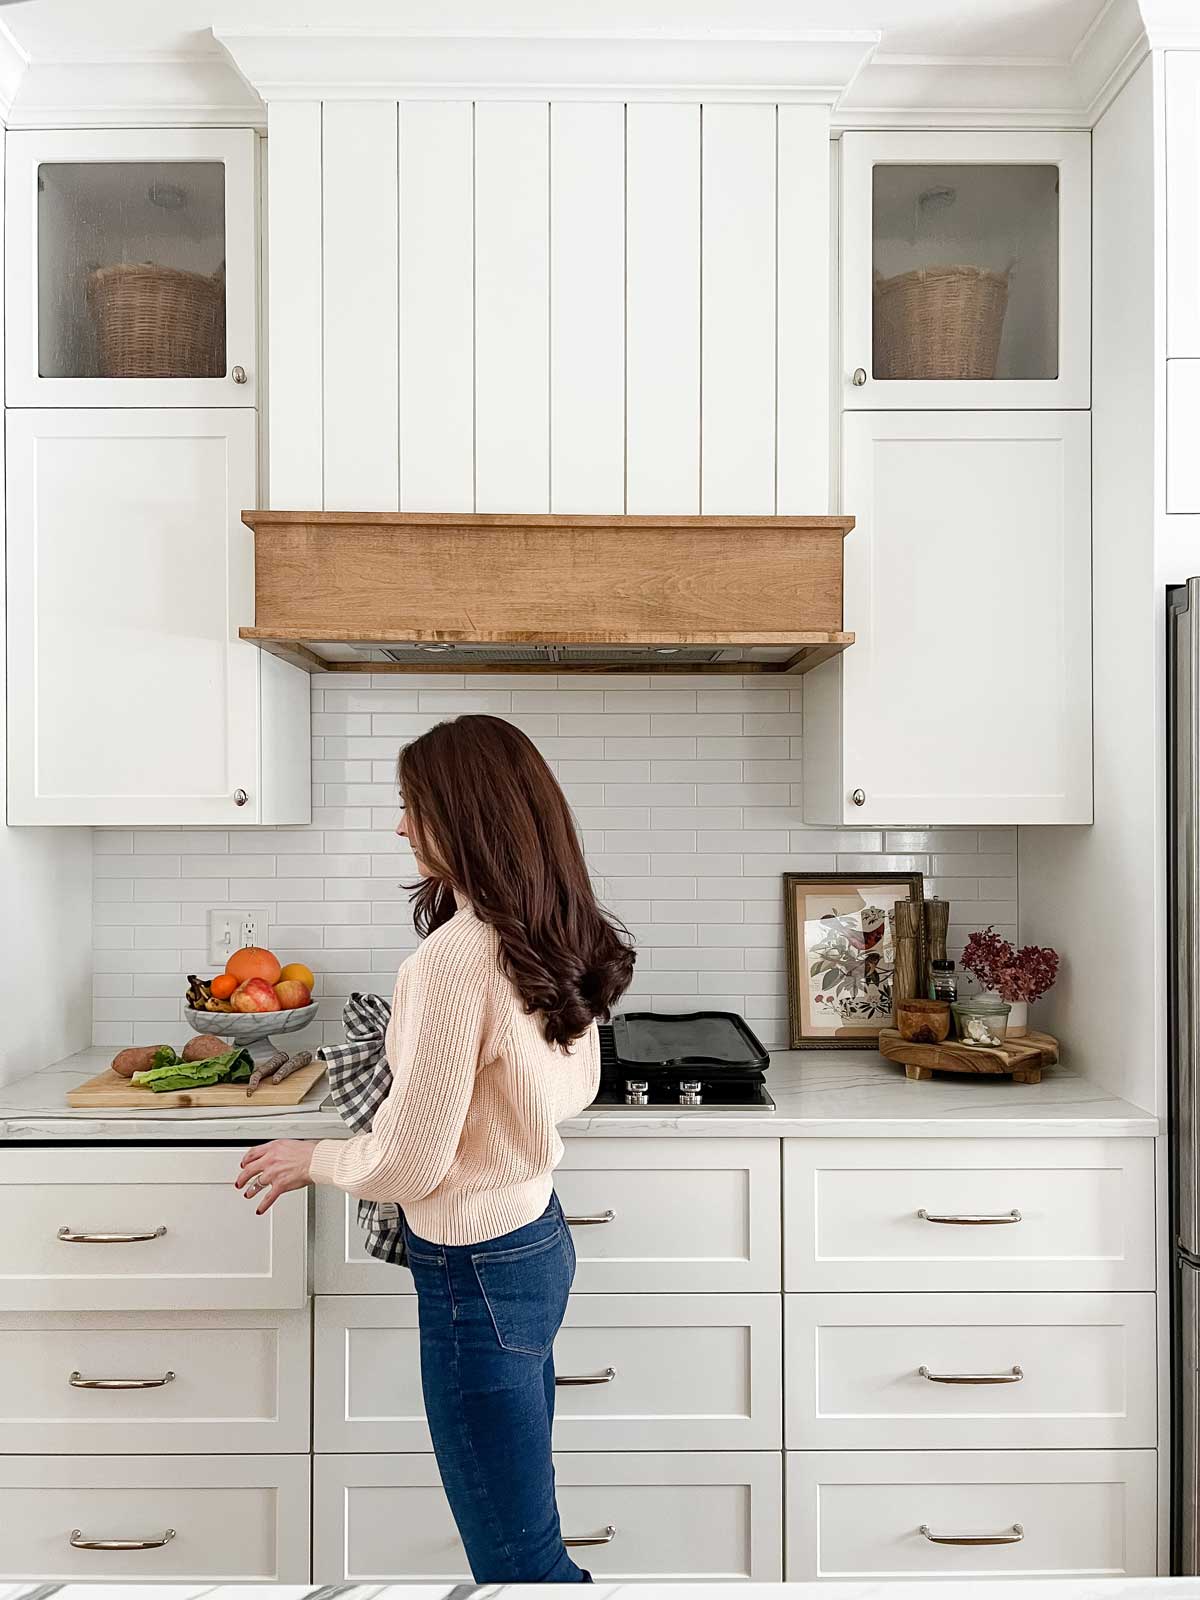
I originally had my heart set on a cerused oak island. However, both budget and timeline quickly ruled this out. I knew it would be expensive to have a custom island built and finished. I had an extremely difficult time finding a good carpenter that I trusted would build it to my vision and be able to replicate the finish I wanted. Because we were on a time crunch, I ran out of time to source this trade. Ultimately, I knew it would feel more consistent to continue the same ikea cabinet frames with semihandmade doors onto the island that we were utilizing on the perimeter. I decided that going with a warm grey, SM Matte Light Grey, would provide the same warm feel and that I could add wood details into the vent hood, shelving, and window seat.
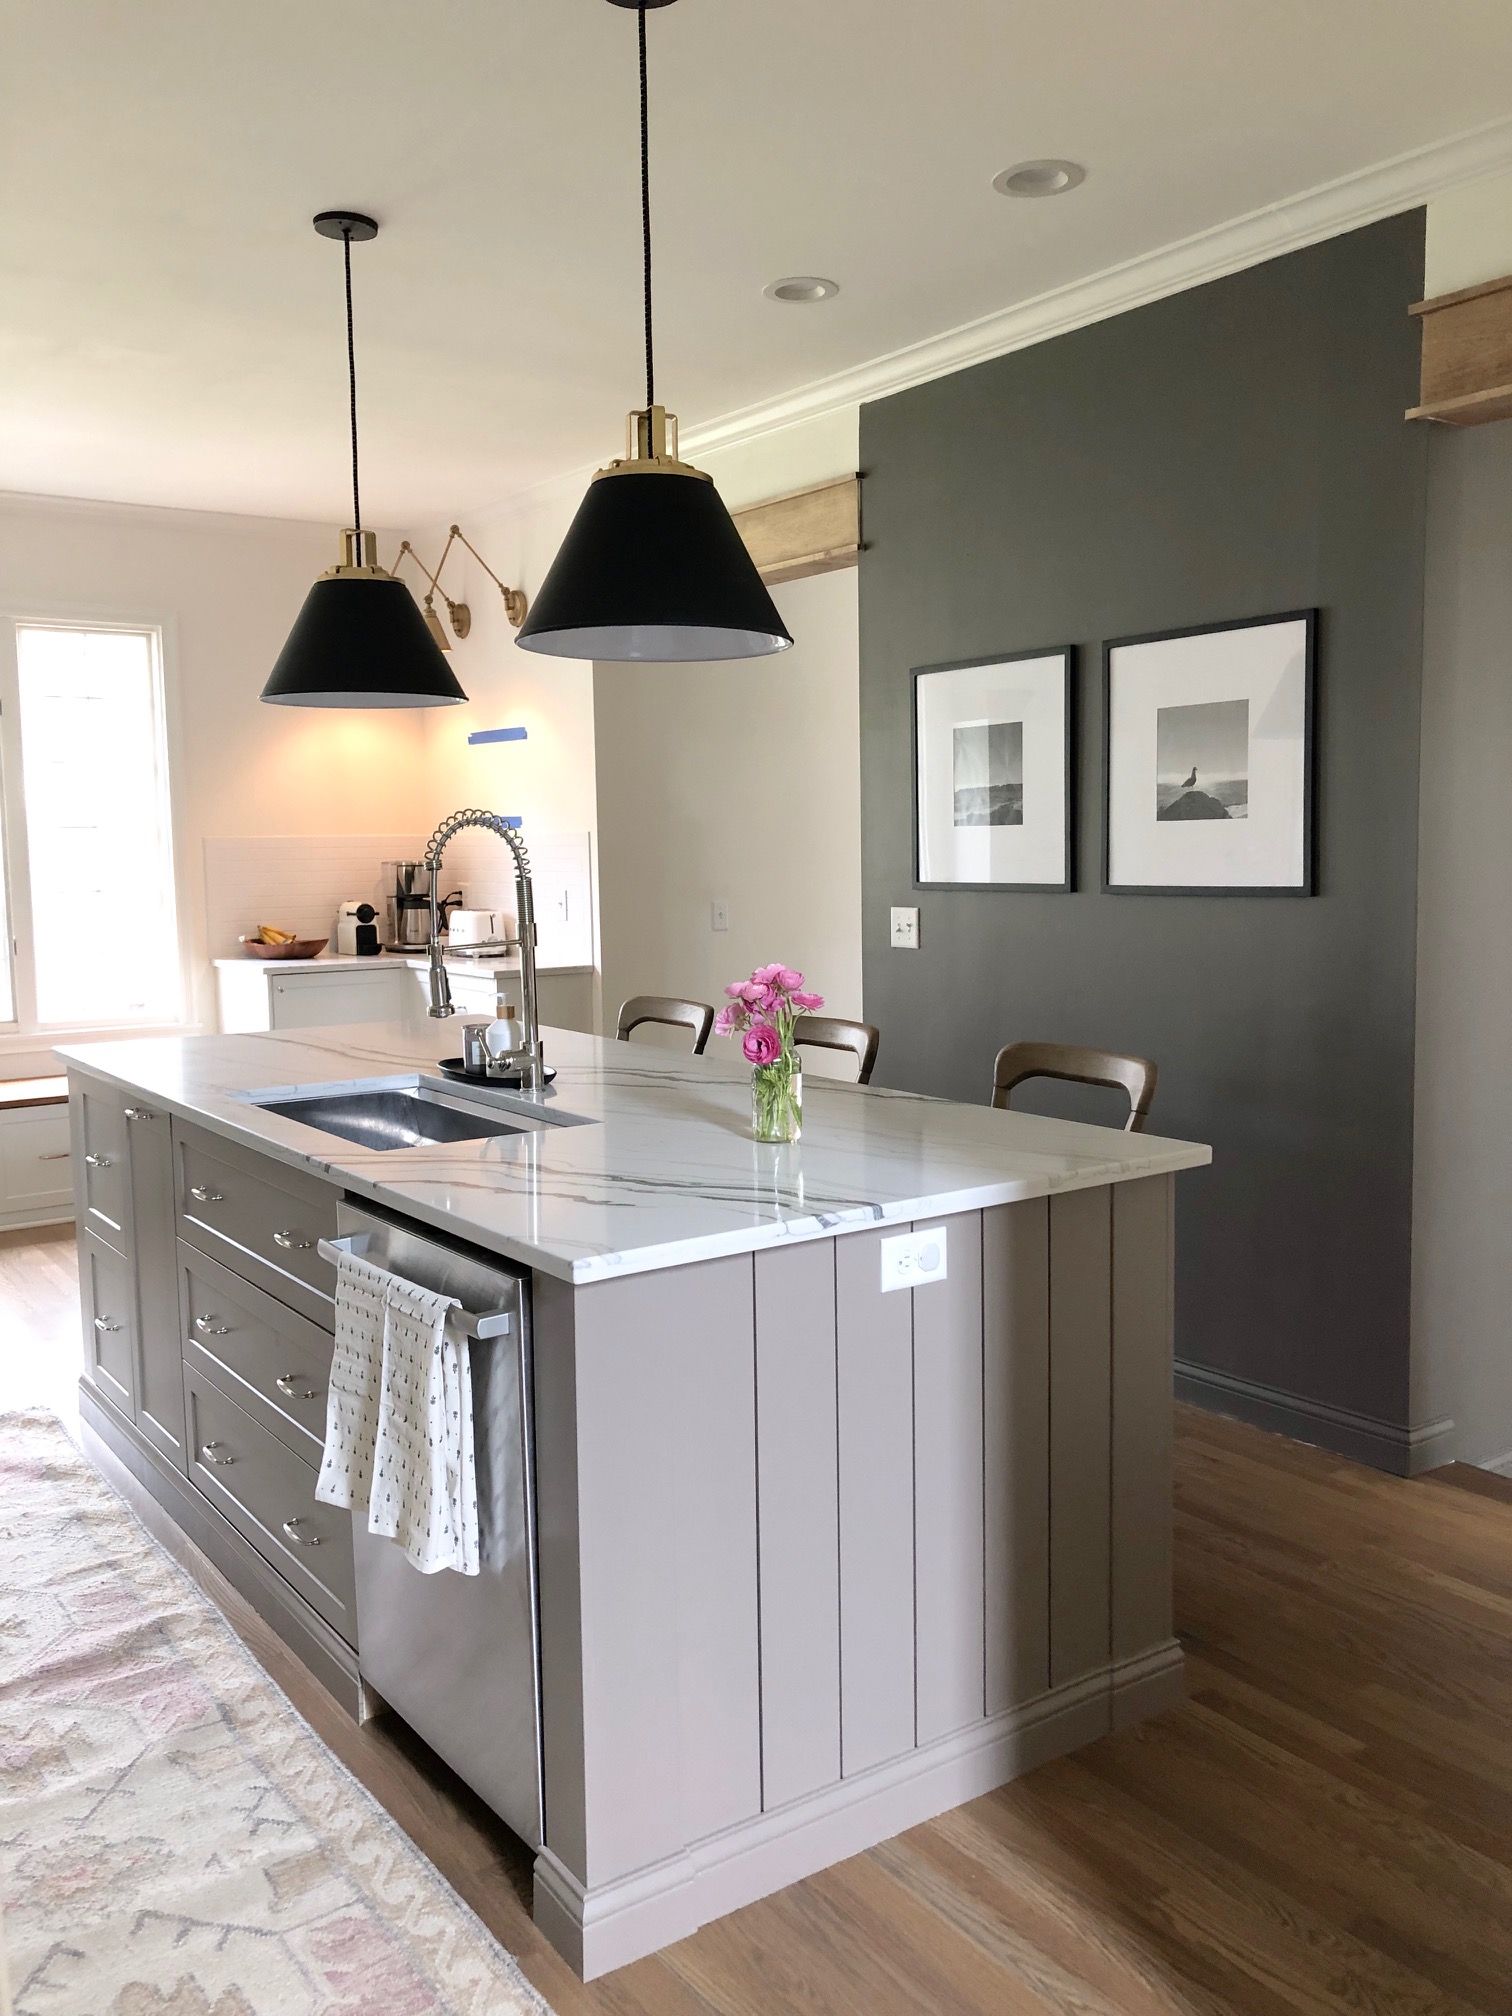
Once I had settled on the grey Semihandmade doors for the island, I had to figure out the best way to finish the perimeter of the island to have the same finish. Initially, I tried adjusting my design to use the prefinished semihandmade panels. This is a totally do-able option if your island design were to have less detailing than what I was looking for. You will have to really work with their available panel sizes to find a configuration that is right for you. Ultimately, I wanted vertical paneling on my island, so I knew their product was not the right choice. We decided to clad ours in this metrie shiplap product and then trim it out with the same baseboard as the rest of our house for a more traditional finish.
This left us with a big debate over:
Do we buy the Semihandmade SM Light Grey doors and then have the perimeter of the island painted to match the color?
Do we buy the Semihandmade DIY doors – their unpainted product- and have the entire island and doors sprayed to a custom color of my choosing?
I ended up deciding on using the semihandmade pre-painted doors. I really liked the idea of a consistent “factory finish” feel to the doors. It also opened up several options for us with how we would paint the island. We ended up hand painting the island using paint that was color matched to the door fronts. I will share the details on how we did this in a future post on painting to match semihandmade products, so stay tuned!
Building the Island
My husband, an accountant not a contractor, rocked this project. It took a lot of planning and calculation to ensure it was centered, square, and took into account all the details we had planned. But, this is a completely DIY project with careful planning, the correct tools, and basic carpentry skills. We do not intend this post to be a plan set for building your island, but a guide to the basics of how and why we did things the way we did.
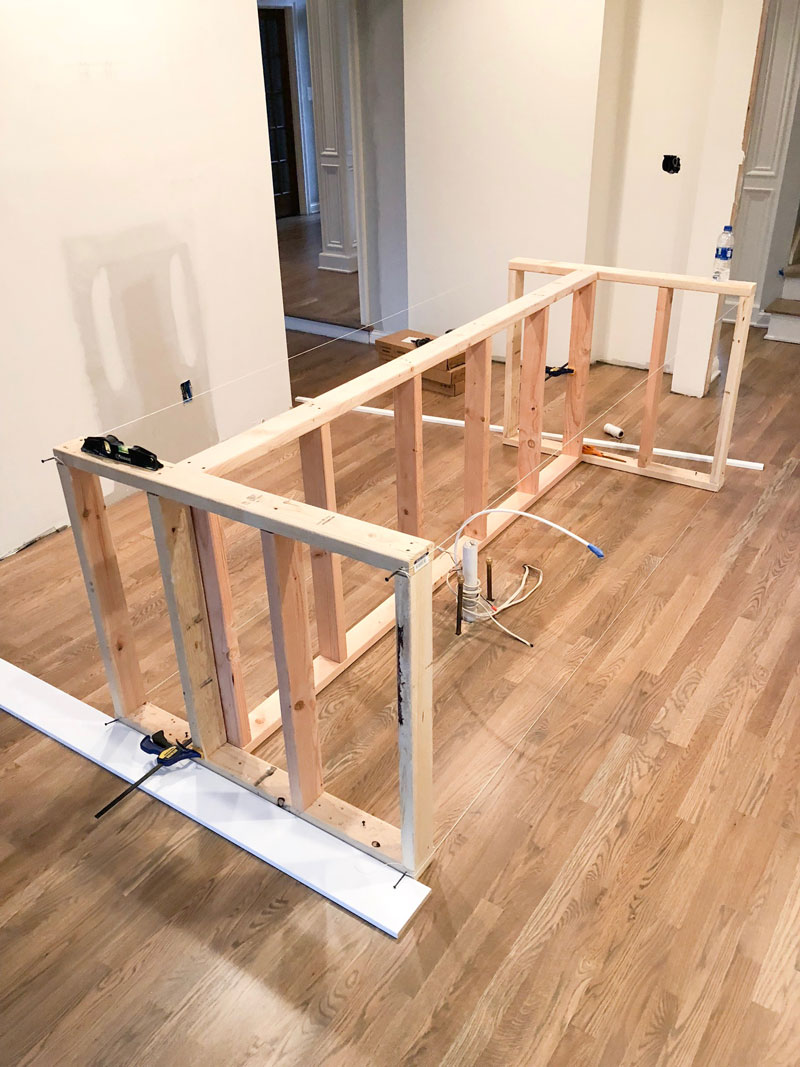
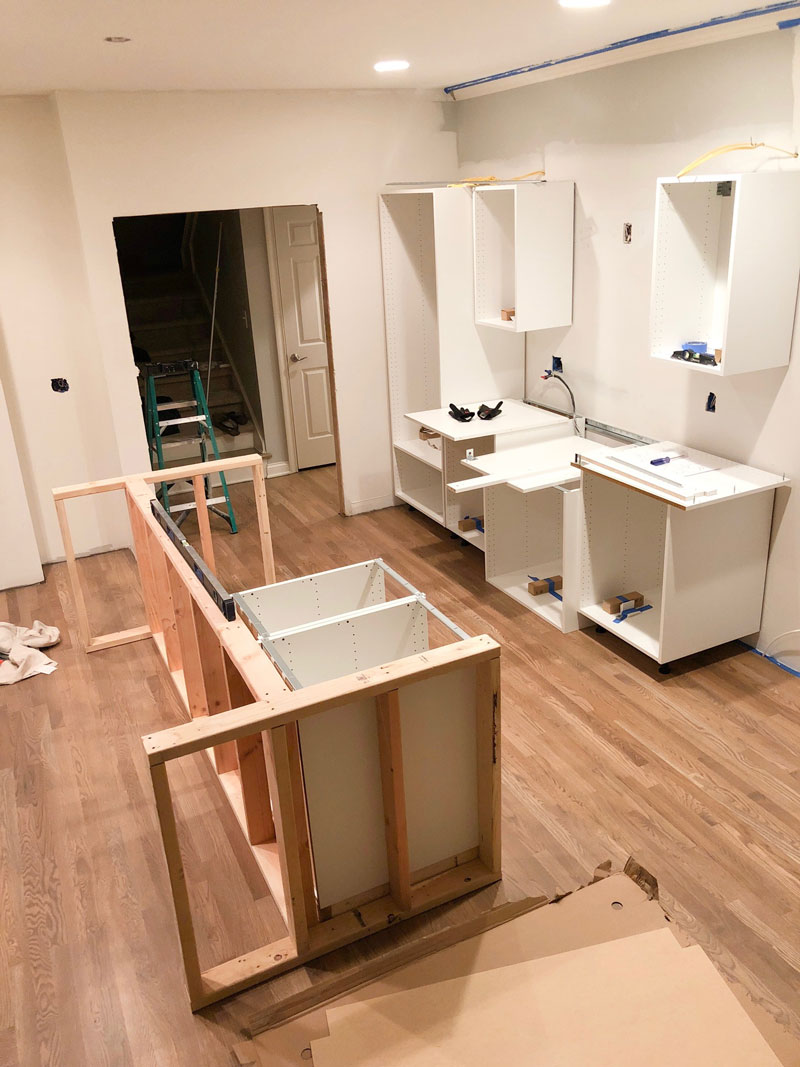
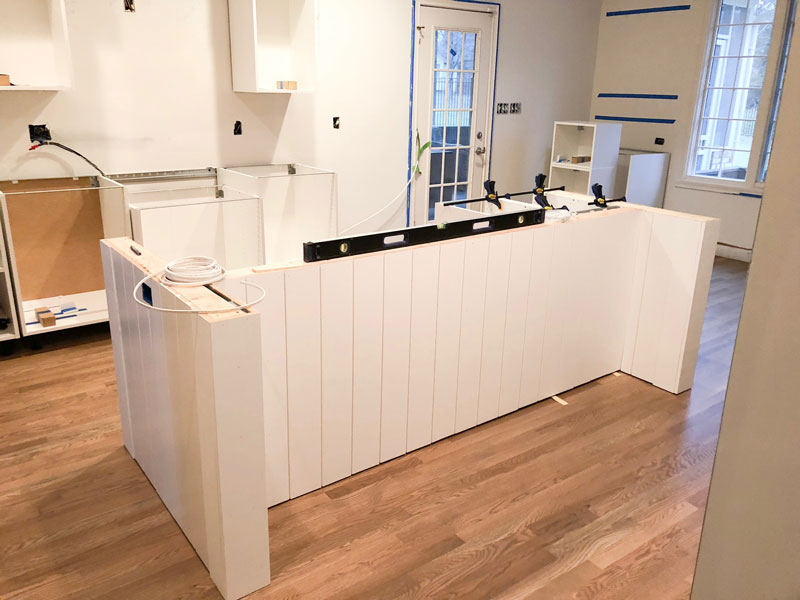
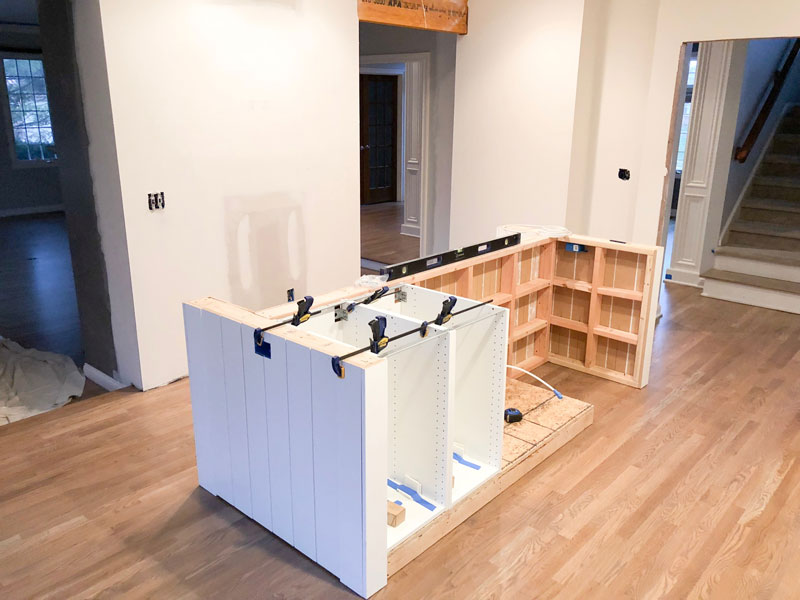
First he built a frame wall using 2 x 4’s being diligent to get everything square and level. The frame allows adequate support for the heavy countertops. It also created the framework for the more substantial sized island that I designed. The front opening allowed us to insert in our 2 base cabinets, sink cabinet, and dishwasher. This is where careful measuring and calculation is key. We did not want any excess space around these items once they were added into the frame.
The wall height was 34.75″ to allow for the final countertop depth of 1.25″. This brings the total height when the island was complete to the standard 36″ counter height. The frame walls were secured to and through the finished white oak hardwood and subfloor using screws. We were very careful to map out where our plumbing and electrical were running. This would ensure we did not puncture these when securing the walls.
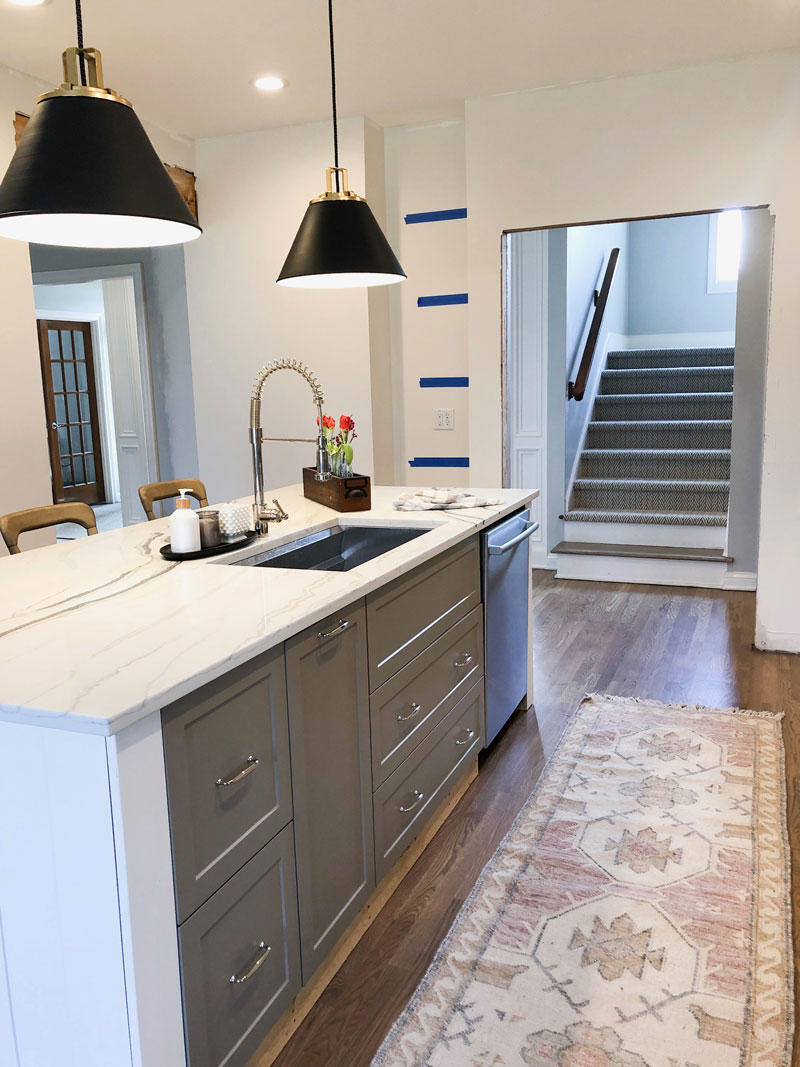
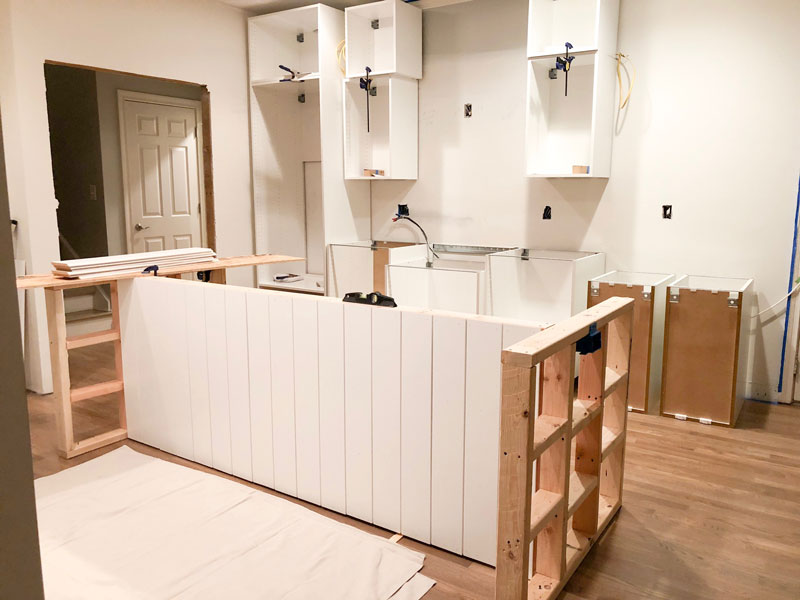
Here are the cabinets slid into the frame. Just to the side of them is the sink cabinet and the dishwasher is on the far end. This is another reason we opted to build a frame for the island. The side wing walls provide the necessary support for the countertop since we have the dishwasher on the outside edge. The length of these wing walls on the cabinet side is also a key detail to pay attention to. We wanted them to fall exactly flush with the cabinet doors (3/4″ thick). Knowing we would face the wing wall with trim board, also 3/4″ thick, the walls were set flush with the cabinet frames. This allows for the trim and cabinet doors to sit flush when installed.
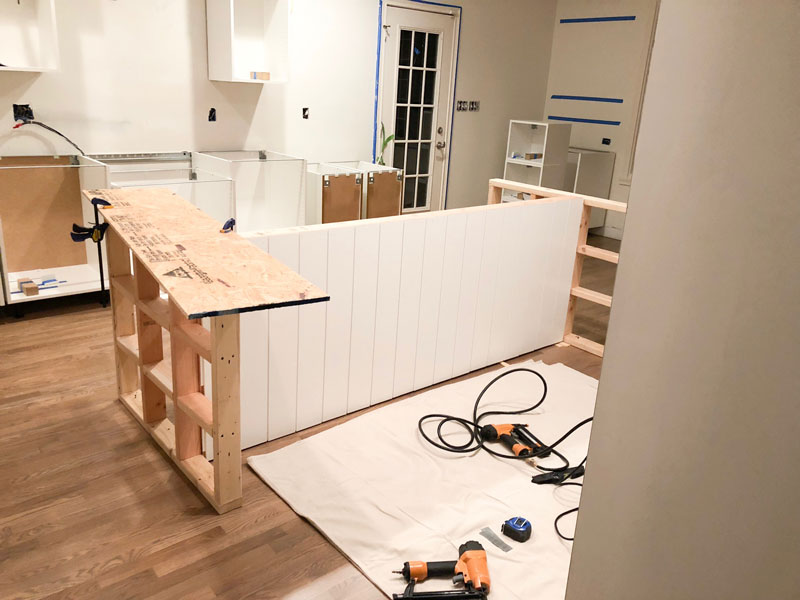
Next, the vertical shiplap was added to face out the framing. The wing (side) walls had blocking added to provide a foundation for nailing the shiplap in and to provide for additional sturdiness.
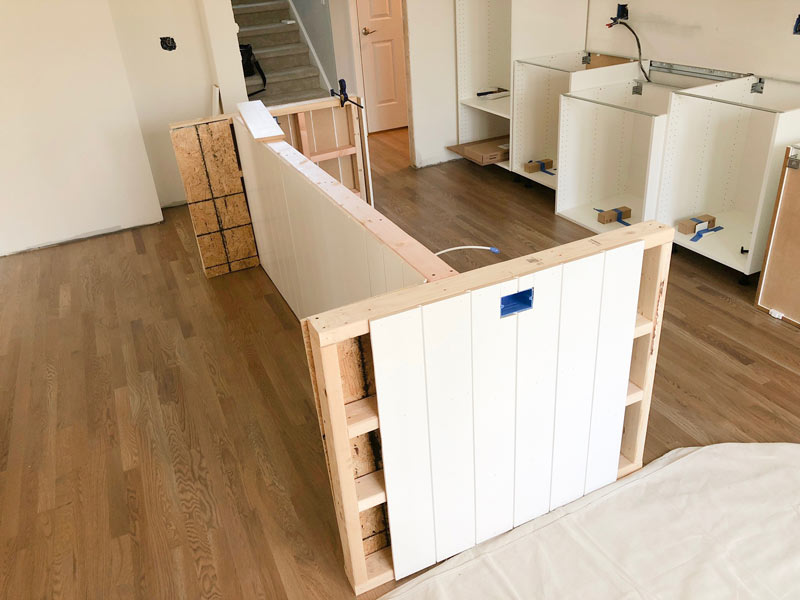
Shiplap was added to the sides. He also added 1/2″ plywood to the inside of the wing (side) walls to increase their width. This was purely for aesthetic reasons, so we could cap the ends with 1x5s for an added detail.

All of the nail holes were filled with wood putty and sanded for a smooth finish. This brand of shiplap is pre-primed and painted, so it was a nice smooth surface for painting down the line.
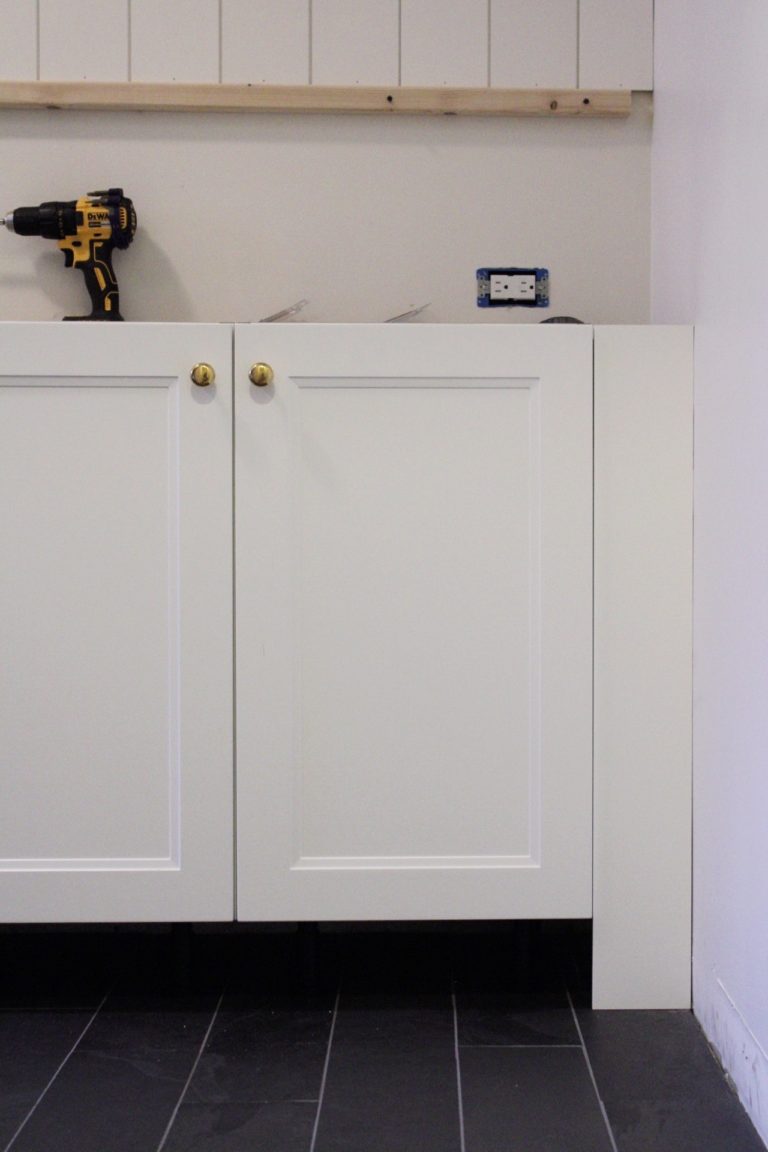
Ikea cabinet boxes are 30″ to allow for them to be hung on the wall and have the toe kick added underneath. In order to get the cabinets to the necessary height, a platform was built from 2 x 4’s (actual dimensions being 1.5″ x 3.5″) with 1″ plywood on top to create a necessary “toe kick” height of 4.5″. I wanted the island to feel like piece of furniture, rather than have a recessed toe kick. To achieve this we built the platform at a depth (front of cabinet to back of cabinet) that allowed us to install our baseboards so they would sit flush with the cabinet doors.
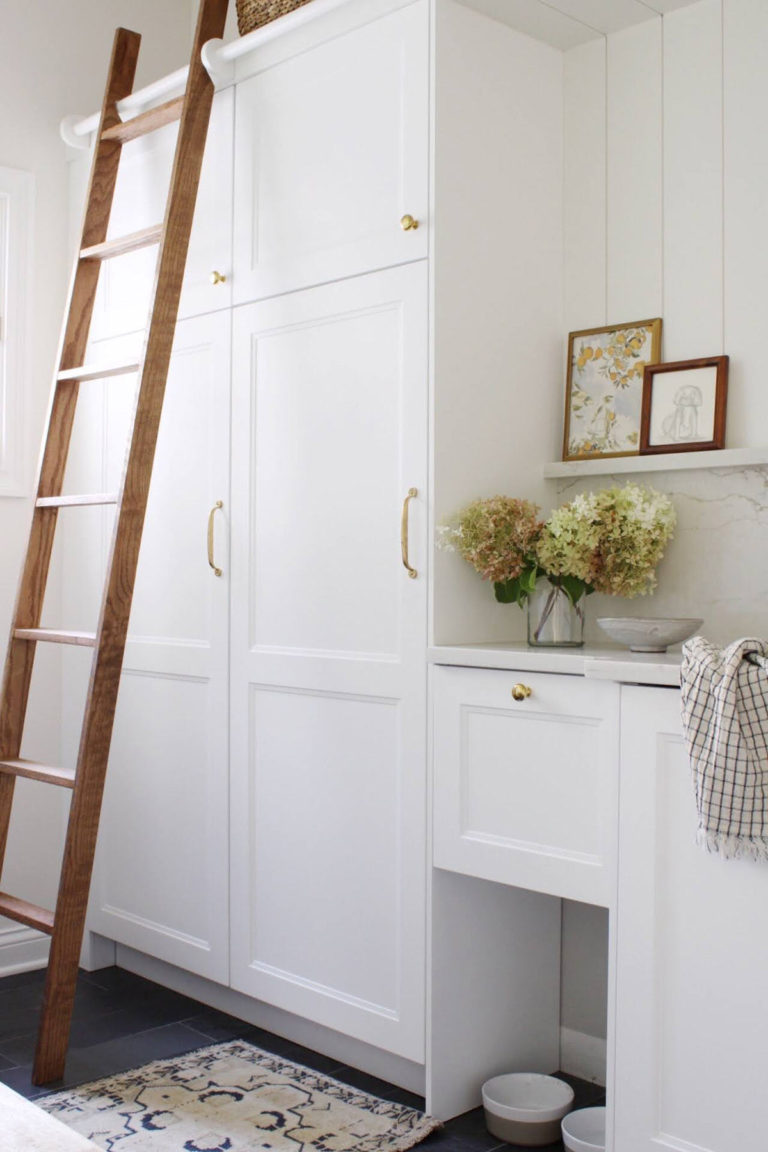
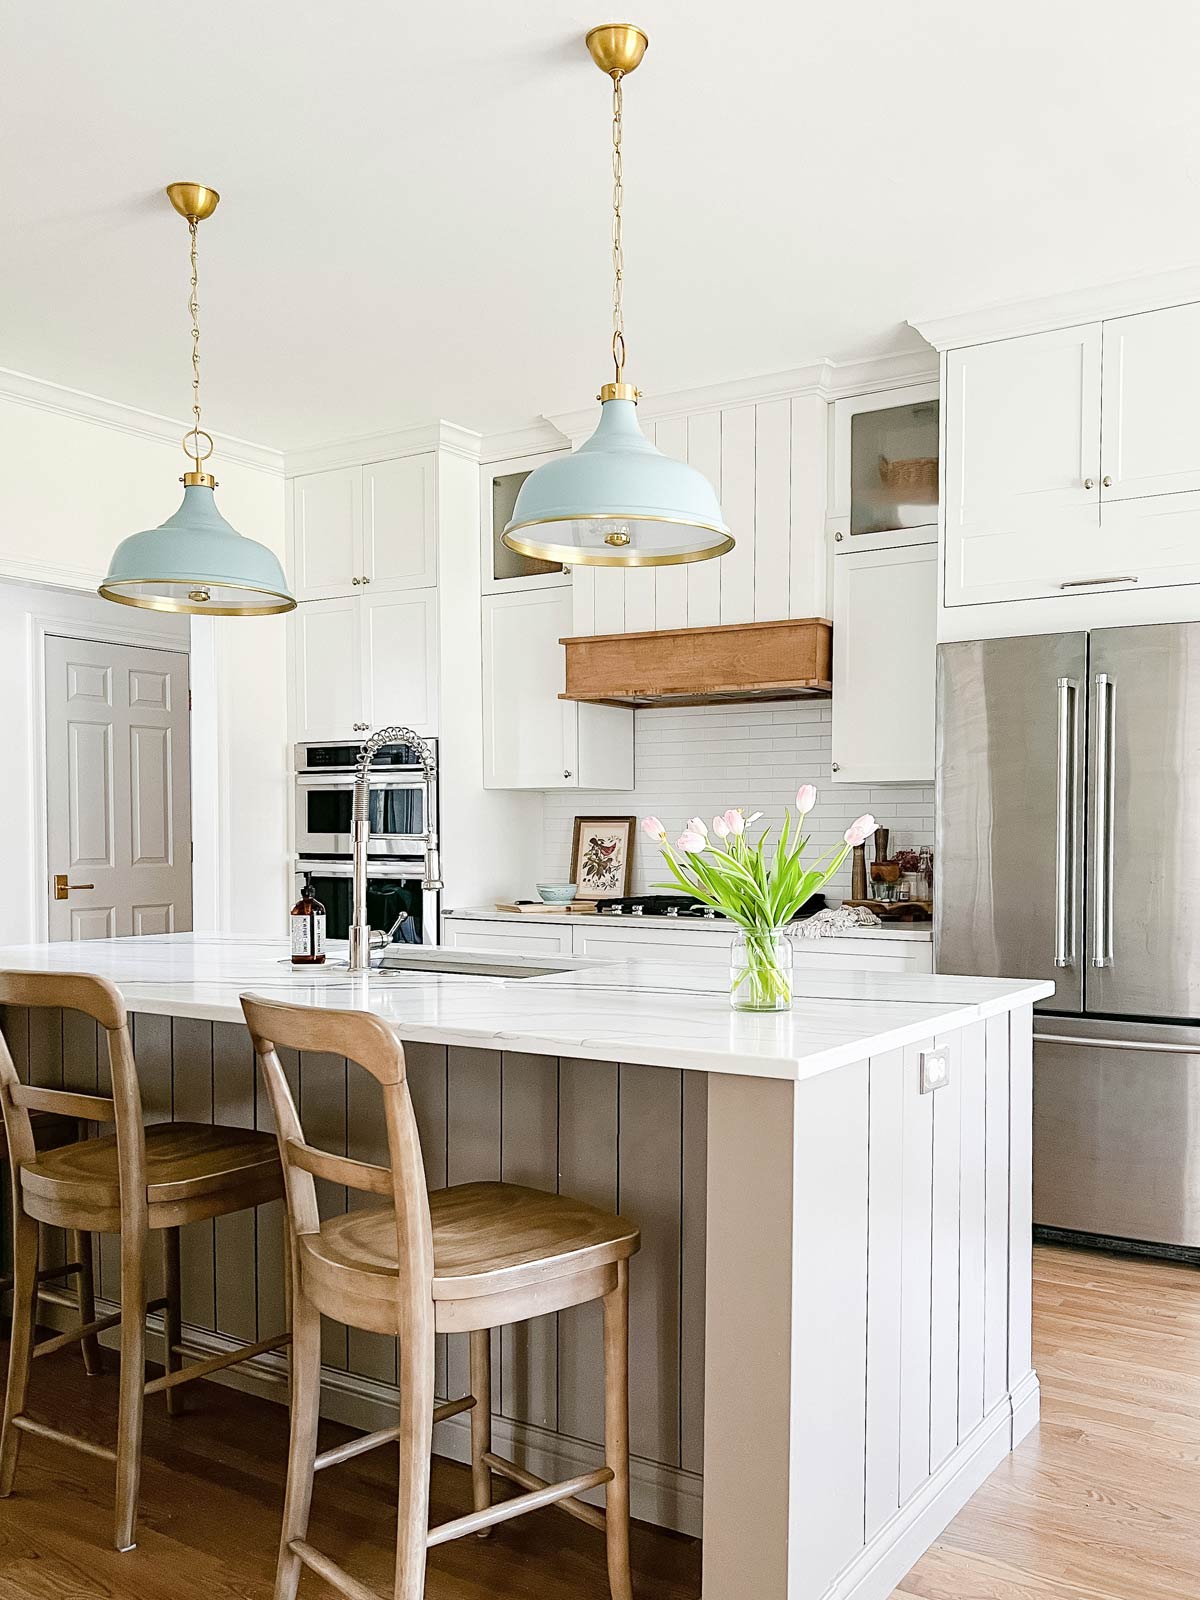
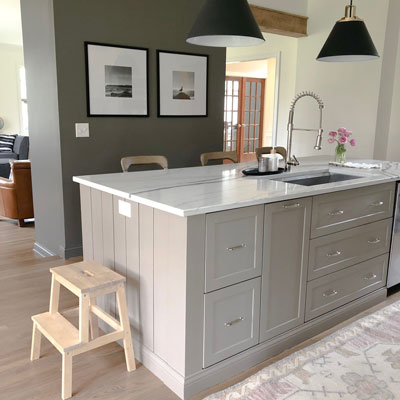
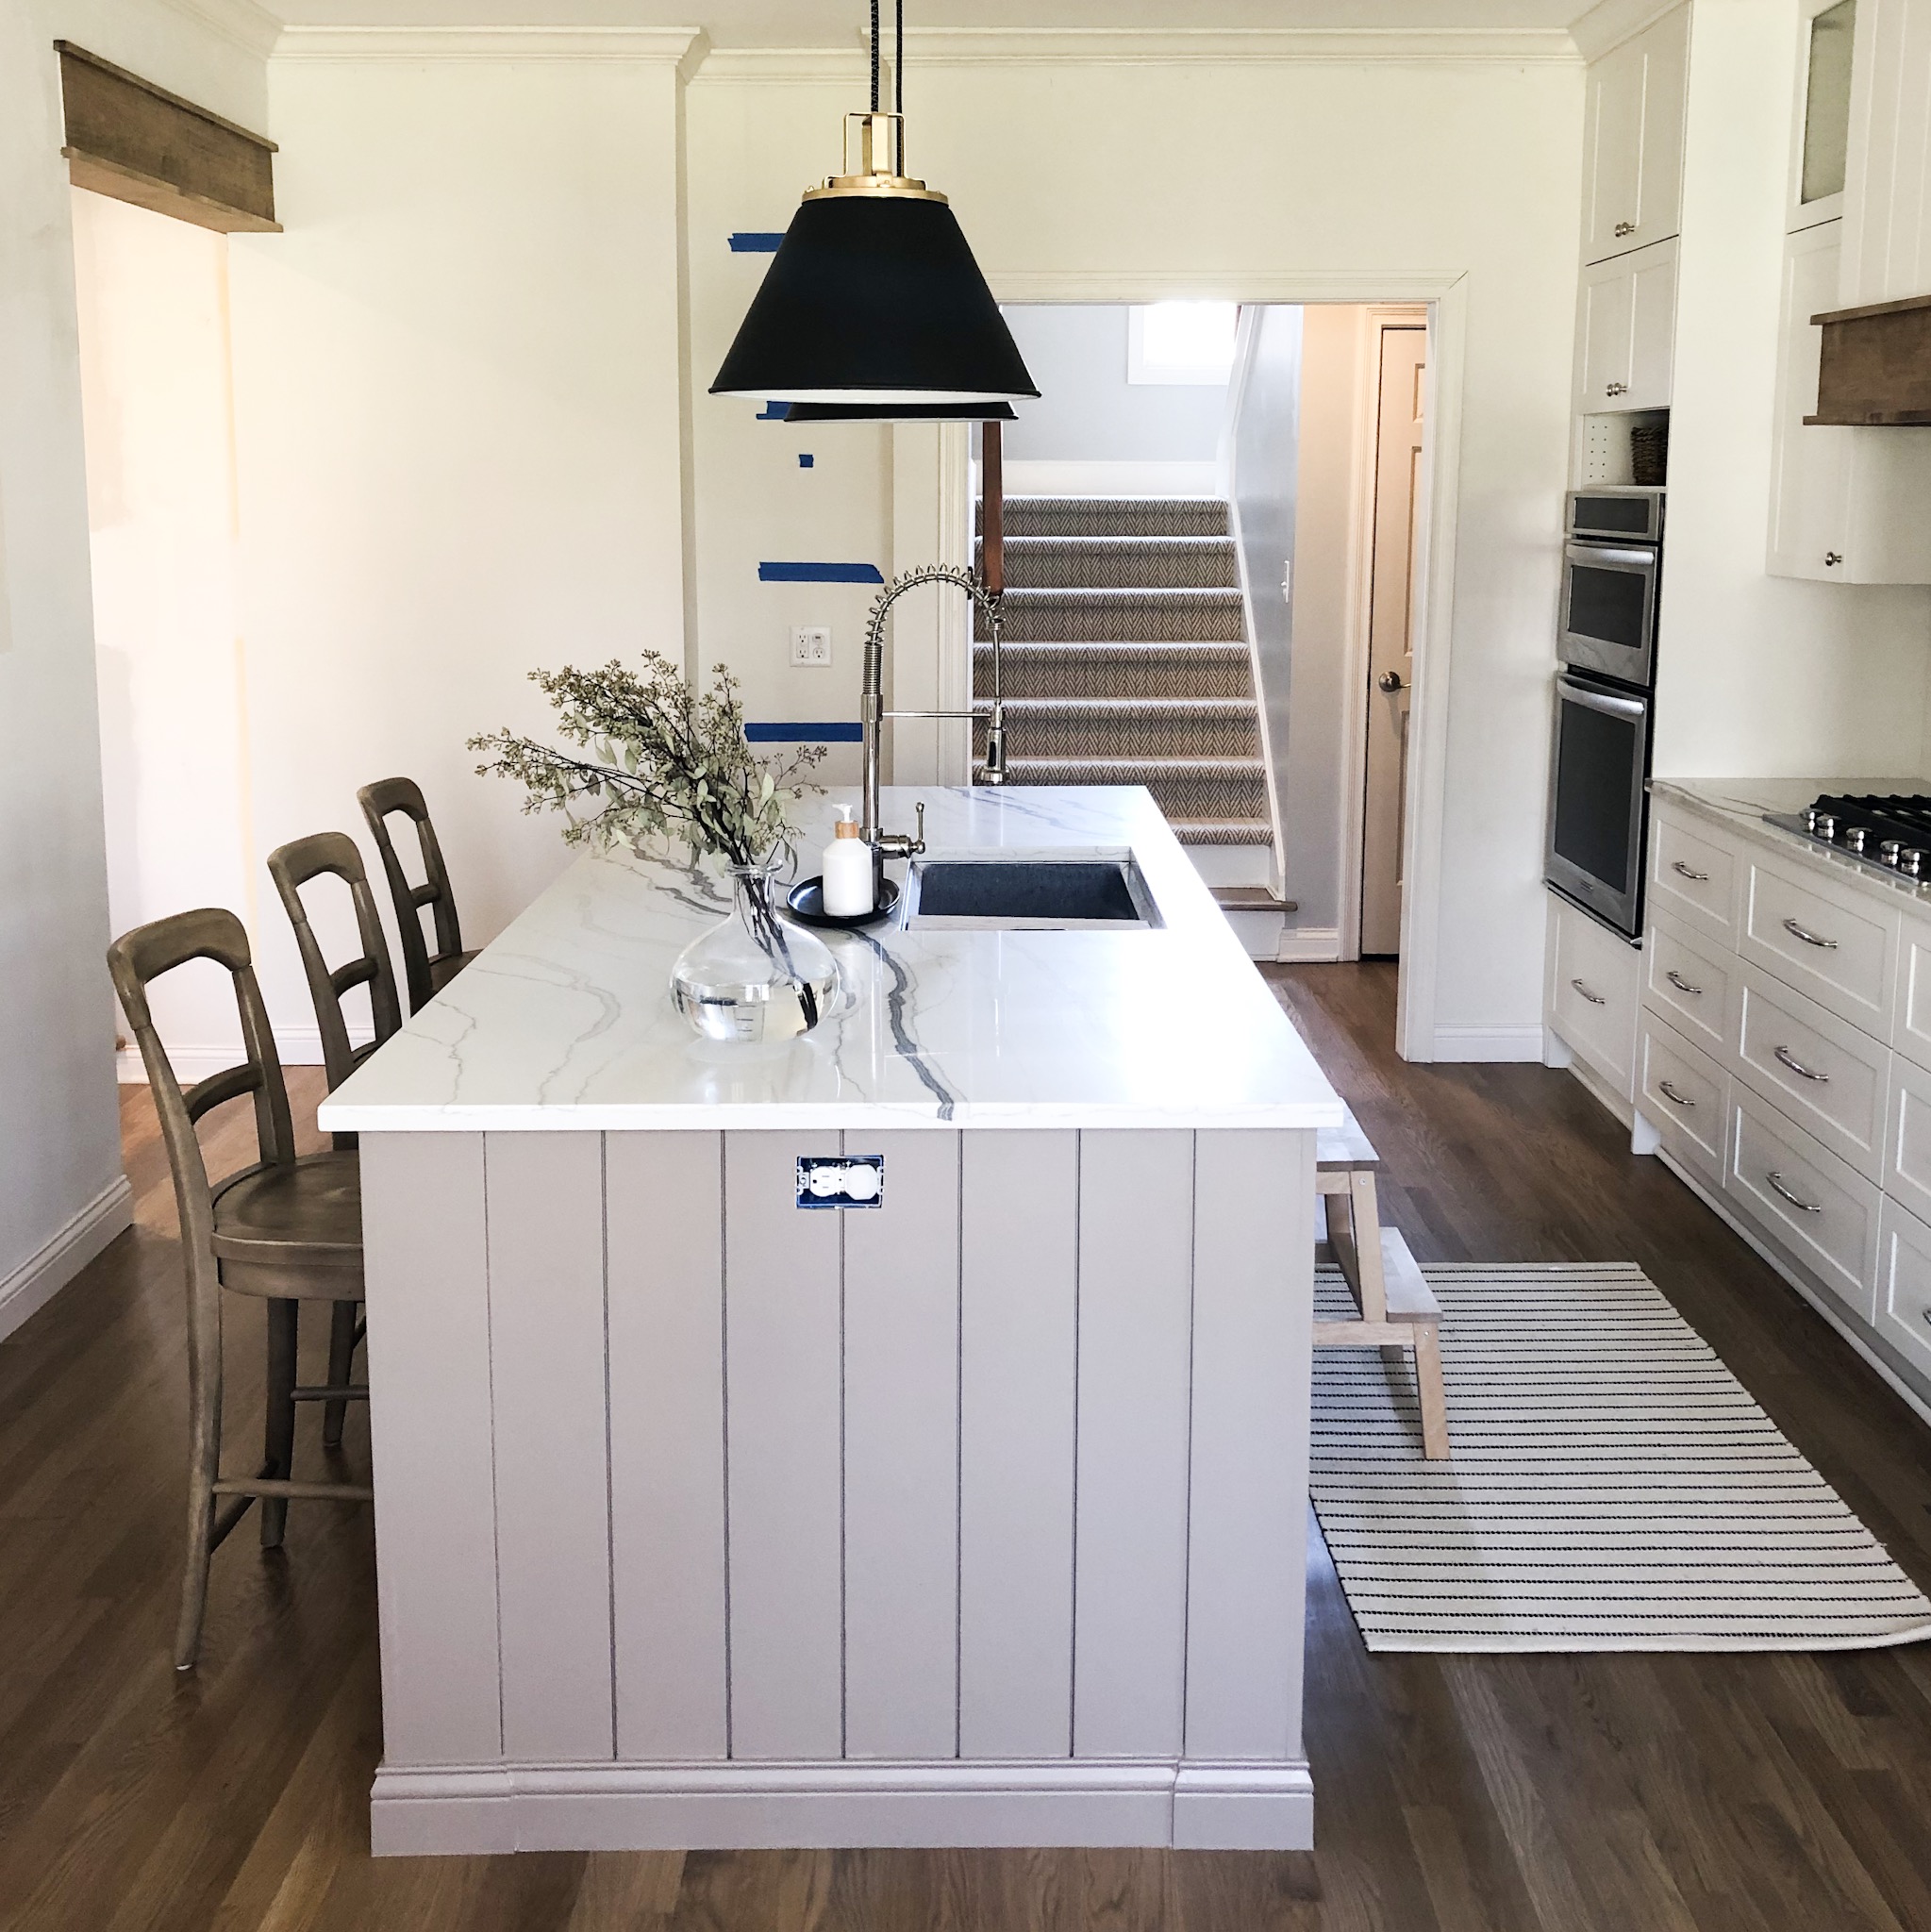
The Finished Island
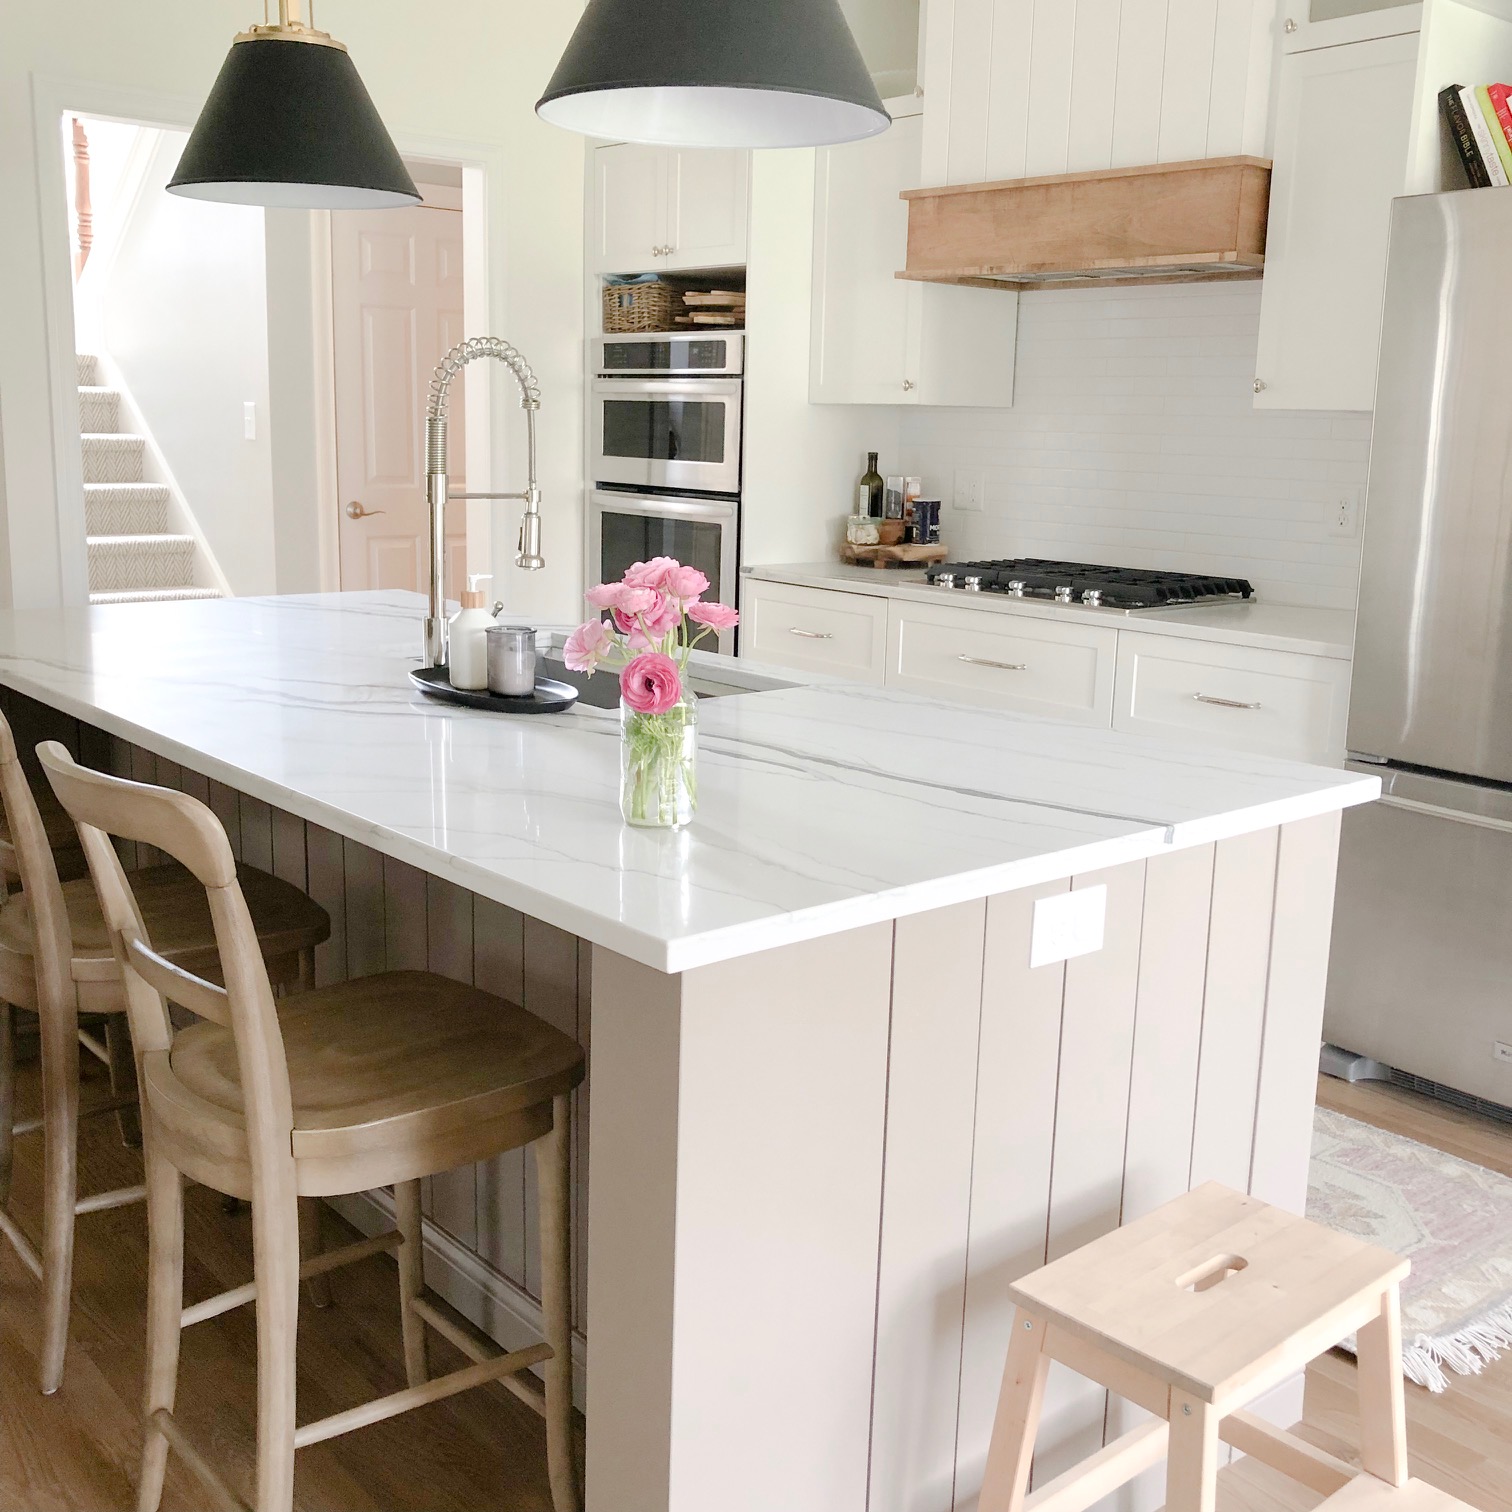
Did this help shed some light on the process for turning Ikea cabinets into a custom kitchen island? There are so many different ways to face out and detail an island depending on your design style. The good news is the concept of how to set up the framework, cabinets, and appliance is constant.